7
Basic Operations
Procedure
1
Turn on the power for all equipment
connected to the projector.
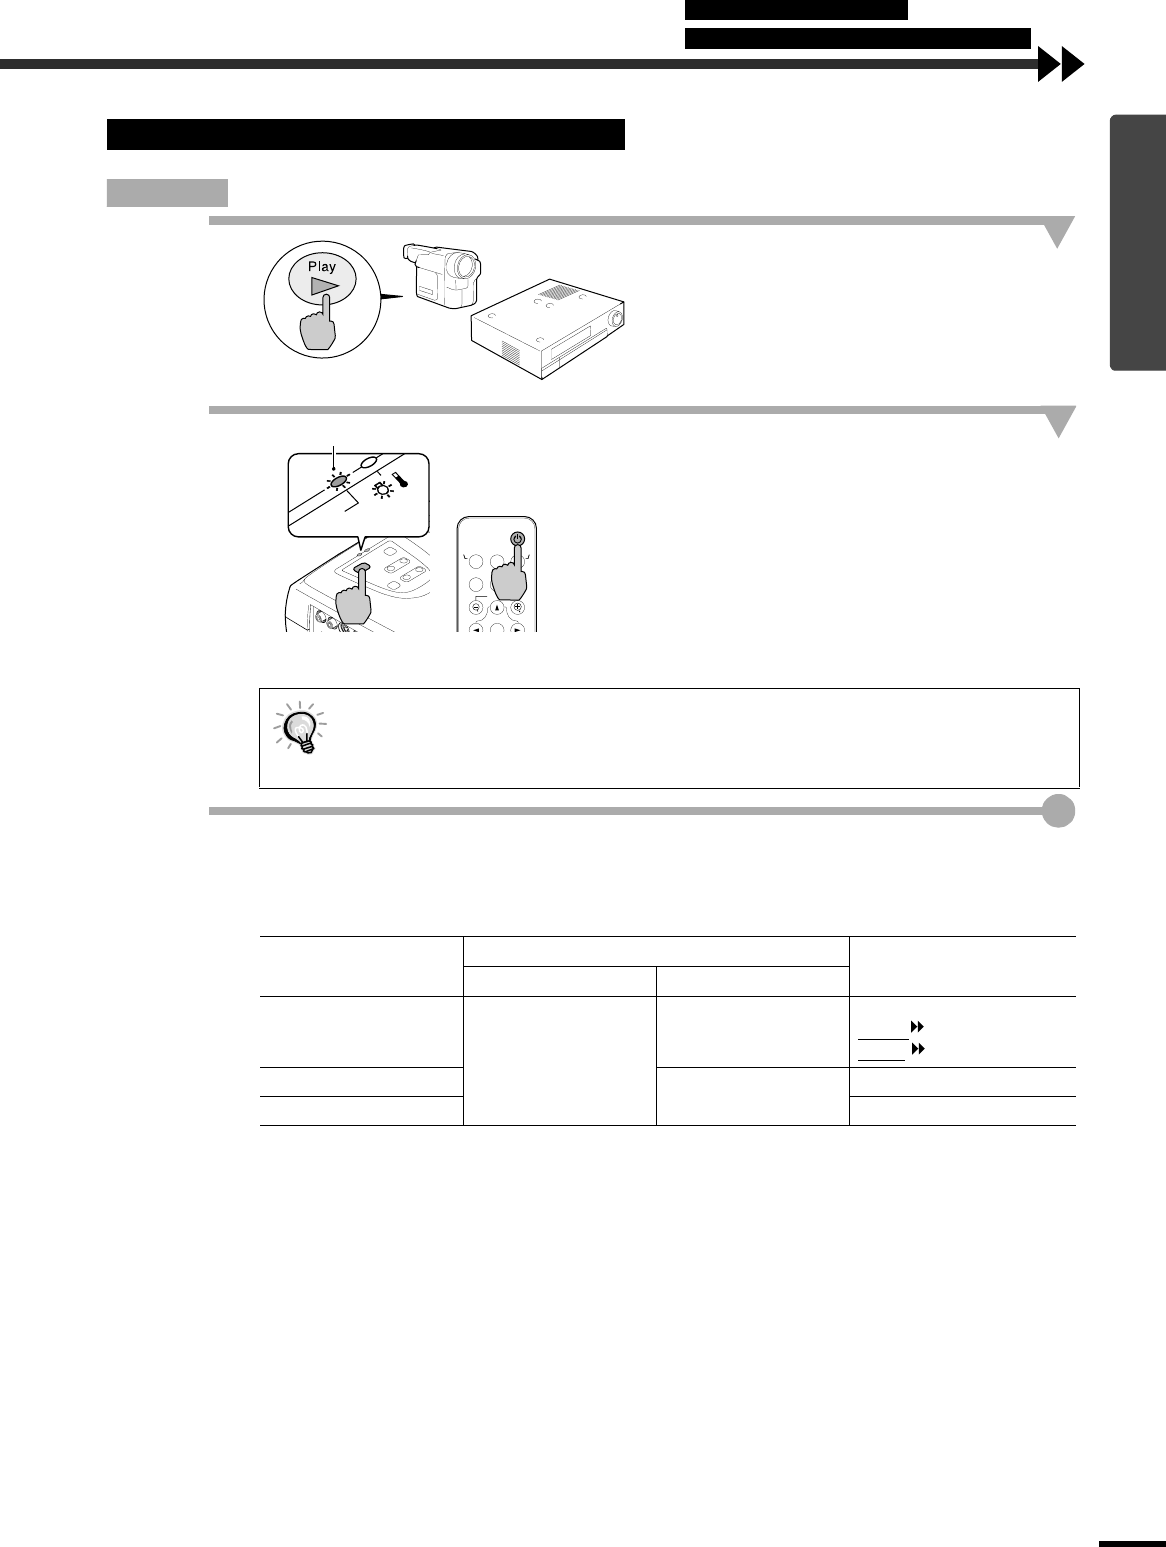
For a video source, press the [Play] button at the
video source to start playback if necessary.
Check that the Power indicator has stopped
flashing and is lit orange.
2
Press the [Power] button on either the
projector's control panel or the remote
control to turn on the power for the
projector.
The Power indicator flashes green, and after a
short period it stops flashing and projection starts.
Wait until the Power indicator lights green (it
normally takes about 40 seconds to change).
3
If more than one signal source has been connected, use the projector
'
s control
panel or the remote control buttons to select the port which the signal source
that you would like to use is connected to, while referring to the following
table.
*The items selected using the "Input Signal" command in the "Video" menu will appear.
Turning On the Power and Projecting Images
The projector's control panel and remote control buttons cannot be operated while the
Power indicator is flashing green.
Depending on the settings, the message "No-Signal." may appear. See "Setting" - "No-
Signal Msg." (p.23)
Port
Button to press
Display at top-right of
screen
Projector Remote control
Computer/
Component Video
The image source
changes each time
[Source] is pressed.
[Computer]
Computer *
YCbCr
*
YPbPr
*
S-Video
[S-Video/Video]
S-Video
Video Video
S-Video/VideoComputer
Menu
A/V Mute
E-Zoom
Freeze
Color Mode
Power
Power
Remote control
Changes from flashing to lit green
Connecting the Power Cable
Turning On the Power and Projecting Images


