57
Operations
Connecting the Power/Basic Operations
—Continued
Changing the Audio Mode
The DTR-10.5 accepts analog, digital, i.LINK
(AUDIO), and multichannel signals for audio input. You
can choose the kind of signal to be played for a specific
device. For Zone 2, the DTR-10.5 accepts only analog
and digital signals for audio input.
• “i.LINK” setting can be selected when the i.LINK
terminal board [A] is installed.
• For USA and Canadian models, “Multich” setting can
be selected when the multichannel board [E] is
installed.
Auto (XXX) (automatic detection):
With this setting,
the DTR-10.5 automatically detects whether the input
signal is digital or analog. When a digital signal is not
input, then the analog signal is played. This setting only
appears if a digital input is selected for the Digital Input
setting at Setup Menu
→
Input Setup Menu
→
Audio
Assign Sub-menu
→
Digital Audio (See page 95).
(XXX) displays the name of the assigned terminal.
Multich (Multichannel):
Select this setting to play
back the input from the component connected to the
MULTI-CH IN 1/2 port. This setting only appears if “1”
or “2” is selected for the Multichannel setting at Setup
Menu
→
Input Setup Menu
→
Audio Assign Sub-
menu
→
Multichannel (See page 94).
Analog:
Select this setting to playback the input from a
source component connected to analog audio input
jacks. With this setting, even if a digital signal is input
from the same component, only the analog signal will
be output.
i.LINK:
Select this setting to play back the input from a
source component connected to the i.LINK (AUDIO)
terminal. With this setting, only the i.LINK signal will
be output. This settings is available when any device is
selected at Input Setup menu
→
Audio Assign Sub-
menu
→
i.LINK.
Using the Re-EQ Function
This function corrects soundtracks with a strong treble
level to the home theater level. This correction should
be made when the treble sounds from the front speakers
are too strong.
Hint:
This can also be set on the menu with OSD. The listening
mode which the Re-EQ effect can be applied to has a
Re-EQ option in the Listening Mode Setup menu.
Using the Late Night Function
(only in Dolby Digital)
The difference between loud and quiet sounds is very
large in pictures produced for movie theaters, so you
have to raise the volume level to catch environmental
sounds and human conversations. Since the Late Night
Function is able to reduce the difference between loud
and quiet sounds, you can hear quiet sounds without
raising the entire volume level. This function is helpful
when you enjoy movies late at night by turning down
sounds.
This function is released when putting the DTR-10.5
into the standby status.
Hint:
This function can also be set on the menu with OSD
(See page 106).
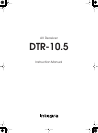
1
Press the [Input] button, and then
roll the scroll wheel to select the
input source you want to set.
2
Press the scroll wheel and then
press the [Audio SEL] button.
Each time the button is pressed, the
mode changes from “Auto”
→
“Analog”
→
“Multich”
→
“i.LINK” and
back to “Auto.” The “Auto” audio mode
is recommended for normal
circumstances.
Note:
This procedure can also be performed by
using the DTR-10.5. Press the [Audio
Selector] button then use the [Select/
Preset] dial to select the mode you want
to set.
Input
Audio
SEL
1
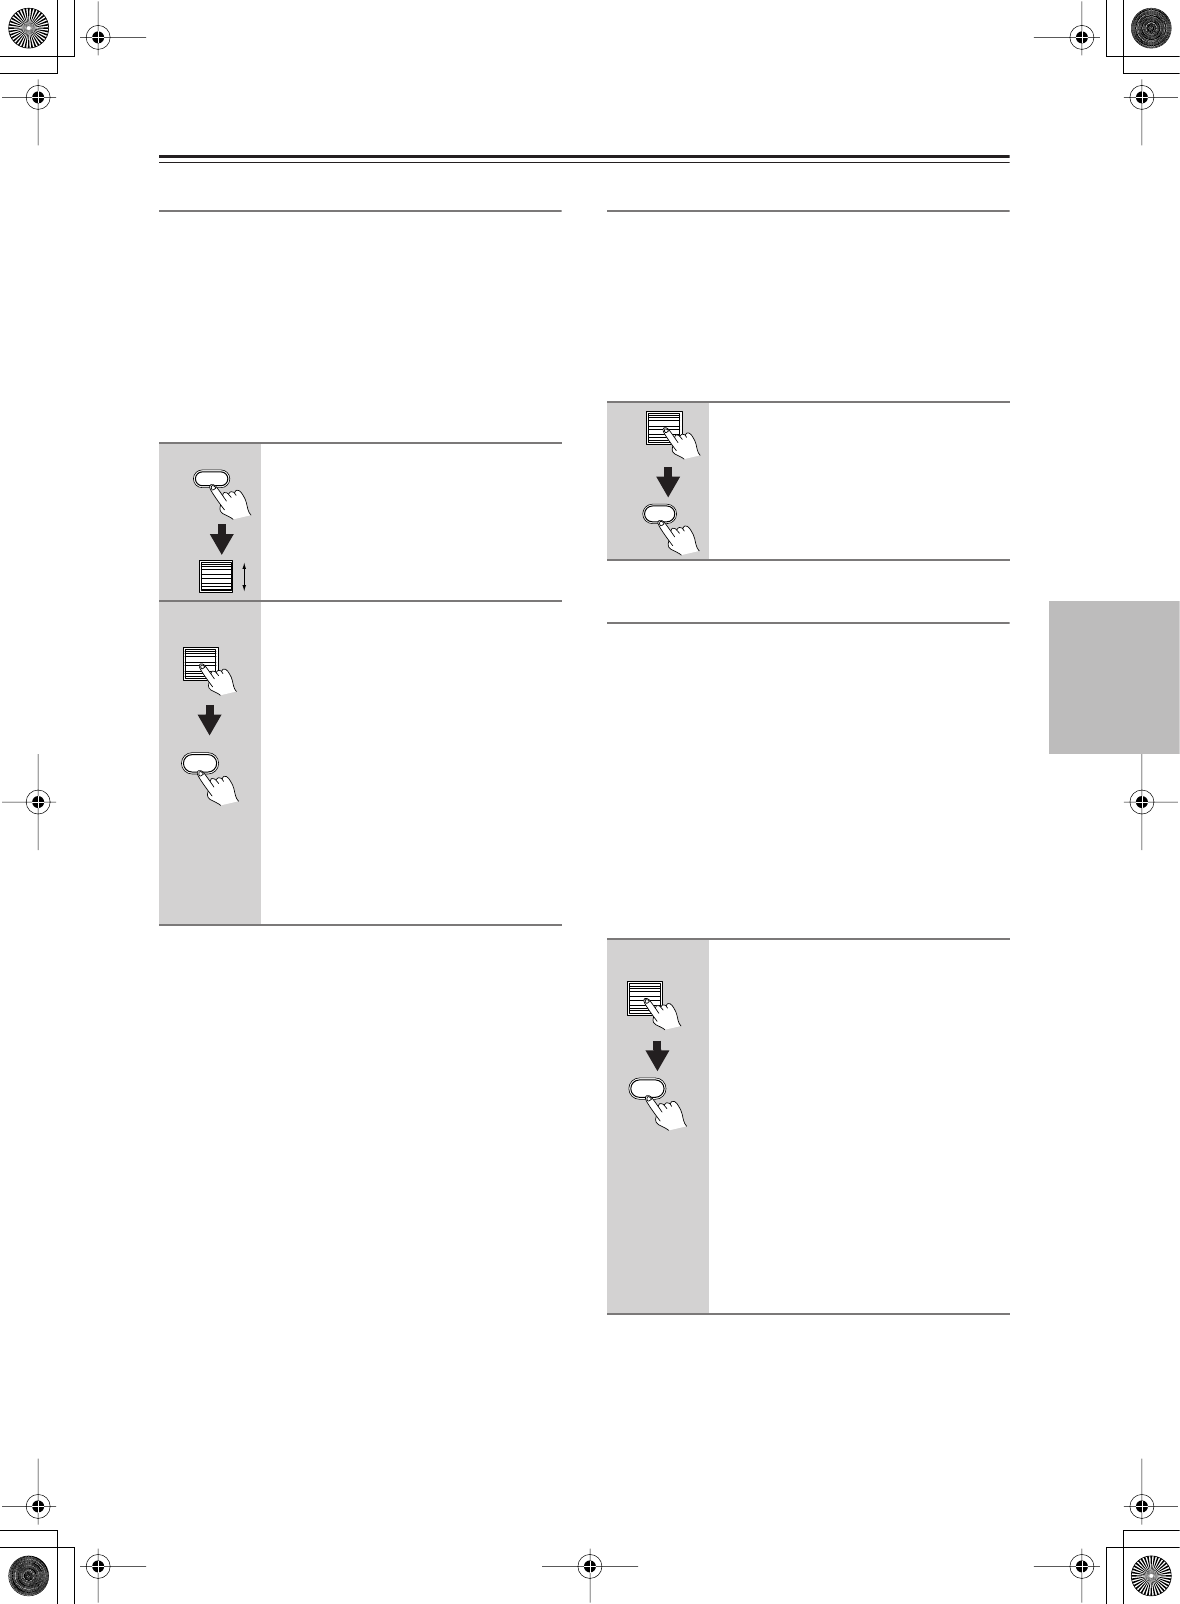
Press the scroll wheel, and then
press the [Re-EQ] button (repeat-
edly).
1
Press the scroll wheel, and then
press the [L Night] button (repeat-
edly).
Off:
Turns off the Late Night function.
Low:
Reduces the difference between
loud and quiet sounds.
High:
Further reduces the difference
between loud and quiet sounds.
The previous display comes back after a
while.
Notes:
• The Late Night function is effective
only for Dolby Digital sources.
• The Late Night function may be less
effective or have no effect depending
on the Dolby Digital source.
Re
-
EQ
L Night