OPERATION
Laser Diode Mounting
12_06 LDM-4990 11
CHAPTER 2
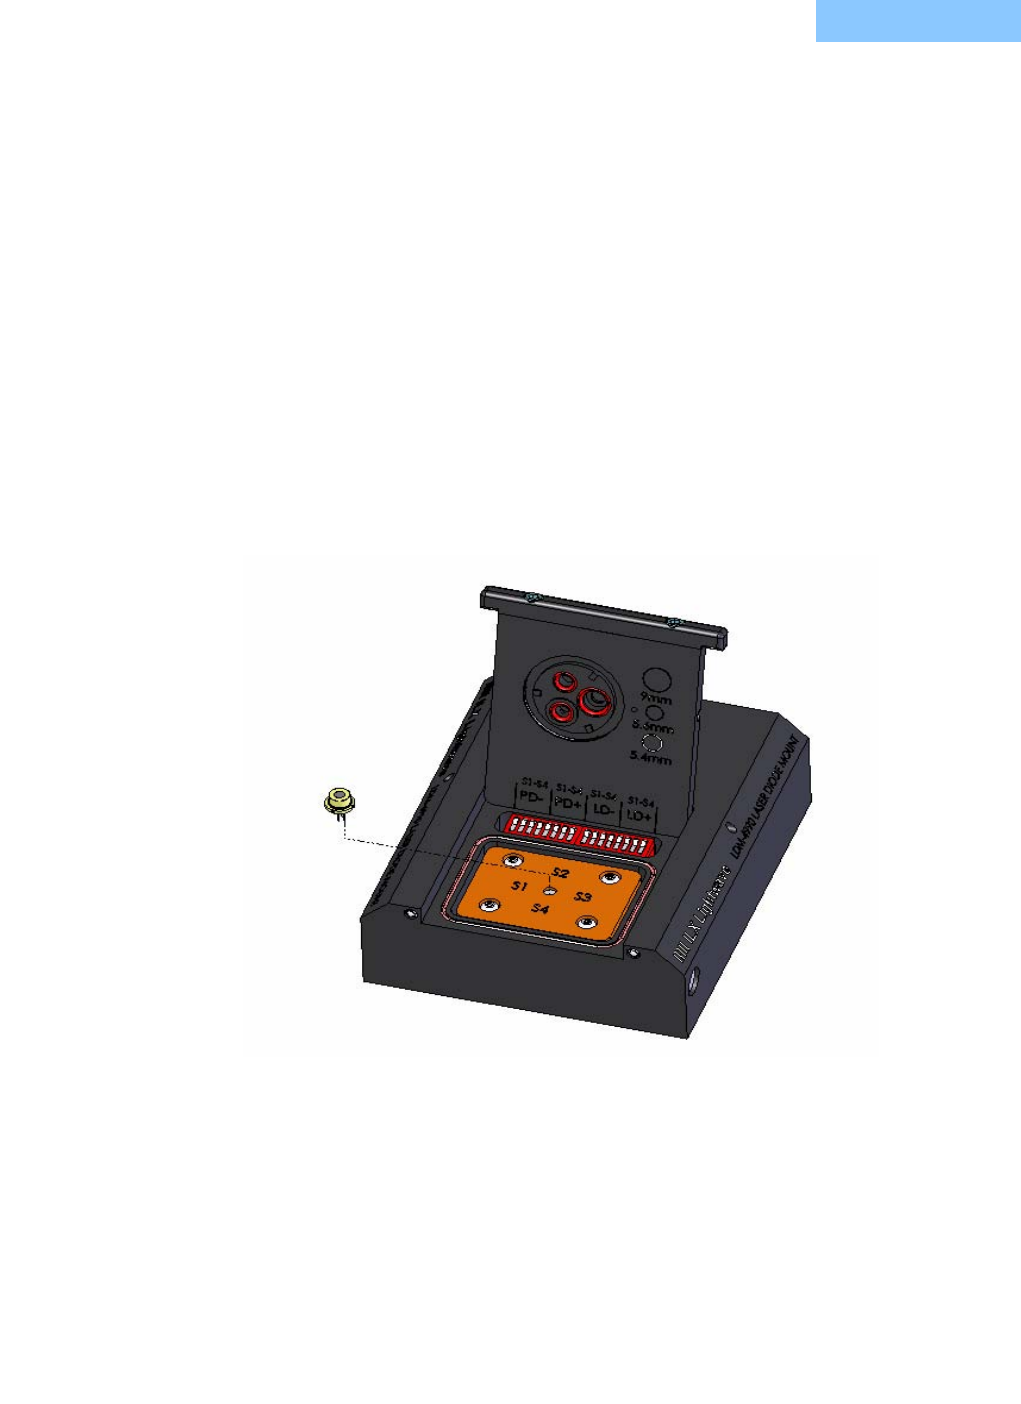
To install a laser diode, refer to Figure 2.7, and follow these steps:
1 Ensure that the mount has been configured for the correct pin-outs for the laser you are
about to install. If it has not been configured, refer to instructions earlier in this chapter for
more information.
2 Disable the output of any current controller connected to the mount.
3 Open the access door.
4 Identify pin 1 of the laser and orient the diode with pin one to the left as marked on the
laser mounting plate.
5 Insert the laser through the hole in the laser mounting plate, and into the test socket.
Ensure that the laser pins uniformly engage the socket.
6 Push down on the diode so that it seats against the laser mounting plate.
7 Close the access door and push on the door to insure the door is locked in place. If you
feel any unusual resistance when closing the door, open the door and check to see that
the device selector is in the correct position for your particular device.
Figure 2.7 Installation of a 9.0 mm Window Can Laser
After the device is inserted into the socket, close the access door and push down
until it clicks in place. Make sure the access door locks in place; this provides
positive pressure on the laser diode.


