Using the PC Settings
• Mostofthepicturecontrolsandfunctionsareavailable
in both digital and analogue modes. However features
not available will be greyed out.
• First,press
o
to display the video input mode list, and
then press
s
or
r
and
Q
in order to select PC input
mode (
-
page 27).
• ThePCSettingsfunctionmaynotbeavailableforsome
signals and when no signal is received.
• Incertaincases,itmaybedifculttooptimallysetthe
clock phase and sampling clock values depending on the
input signal type.
Note:
In PC input mode,
Manual Settings
(
-
page 28) is
not displayed.
Adjusting the picture size/position
1
Press
MENU
, and then press
v
or
w
to display the
SETUP
menu.
2
Press
s
or
r
to select
PC Settings
.
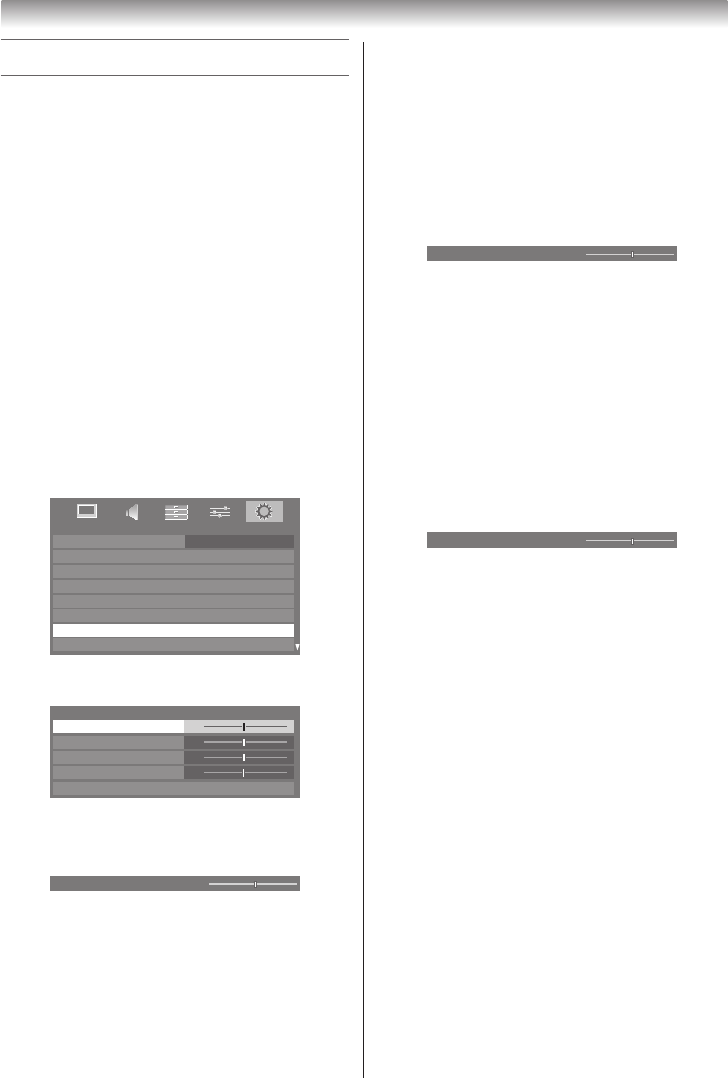
SETUP
Menu Language English
Auto Tuning
ATV Manual Tuning
DTV Manual Tuning
DTV Settings
PC Settings
AV Connection
Quick Setup
3
Press
Q
to display the
PC Settings
menu.
0
0
0
0
PC Settings
Horizontal Position
Reset
Sampling Clock
Vertical Position
Clock Phase
4
Press
s
or
r
to select the option you want to adjust.
Press
v
or
w
to adjust the settings as desired.
Adjusting the clock phase of the picture
Iftheclockphase,whichsynchronizesthePCsignaland
LCDdisplay,isnotoptimized,thepicturewillblur.
This function allows you to adjust clock phase and display
a clear picture.
1
From the
PC Settings
menu, press
s
or
r
to select
Clock Phase
.
2
Press
v
or
w
to obtain a clear picture.
Adjusting the sampling clock
If the sampling clock does not match with the dot clock
frequency of the PC, picture details will be blurred, screen
width will change, or drift patterns in vertical lines may be
apparent.
Thisfunctionallowsyoutoadjustandoptimizethe
picture.
1
From the
PC Settings
menu, press
s
or
r
to select
Sampling Clock
.
2
Press
v
or
w
tooptimizethepicture.
Resetting the PC Settings
The Reset function adjusts the PC Settings to the factory
settings.
1
From the
PC Settings
menu, press
s
or
r
to select
Reset
.
2
Press
Q
.
Note:
When a PC is connected using HDMI, none of these
functions will be available.


