


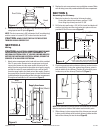

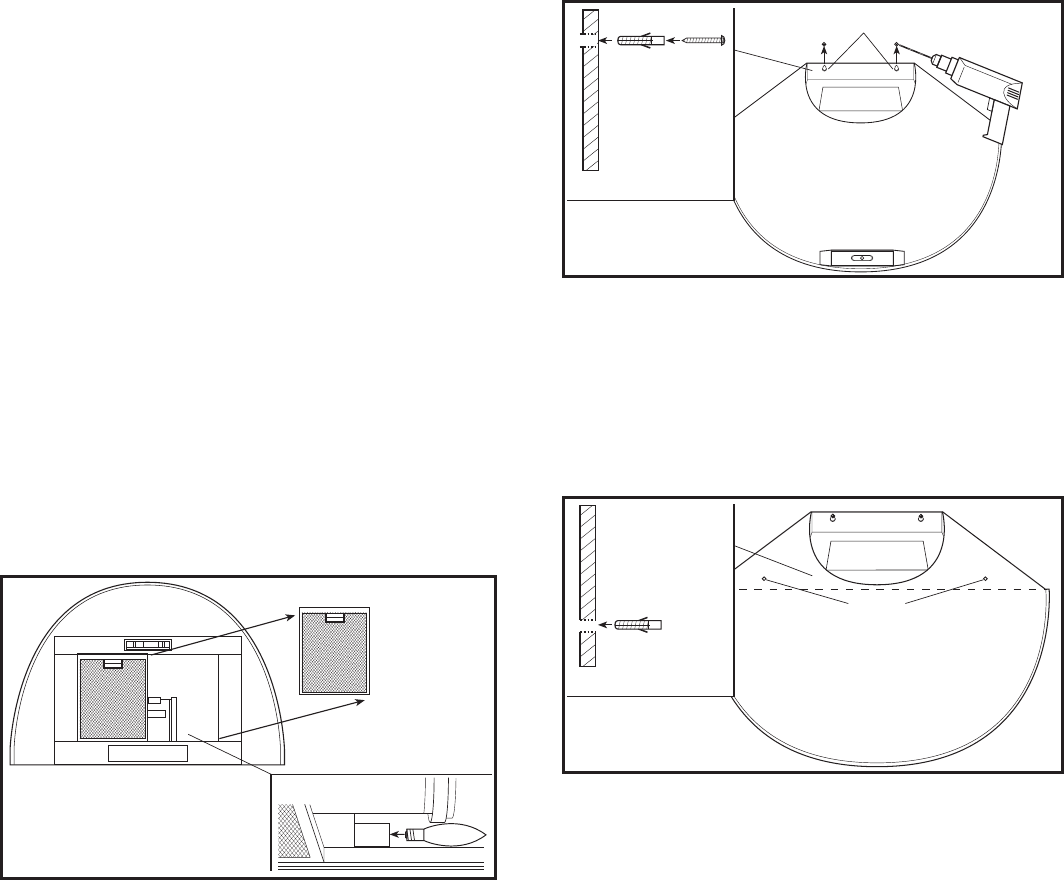
drill holes into wall using a 1/4" drill bit. Press the included
wall anchors into the drilled holes (one for each hole). Install
two 3.19 x 32 mm screws, leaving a 1/8" gap between the
screw head and the wall. Line up the keyholes in the hood
with the screws and position in place. Hang the hood over
the keyhole anchors and verify that the hood is centered,
plum and level (Figure 2).
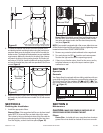
2. With the hood hanging in place from the top screws, mark the
location of the lower holes. Remove the hood and drill the
bottom holes using a 1/4" drill bit. Press the included wall anchors
into the drilled holes (one for each hole). Hang the hood over
the keyhole anchors and verify that the hood is centered, level
and the bottom holes line up with the anchors. Install the lower
3.19 x 32 mm screws into the anchors. Tighten all screws
completely and reinstall the Grease filters (Figure 3).
SECTION 3
Ducting
CAUTION: ALL DUCTING MUST COMPLY WITH LOCAL AND
NATIONAL BUILDING CODES.
WARNING: TO REDUCE THE RISK OF FIRE, USE ONLY METAL
DUCTWORK.
NOTE: If the range hood will be run ductless, Air King Model
BCCF-01 charcoal filters MUST be installed. Refer to the
Finishing
the Installation
section for further instructions.
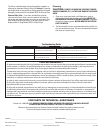
1. Install the included duct collar to the hood with two of the
provided 3.9 x 13 mm screws (Figure 4).
www.airkinglimited.com
00000000 Rev A. 4-06
INSTALLATION INSTRUCTIONS
CAUTION:
MAKE SURE POWER IS SWITCHED OFF AT
SERVICE PANEL BEFORE STARTING INSTALLATION.
SECTION 1
Preparing the Range Hood
1. Unpack hood from the carton and confirm that all pieces are
present. In addition to the range hood you should have:
2 - Chimney Sections
1 - Package containing:
1 - duct collar
2 - chimney brackets
8 - wall anchors
8 - 3.19 mm x 32 mm mounting screws
4 - 3.9 mm x 13 mm mounting screws
2 - 3.5 mm x 9.5 mm chimney screws
2 - Aluminum Grease Filters
(shipped installed)
2 - 40 watt candelabra bulbs
1 - Mounting Template
1 - Instruction/Safety Sheet
NOTE: Some hoods may be shipped with a protective plastic
adhered to the range hood. It is recommended to leave this in
place during installation to protect the hood from scratching.
Remove when the installation is complete.
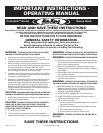
2. Lay the back side of the hood flat on a table. Use a piece of
cardboard to avoid damaging the table or the hood.
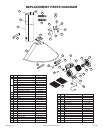
3. Remove the grease filters on the underside of the range hood
and install the two included 40 watt candelabra bulbs. (Figure 1).
SECTION 2
Installing the Range Hood
CAUTION: MAKE SURE POWER IS SWITCHED OFF AT
SERVICE PANEL BEFORE STARTING INSTALLATION.
CAUTION: WHEN CUTTING OR DRILLING INTO WALL DO
NOT DAMAGE ELECTRICAL WIRING AND OTHER HIDDEN
UTILITIES.
1. Refer to the mounting hole drawing provided with the unit.
Locate and mark the upper keyhole positions on the wall and
2 of 20
Figure 2
Side View
Upper Keyholes
Figure 3
Holes
Side View
Figure 1