16
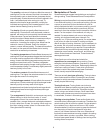
Cleaning Discharge Air Vents
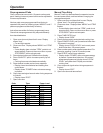
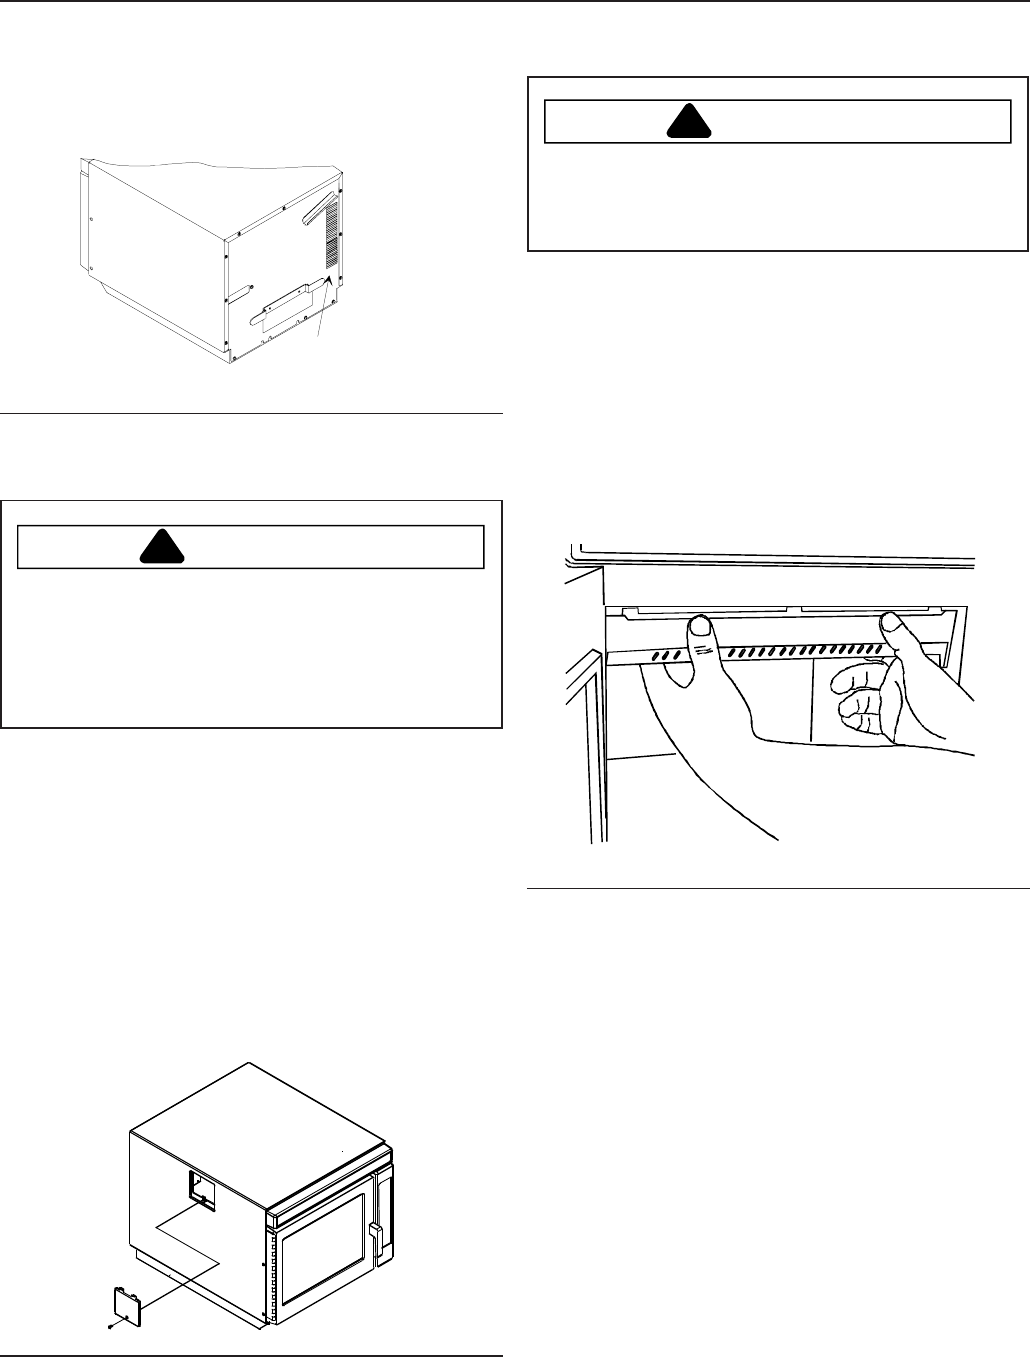
Check for a buildup of cooking vapors along discharge
louvers in back of oven monthly. Clean air vent with damp
cloth to ensure proper airflow. Dry thoroughly.
Discharge air ven
t
Cleaning Discharge Air Vents
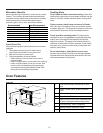
Changing Oven Light Bulb
CAUTION
!
To avoid electrical shock hazard unplug power cord or
open circuit breaker to microwave oven before replacing
light bulb. After replacing light bulb, reconnect power.
To avoid burns and cuts, wear gloves to protect hands
should bulb break. If hot, allow bulb to cool.
Tools and Bulb
Protective gloves
Phillips screwdriver
Light bulb rated 250 volt, 40 watt
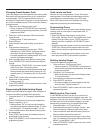
1. Unplug oven.
2. Remove screw from back of oven and remove access
cover.
See illustration below.
3. Remove bulb by turning counterclockwise, being
careful not to burn fingers or break bulb.
Replace with bulb rated 250 volt, 40 watt.
4. Plug in oven.
Remove Light Bulb Cover
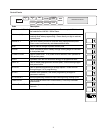
Cleaning Splatter Shield
CAUTION
!
To avoid oven cavity damage, do not operate oven
without splatter shield in place. Arcing will damage
oven cavity and antenna when operated without shield
in place.
Splatter shield keeps top of microwave oven cavity and
antenna from becoming soiled. Clean soil from shield
with damp cloth or clean with mild detergent and water.
Remove splatter shield for easy cleaning.
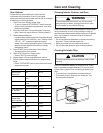
1. Unplug oven before removing splatter shield to stop
antenna from rotating.
2. Place fingers on front of shield, push forward, and
down.
When removing and replacing splatter shield, be
careful not to bend antenna.
Removing Splatter Shield
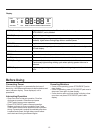
3. Wash shield in hot, soapy water. Rinse and
dry thoroughly.
Do not wash splatter shield in dishwasher.
Do not use abrasive cleaners.
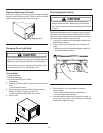
4. Reinstall splatter shield by fitting tabs into slots at
top of oven cavity back. Lift and press front of shield
until shield snaps into place.


