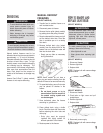
INSTALL FREEZER:
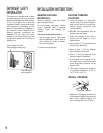
1.
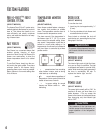
Adjust the 2 front legs so that the front
of the freez
er is slightly higher than the
back. When adjusted properly, the
door will s
wing shut from 10" open.
4
Installation instructions
REMOVE PACKING
MATERIALS:
Remove materials, tape and labels
before using the freezer.
Do not use sharp instruments, rubbing
alcohol, flammable fluids or abrasive
cleaners. These can damage the
material.
Clean your freezer before using it:
1. Use a sponge, cloth or paper towel
and mild detergent in warm water to
clean outside and inside of freezer,
door liner and gasket.
2. Rinse and dry thoroughly.
CHOOSE FREEZER
LOCATION:
1. Locate the freezer in a safe place,
indoors, away from direct sunlight or
heat sources such as a range, dish-
washer, laundry equipment, heat
vents or radiator.
2. DO NOT store flammables such as
gasoline near the freezer.
3. Check the strength of the floor. It
should hold the weight of a fully
loaded freezer.
4. Allow at least 3" (7.5 cm) between top
of freezer and the ceiling.
5. Allow at least 1" (2.5 cm) between
back of freezer and the wall.
6. Allow 3" (7.5 cm) on each side of the
freezer for ease of installation.
7. If the freezer is to be against a wall,
you might want to leave extra space
on the hinge side so the door can be
opened wider.
8. This freezer is designed to operate at
a household temperature of 55° to
110° F (12.8° to 43° C).
Raise Lower
Important safety
information
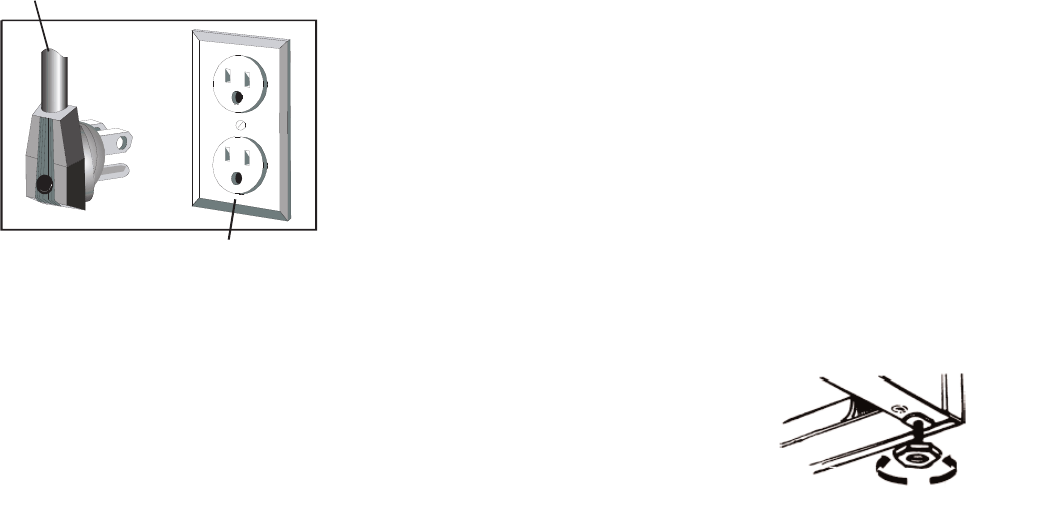
This appliance is equipped with a three-
prong grounding plug for your protection
against possible electrical shock hazards.
It must be plugged into a grounding
r
eceptacle. Where a standard two-prong-
wall receptacle is encountered, it is the
personal responsibility and obligation of
the customer to have it replaced with a
properly grounded three-prong wall
receptacle. Do not under any circum-
stances, cut or remove the third (ground)
prong from the power cord.Do not use an
adapter plug.
Power supply cord with
three-prong grounding plug
Grounding type
wall receptacle


