


B
A
K
E
R
S
P
R
I
D
E
B
A
K
E
R
S
P
R
I
D
E
B
A
K
E
R
S
P
R
I
D
E
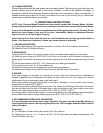
Figure #4
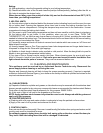
Figure #5 Figure #6
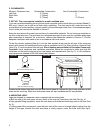
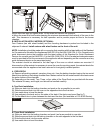
Mount other two legs and tighten bolts. Lift the oven and remove the supports.
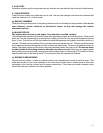
d) Move the oven to its final location keeping the minimum clearances from the back of the oven to the
wall. This clearance is necessary for safe operation and to provide proper air-flow to the burner
chamber.
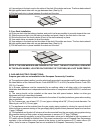
B. INSTALLATION WITH CASTERS (OPTIONAL):
Four Casters (two with wheel brakes) and the mounting hardware is packed and included in the
shipment if ordered. Install casters with wheel brakes on the front of the unit.
NOTE: Installation should be made with a connector that complies with the latest edition of the Standard
for Connectors for Movable Gas Appliances ANSI Z21.69 in the USA (CAN CGA -6.16 in Canada) and a
quick disconnect device that complies with the latest edition of the Standard for Quick Disconnect
Devices for use with gas fuel ANSI Z21.41 in the USA (CAN CGA1-6.9 in Canada) and adequate means
must be provided to limit the movement of the appliance without depending on the connector and any
quick disconnect device or its associated piping.
The restraint should be attached to the rear legs of the oven on which casters are mounted. If
disconnection of the restraint is necessary to move the oven for servicing needs, the restraint should be
reconnected after the appliance has been returned to its originally installed position.
4. PIZZA DECK:
(a) Remove all packing material, samples, shims, etc. from the baking chamber leaving the two metal
hearth liner sheets on the baking chamber floor. Make sure that the two metal hearth liner sheets cover
the entire bottom of the chamber.
(b) Depending on the model, Two, Three, or four slabs of the Pizza Deck are provided with the oven.
This material is heavy, and fragile, and should be handled carefully.
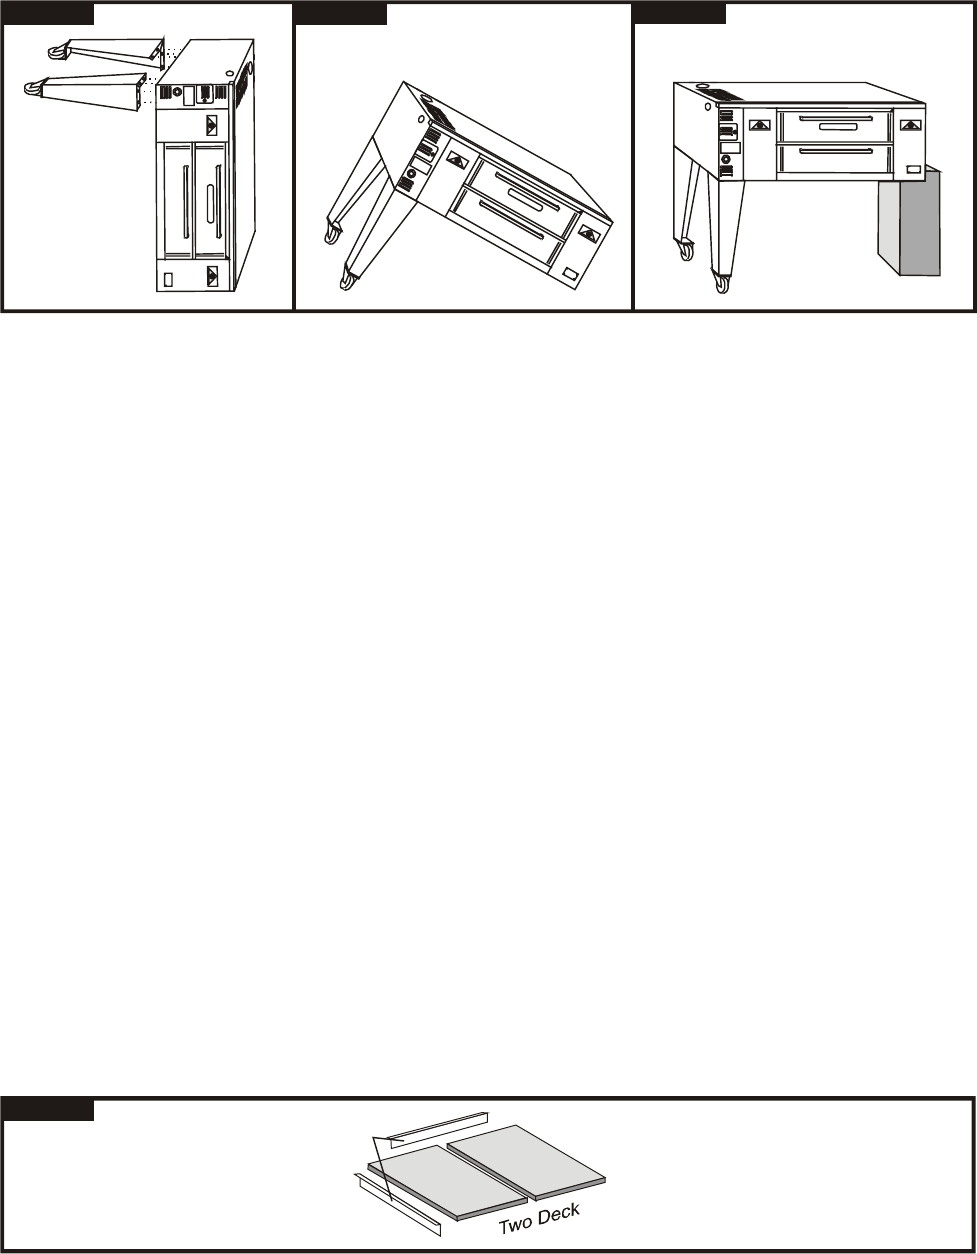
A. Two Deck Installation:
(a) Slide one deck into the baking chamber and push as far as possible to one side.
(b) Slide the second deck into the oven on the opposite side to the first deck.
(c) Use metal shims to level the decks.
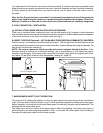
(d) Use wedges in the back and on the sides of the deck if the decks are loose (See fig.7).
(e) Put the hearth trim in place between the deck and the door (Not available on 125 & 805 Series).
Wedges
Figure #7
B. Three Deck Installation:
(a) Slide one deck into the baking chamber and push it as far as possible to one side.
(b) Slide the second deck into the baking chamber on the side opposite to the first deck.
(c) Slide the third deck into the center section.
(d) Use metal shims to level the decks.
5