


6
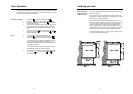
Installing your hob
Connecting the hob The connection to the electrical supply must be made before fitting
the hob in the work top.
For your own safety, we recommend that your hob is connected by
a competent electrician. The installation must comply with current
I.E.E. Wiring Regulations.
WARNING! THIS APPLIANCE MUST BE EARTHED!
The hob must be connected to the correct electrical supply as
stated on the voltage label, located on the underside of the
product, through a suitable double-pole control unit having a
minimum contact separation of 3mm in all poles. We recommend
that the circuit is rated to 32 Amps. We recommend P.V.C.
insulated twin and earth cable with a conductor size of 4mm ² to
connect the hob to the mains supply. The maximum size of cable
that can be used is 6mm ² twin and earth, the minimum is 4mm².
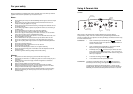
Access to the mains terminal block, for supply cable connection, is
gained by removing the small plate on the underside front left hand
corner of the hob. Pass the mains cable through the plastic
grommet provided and secure it by using the cable clamp. Connect
the mains cable as follows:
- Live to terminal L
- Neutral to terminal N
- Earth to terminal
Allow sufficient cable length for the hob to be removed for
maintenance, but ensure that the cable is looped well to the back
of the cabinet and is kept clear of the base of the hob.
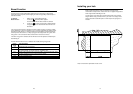
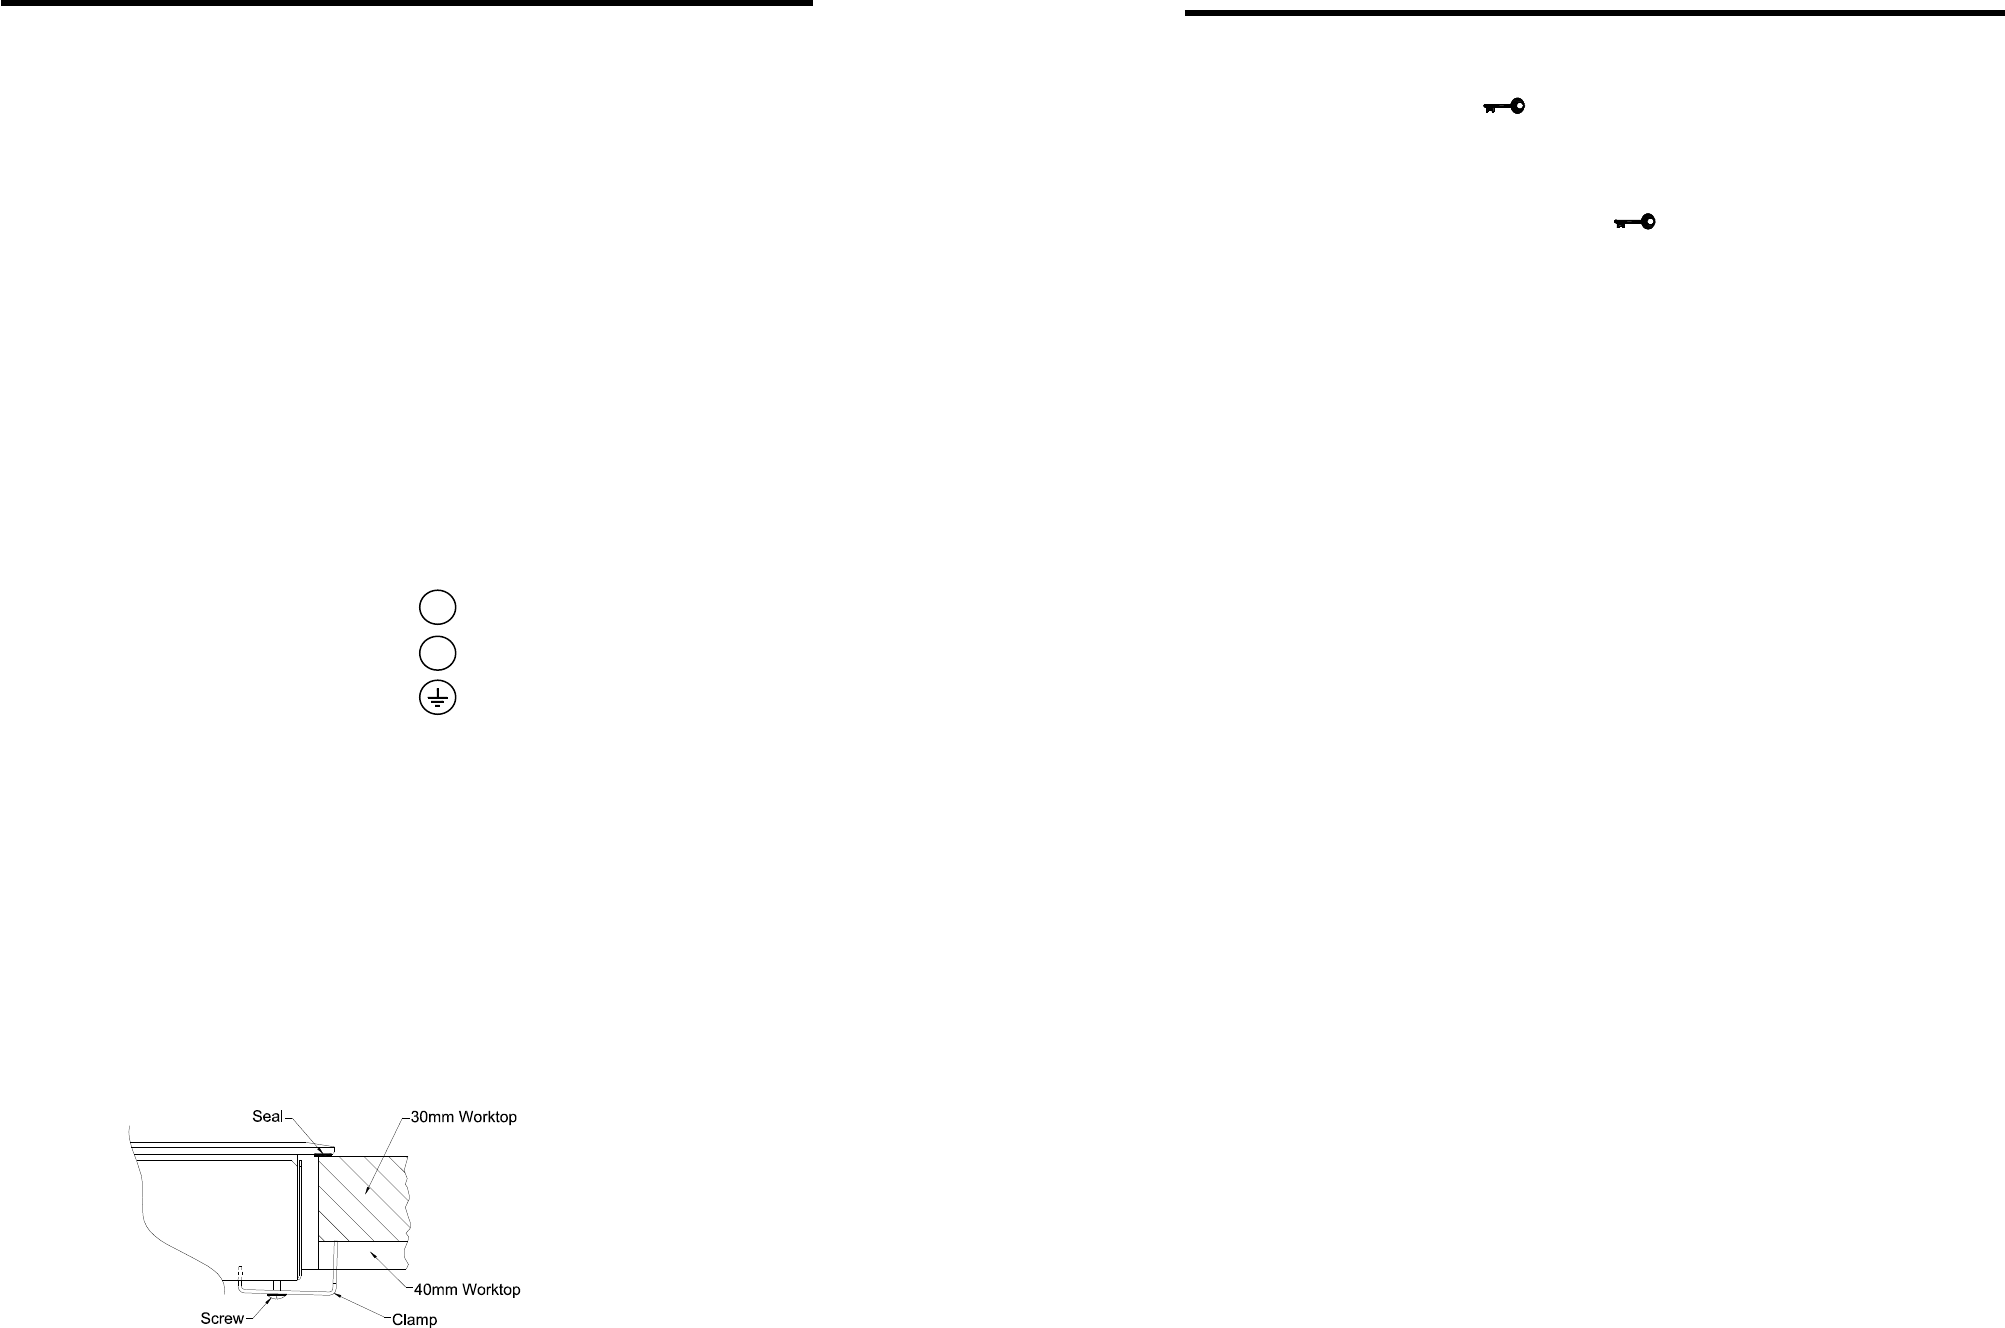
Fitting the hob Apply the self adhesive seal to the underside edges of the hob
glass. For best results, the seal should be adhered along each side
in turn, as close to the edge as possible, and trimmed at each
corner, taking care to ensure a neat join.
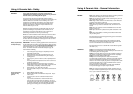
Place the hob in the aperture, checking that the hob glass is
covering the worktop along all four sides. Set the front edge of the
appliance parallel with the front of the worktop. Locate and attach
the securing clamps (x 2) to the front and rear underside of the
hob, using the screws provided. Tighten the screws so that the hob
is pulled down firmly against the worktop, thus ensuring a good
seal.
Note that the clamps are
reversible to suit either
30mm or 40mm thick
worktop.
15
Safety Features
Safety Lock It is possible to lock the element controls and timer against
accidental operation. At any time during the hobs use, if the pad
marked is touched for 2 seconds the controls will be locked
i.e. they cannot be adjusted. The lock function is shown by its neon
being illuminated. If the minute minder is in use at the time, it will
continue to countdown as normal.
Touch the pad marked for 2 seconds to remove lock
We recommend that the hob is locked whenever it is not in use,
especially if children are likely to be present.
Hob Hot Warning When each plate is switched off after use, H will flash on the
energy level indicator, to indicate that the plate is still hot. This will
continue until the hob glass has cooled sufficiently to be safe to
touch.
If the hob is switched off before the glass has cooled sufficiently,
the H will be displayed continuously. This indicates to the user that
the hob still retains heat following use. The H will go out when the
hob surface has cooled sufficiently to be safe to touch.
CAUTION! If the electricity supply to the hob is interrupted or
switched off following use, the H hob hot indicators will not
appear when the electricity supply is reinstated, despite the
elements still being dangerously hot to touch.