


18
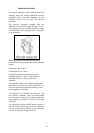
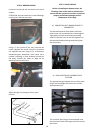
STEP4:BROILERBURNER
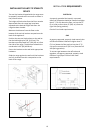
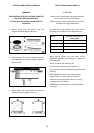
Loosenthescrewandpullouttheburnerfromits
support.
ATTENTION:payextraattentiontoavoiddamage
totheigniterandthermocouple.
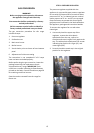
Using a 7 mm [name of the tool] unscrew the
nozzle. Replace the nozzl e using the conversion
set supplied with the range or by a Bertazzoni
authorized parts warehouse. Each nozzle has a
number indicating its flow diameter printed on
the body. Consult the table on page 20 for
matching
nozzlestoburners.
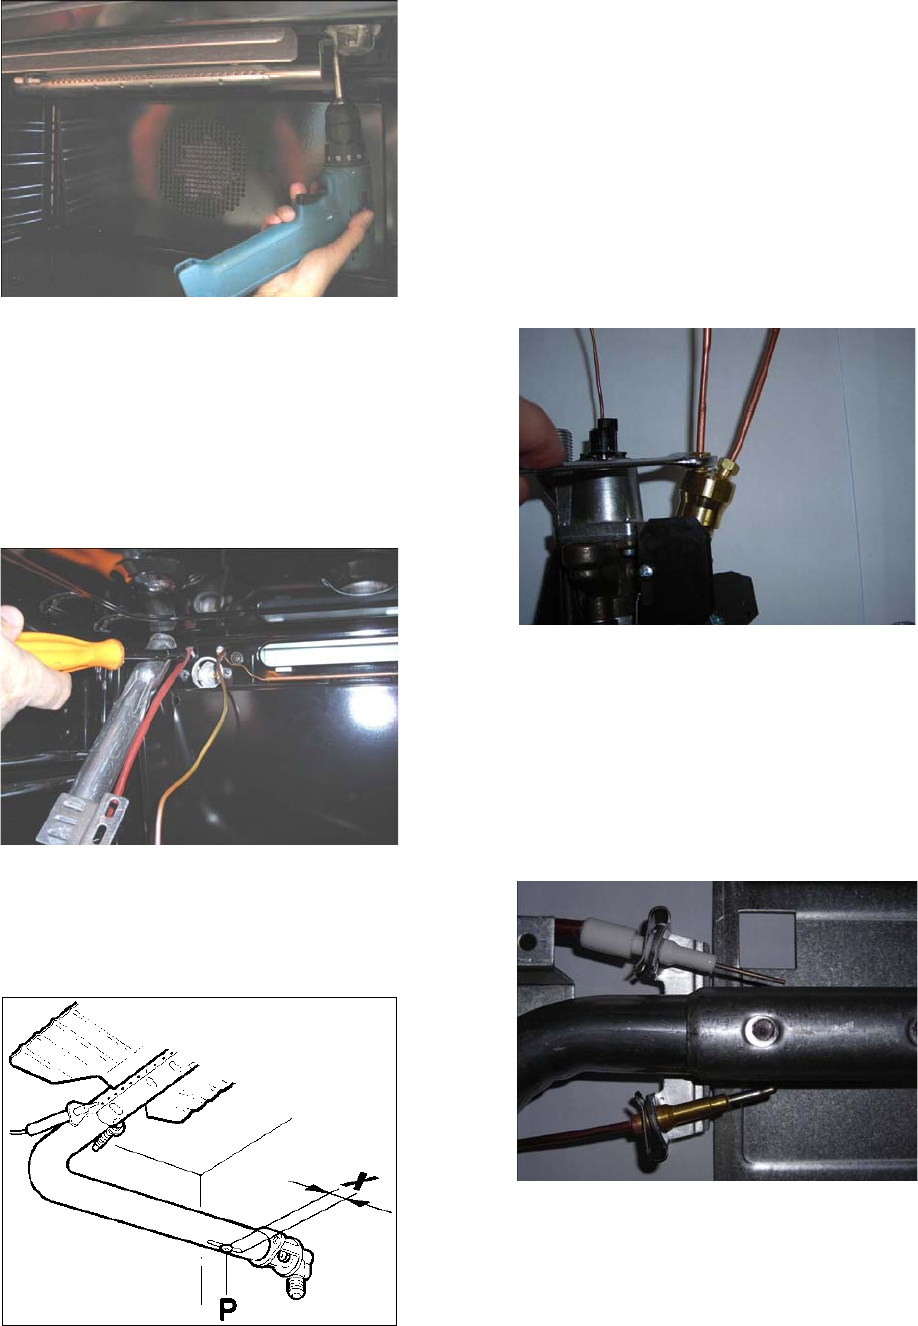
AdjustthegapXbysettingittofullyopen
position.
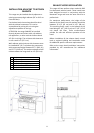
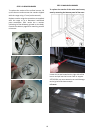
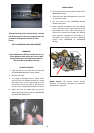
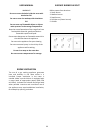
STEP5:VISUALCHECKS
Beforereinstallingthebottompanel,the
followingvisualcheckmustbeperformedto
ensurethattheconversionhasbeencarriedout
properlyandwithoutdamagetoother
componentsoftherange.
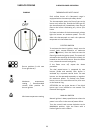
A) CONNECTIONOFTHERMOCOUPLESTO
THERMOSTAT
Thethermocouplesforbothbroilerandmain
ovenburner
areconnectedtothesamemagnet.
Tightgentlythetwoconnectionsalternating
actiononthetwonuts.Donotfullytightenone
thermocouplebeforehavingstartedtotighten
thesecondone.
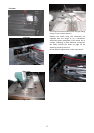
B) OVENIGNITERANDTHERMOCOUPLE
POSITION
Theappropriategapbetweenthetipofthespark
plugorthermocoupleandtheburnershallbe
approximately1/8’’.
Thetipofthesparkplugorthermocouplemust
fullyoverlapatleastthefirstgasemissionholeof
theburner.