


ENGLISH
Use & Care Manual
11
Switching off a cooking zone as described below
disables the Low Power mode. When the zone will be
selected again it will start to work in the standard power
mode.
heating element.
You may turn off all active elements at the same time by
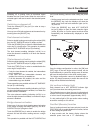
outer ring of a double zone. This operation is possible
The dual element enabling indication (ref.5a) is on
when the element is enabled, is off when the element
is disabled.
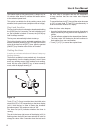
outer rings of a triple zone:
ring is enabled too.
enabled, the outer ring is enabled too.
intermediate rings are disabled.
These operations are possible until the HOT SURFACE
The intermediate element enabling indication (ref.5a) is
on when the double element is enabled, is off when the
double element is disabled.
The outer element enabling indication (ref.5b) is on
when the triple element is enabled, is off when the triple
element is disabled.
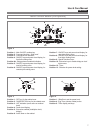
Select one of the two single heating areas belonging
element and set the whole cooking area as a single
unit.
This operation is possible until the HOT SURFACE led
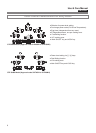
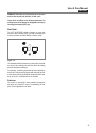
level:
same power level and both extension lights (ref.1a,
1b) turns on.
(ref.6a, 6b) turns on. Set the power level that will be
immediately and simultaneously displayed on both
displays.
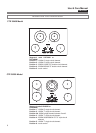
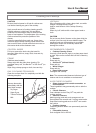
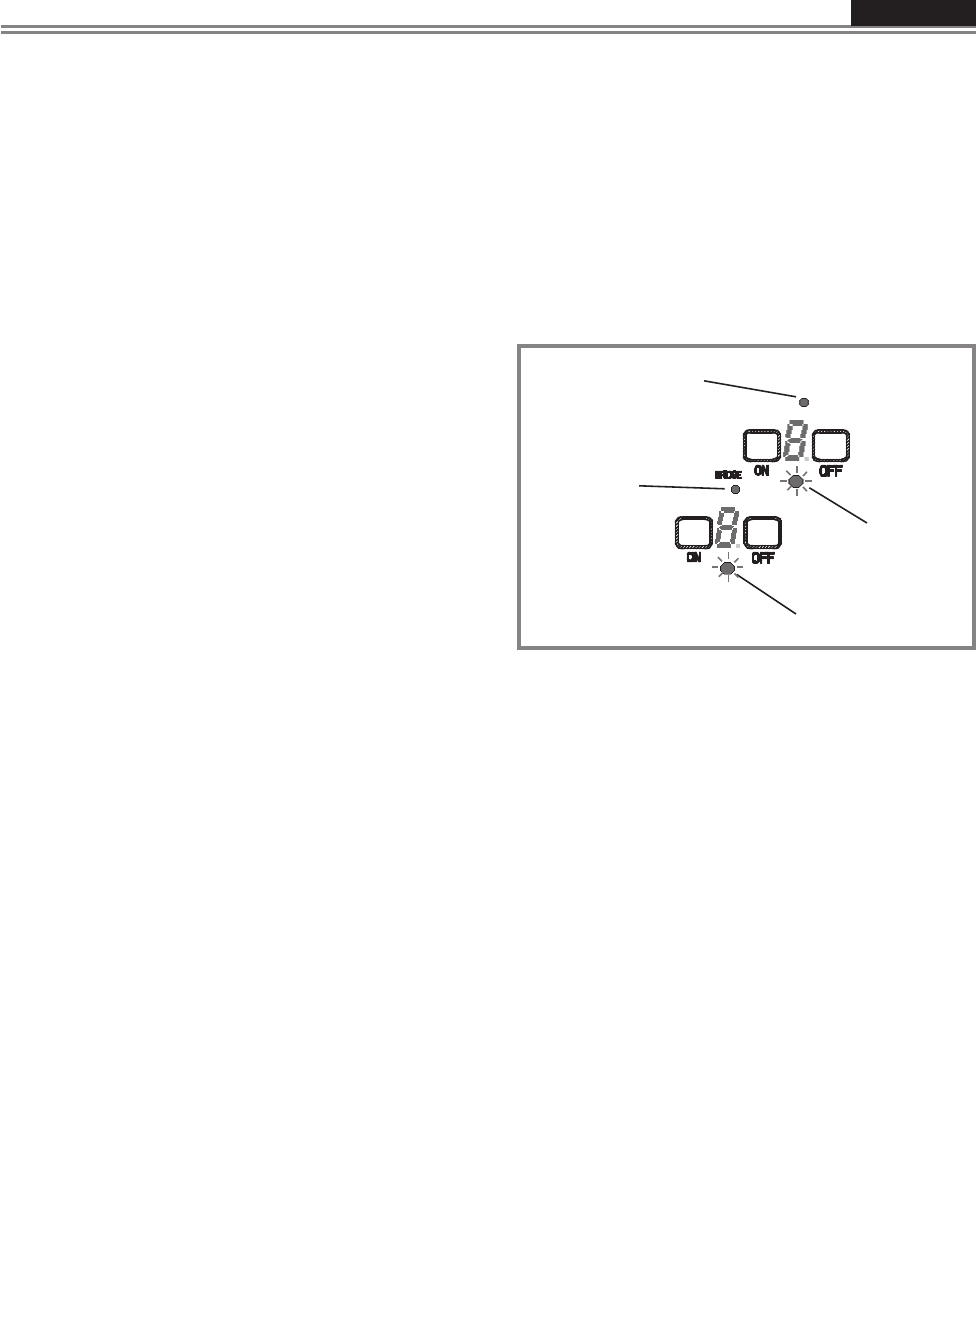
6a
6b
3
3
Figure. 9
used indifferently to control the bridge area. All actions
will have the same effect on the whole cooking area.
active. It’s always necessary to switch the area off: the
bridge will be disabled automatically.
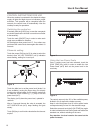
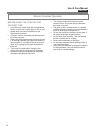
Each element has a HOT SURFACE indicator light
(ref.3) to show when the cooking area is hot.
This indication turns on when the zone is activated and
remains ON until the cooking area has cooled down to
If a hot surface light is ON use caution when working
around the cooktop as it is still hot.
Once a heating element has been selected, touch the
or after setting the power level.
A beep sounds and the heater display shows the
selected power level and a “P” alternatively.