23
MAINTENANCE INSTRUCTIONS
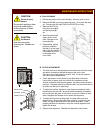
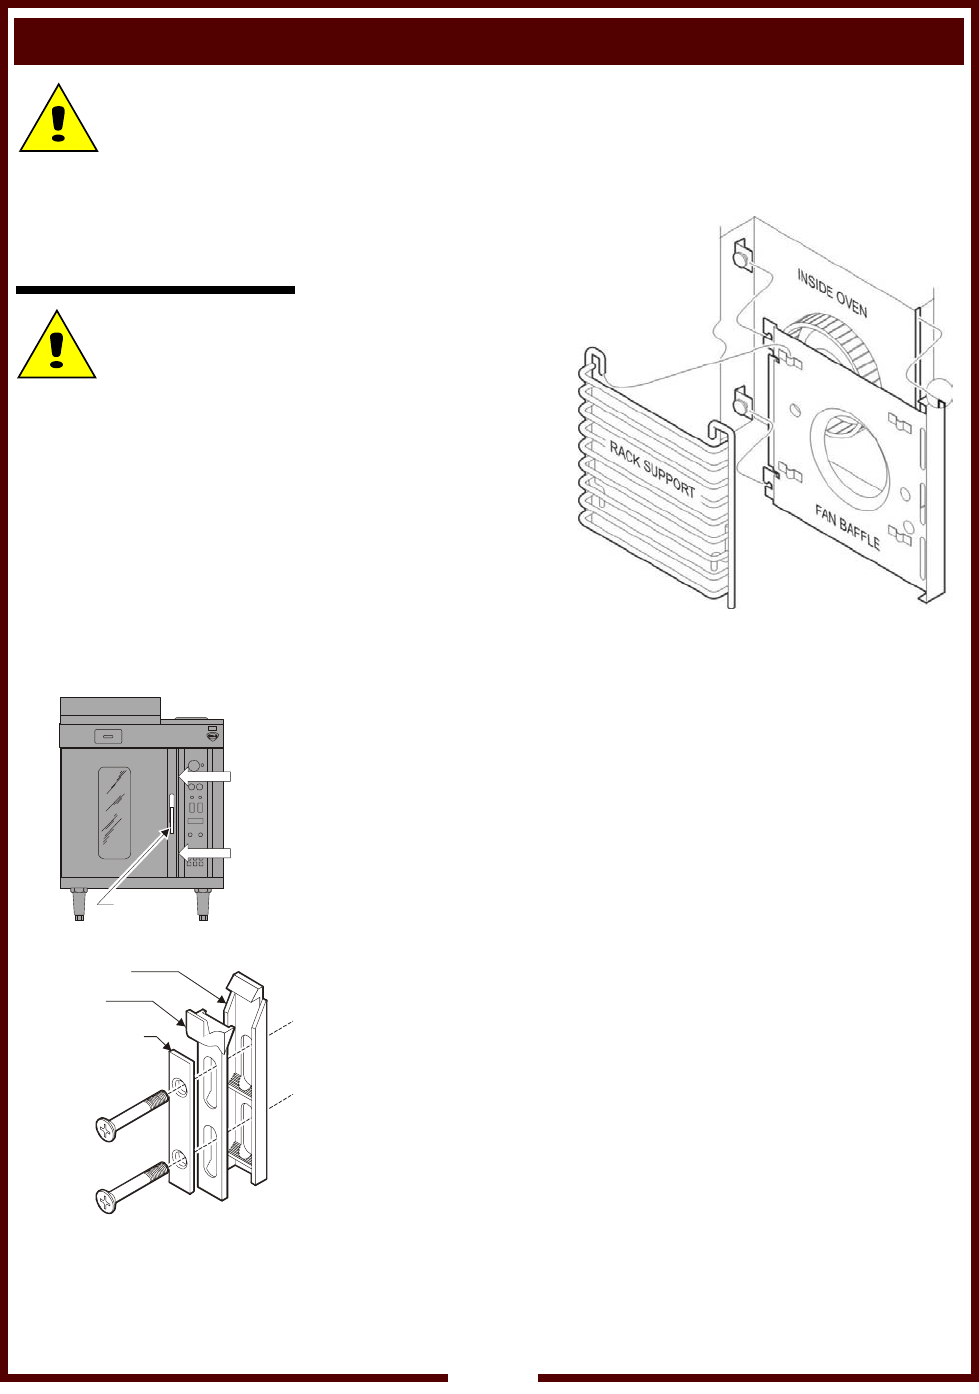
A. FAN CLEANING
1. Disconnect power at the circuit breaker. Allow the oven to cool.
2. Remove RACKS by pulling toward the front. Lift to clear the stop
pin. Remove left and right RACK SUPPORTS by lifting.
3. Remove BAFFLE by
lifting the rear slightly
and pulling straight
out.
4. Brush fan wheel and
wipe it with a moist
cloth. Sponge out all
loose particles.
5. Reassemble, paying
particular attention
that the lip on the right
side of the fan baffle is
fully seated in the slot
in the edge of the
oven cavity.
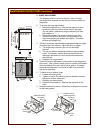
B. LATCH ADJUSTMENT
1. The door latch must be adjusted such that the door will latch easily,
yet remain closed and latched throughout the cook cycle.
If the door is too tight when the oven is cold, it may pop open as
the oven reaches temperature.
2. Check adjustment in two places on the latch-side of the door.
Use a piece of paper (such as a dollar bill) between the inner
surface of the door and the door gasket, just above and just below
the latch. The paper should be definitely held, but should be able to
be pulled out with just a slight drag.
3. To adjust the vertical alignment, hold the striker assembly while
loosening the two screws. Move the striker assembly as needed,
but do not allow the parts of the striker to move in relation to each
other. Retighten the screws and re-check the alignment.
4. To adjust the fore-and-aft alignment, the back plate acts as a
tapered shim. Moving the back plate vertically, in relation to the
striker, will adjust the thickness of the striker assembly. When
properly adjusted for thickness, verify the vertical alignment and
tighten the screws.
5. Recheck the alignment. Recheck the tightness of the screw.
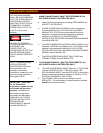
CAUTION:
Personal Injury
Hazard
Disconnect appliance from
electrical power before
performing any of these
procedures
CAUTION:
Cut Hazard
Use due care when
cleaning fan. Blades are
sharp.
C
H
E
C
K
A
L
I
G
N
M
E
N
T
LATCH
BACK PLATE
STRIKER
FRONT PLATE


