


30 31
COFFEE MAKING TIPS & PREPARATION
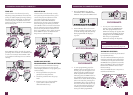
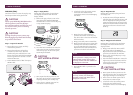
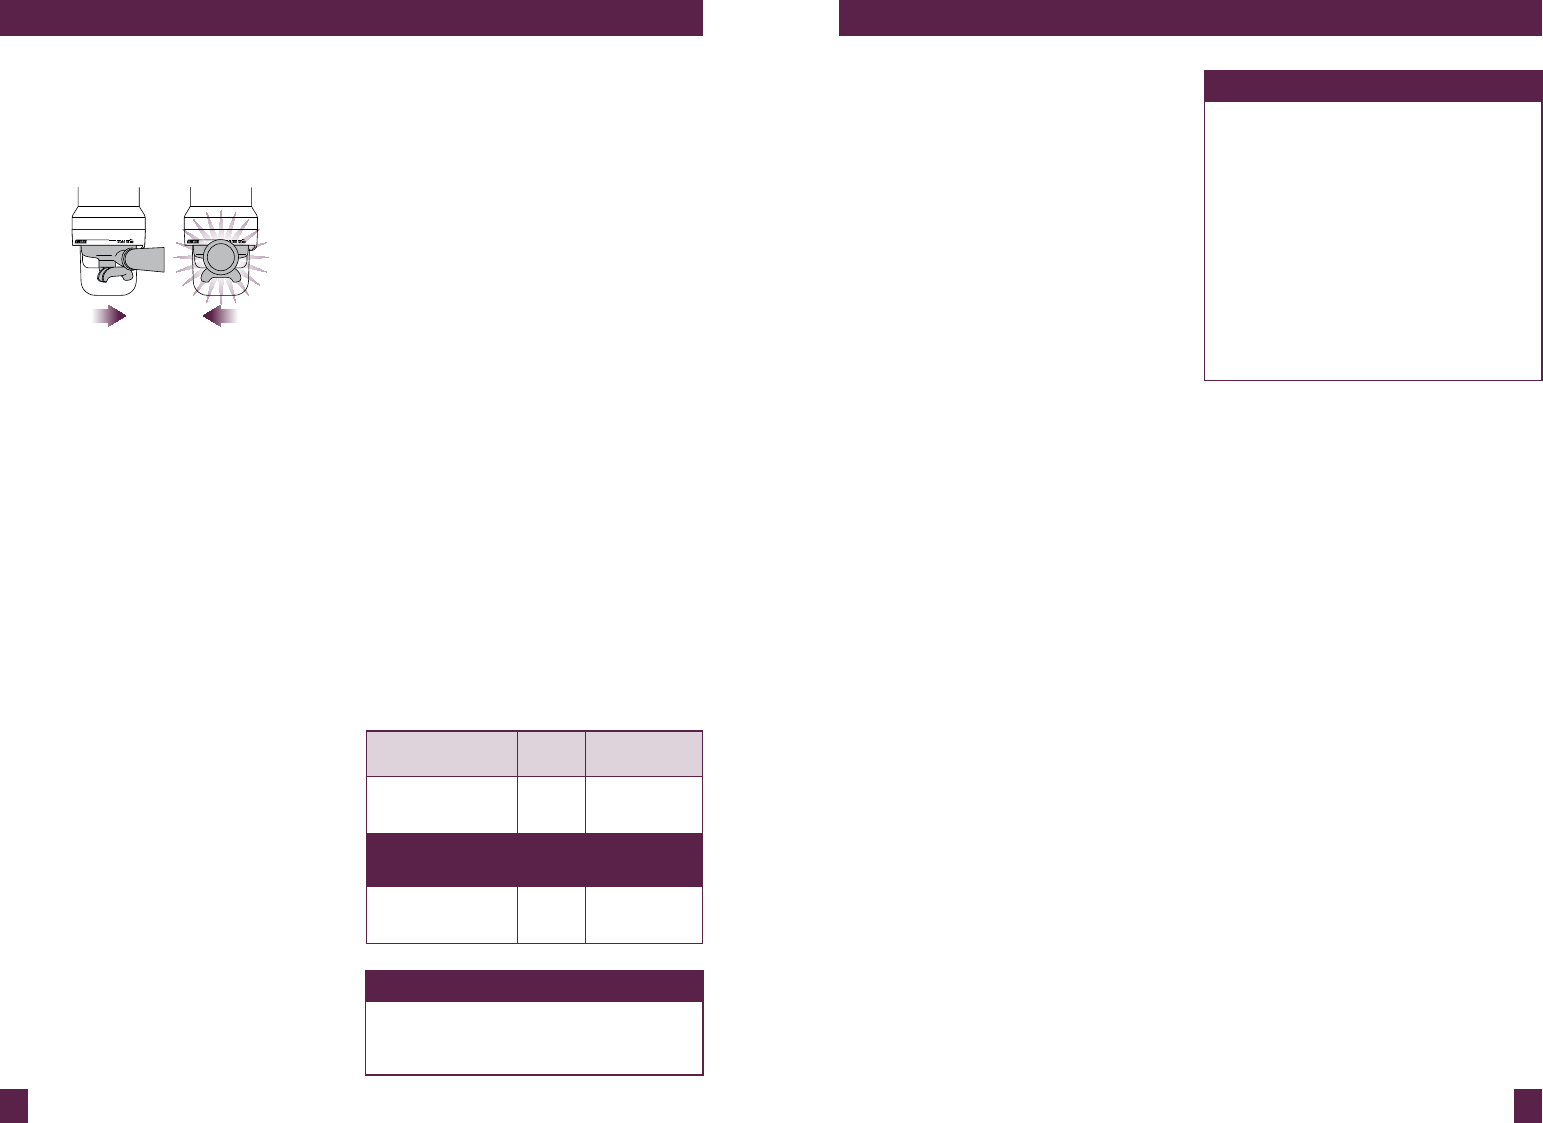
• To start the auto grind, dose & tamp
function, rotate the portafilter to
the right then gently guide back to
the center position. Grinding will
commence.
• When the auto grind, dose & tamp
function is complete, rotate the
portafilter handle to the INSERT
position and lower to remove.
• Wipe any excess coffee from the rim of
the filter basket to ensure a proper seal
in the group head is achieved.
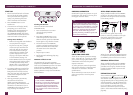
PURGING THE GROUP HEAD
Before placing the portafilter into the
group head, run a short flow of water
through the group head by pressing the
1 CUP button. Allow water to flow for
5 seconds, then press the 1 CUP button
again to stop the flow of water. This will
purge any ground coffee residue from
the group head and stabilize the water
temperature prior to extraction.
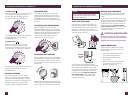
INSERTING THE PORTAFILTER
Align portafilter handle with the INSERT
position on the group head. Lift to insert
portafilter into the group head and rotate
towards the LOCK TIGHT position until
resistance is felt.
EXTRACTING ESPRESSO
• Place pre-warmed cup(s) beneath the
portafilter spouts and press the 1 CUP
or 2 CUP button.
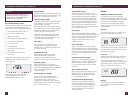
• As a guide, the espresso will start
to flow after 9–14 seconds (this includes
pre-infusion time) and should be the
consistency of warm dripping honey.
• If the espresso starts to flow before
9 seconds, the grind is too coarse. This
is an UNDER-EXTRACTED shot. Adjust
the grind size slightly finer.
• If the espresso starts to drip or flow after
14 seconds, then the grind is too fine.
This is an OVER-EXTRACTED shot.
Adjust the grind size slightly coarser.
A great espresso is about achieving the
perfect balance between sweetness, acidity
and bitterness.
The flavor of your coffee will depend on
many factors, such as the type of coffee
beans, degree of roast, freshness, coarseness
or fineness of the grind.
Experiment by adjusting these factors
just one at a time to achieve the taste
of your preference.
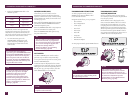
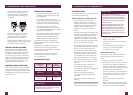
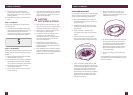
EXTRACTION GUIDE
EXTRACTION
TYPES
GRIND SHOT
DURATION
OVER-EXTRACTED
(bitter • astringent)
Too
Fine
Over
45secs
BALANCED
Optimum
Between
15-40secs
UNDER-EXTRACTED
(underdeveloped • sour)
Too
Coarse
Less than
15secs
HINTS & TIPS
If machine is run continuously for
30 minutes, allow machine to cool for
3 minutes before each use.
COFFEE MAKING TIPS & PREPARATION
TEXTURING MILK
The machine allows you to texture milk both
automatically and manually.
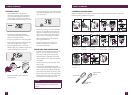
Automatic Hands-Free Milk Texturing:
• Set Milk Temperature: Press the
SELECT dial to toggle to the milk
temperature function, as indicated by
the flashing milk temperature. Rotate
SELECT dial to the desired milk
temperature, then press the dial to
select.
• Set Milk Texture: Press the SELECT dial
to toggle to the milk texture function, as
indicated by the flashing milk texture
triangle. Rotate SELECT dial towards
'CAPP' for more texture or 'LATTE' for
less texture, then press the dial to select.
• Always start with fresh cold milk.
• Fill milk jug to below the spout position.
At a minimum, there should be enough
milk to cover the steam wand seal.
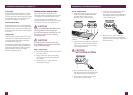
• To remove any condensed water from
the system, ensure the steam wand is
in the down position over the drip tray
then momentarily lift the steam lever.
• Lift steam wand & insert into milk jug.
Lower steam wand, ensuring it is fully
down. The milk jug should rest on the
drip tray.
• Press down & release steam lever to
start automatic milk texturing.
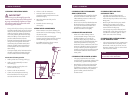
• Steam LCD will display the temperature
of the milk as it heats.
• Milk texturing will automatically
stop when the selected temperature
is reached.
• Lift & remove steam wand from the
milk jug.
• Wipe the wand & tip with a damp cloth.
Lower steam wand to the down position
and the wand will automatically purge.
HINTS & TIPS
For optimum milk texturing
performance it is critical that the holes
around the steam tip are clear. Even
partially blocked holes may affect the
ability of the steam wand to produce
sufficient foam.
Always wipe the wand and tip with a
damp cloth BEFORE returning the
wand to the down position. Wiping
the wand will remove the majority of
milk and allow the automatic purge
feature to more effectively remove any
residual milk.
• Tap the jug on the counter-top to
collapse any bubbles.
• Swirl the jug to polish and re-integrate
the texture.
• Pour milk directly into the espresso.
• The key is to work quickly, before
the milk begins to separate.
Manual Milk Texturing
Auto milk texturing and auto shut-off are
disabled during manual milk texturing
mode.
• Always start with fresh cold milk.
• Fill milk jug to below the spout position.
• To remove any condensed water from
the system, ensure the steam wand is in
the down position over the drip tray then
momentarily lift the steam lever.
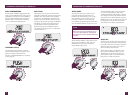
• Insert the steam tip ¼-¾" (1–2cm) below
the surface of the milk close to the right
hand side of the jug at the 3 o’clock
position.
• Lift the steam lever to start the flow
of steam.
• Keep the tip just under the surface of the
milk until the milk is spinning clockwise,
producing a vortex (whirlpool effect).