


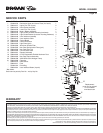
MODEL EI5936SS
Page 6
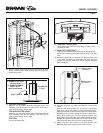
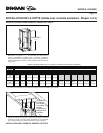
8. Attach foam seals to plenum and frame, around the plenum
openings.
FRONT
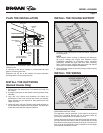
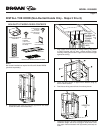
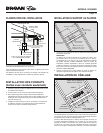
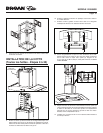
9. Remove tape holding electronics mounting bracket to hood.
Remove (3) screws on top of hood chassis and set screws
aside. Rotate electronics mounting bracket as shown and
secure to hood with same (3) screws.
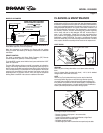
10. Remove the protective plastic film covering the decorative
flue and the hood at this time.
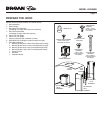
11. Remove the grease filter by pulling down the metal latch tab
and tilting filter downward.
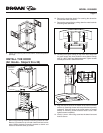
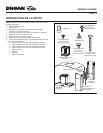
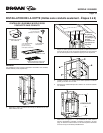
12. Carefully place glass canopy on top of the hood. Align nuts
on glass canopy with holes inside the hood. Attach canopy
with (4) .188” x .250” long flat head screws. Tighten screws
securely but DO NOT OVERTIGHTEN.
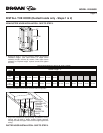
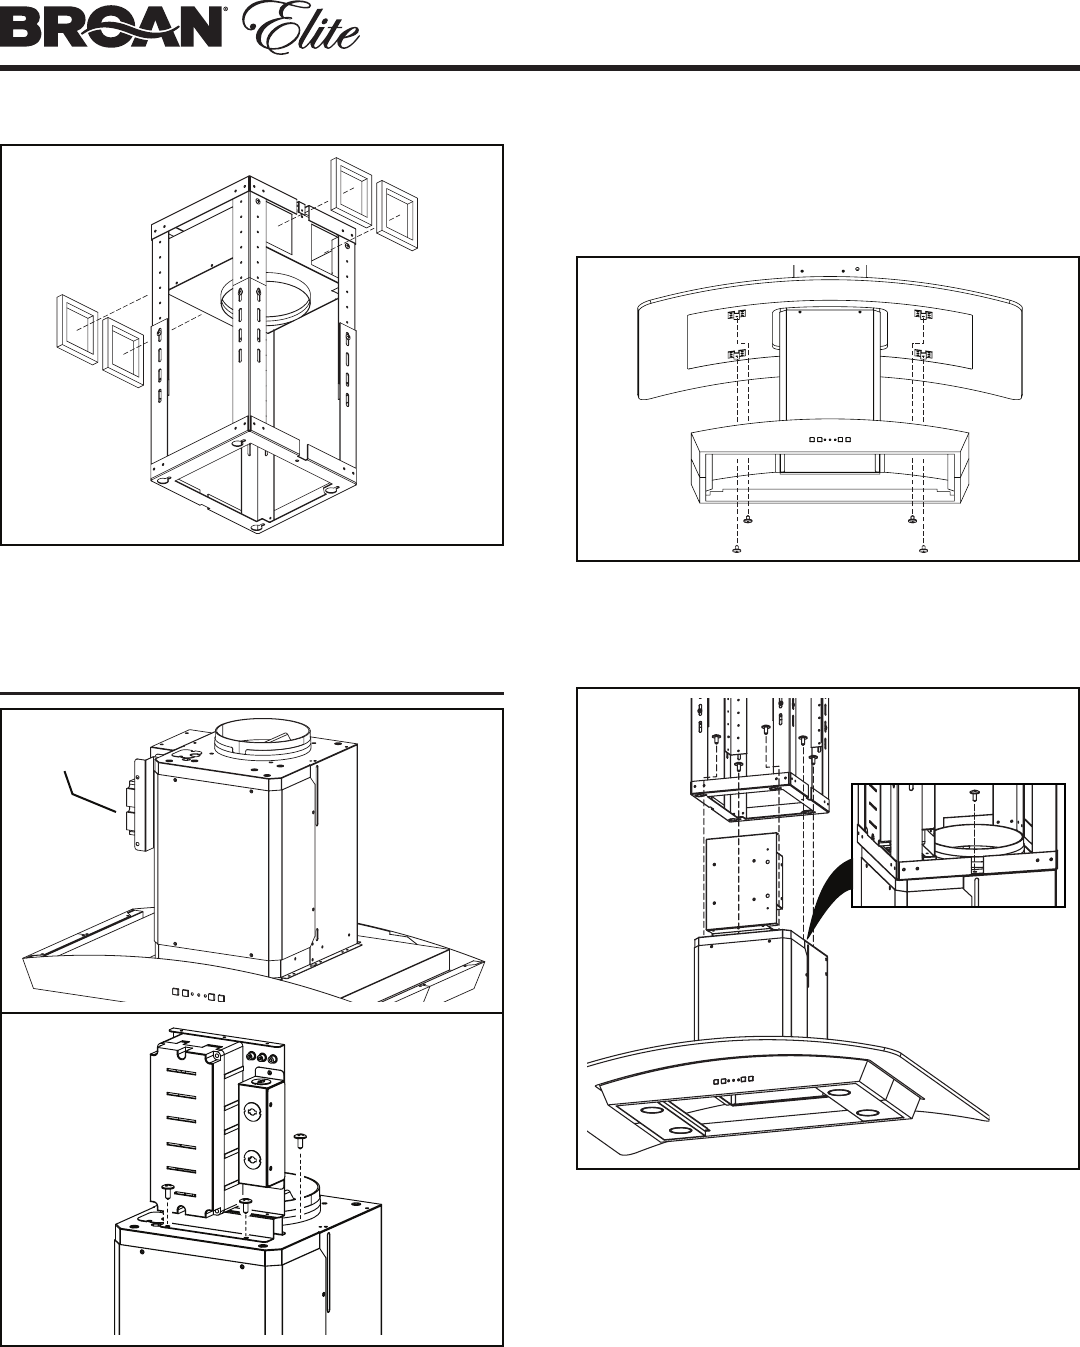
13. Align the keyhole slots on the bottom of the frame assembly
with the (4) mounting screws on the top of the hood (partially
tightened). Slide the hood so the screw heads are seated
entirely on mounting screws and that hood is level. Then
tighten screws completely.
14. Install (1) 4mm x 12mm long screw into the lower frame and
hood to secure.
INSTALL THE HOOD
(All Hoods - Steps 9 thru 25)
ELECTRONICS
MOUNTING
BRACKET