


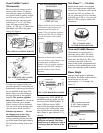


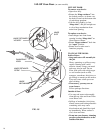
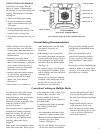
15
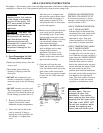
FIG. 16 BROILER DOOR
ADJUSTMENT/REMOVAL
Broiler Door
To adjust or remove broiler door, see
Fig. 16.
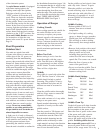
Gas Oven Bottom Removal
First remove racks from oven. The
oven bottom lifts from the rear. Grasp
each side of oven bottom and lift
upward from the rear until bottom is
clear – lift it to remove from the
front. See Figure 17. Electric bottoms
do not remove.
Fig. 17
Burner Drip Pans
Below each standard top burner is an
individual burner drip pan. Remove
the shipping screws holding the
burners in place. (One screw for each
burner at the burner support).
Remove the burner to get to the burner
drip pan. Be sure the burner is cool.
These individual porcelain drip pans
under each burner are dishwasher-safe
for easy cleaning.
within the oven to escape without the
forming of visible moisture on the
range. The amount of moisture will
depend upon the humidity of the air
and water content of the food being
cooked. Fogging and even dripping
water will usually occur in
geographic locations of high
humidity.
Oven Door Hinges
The oven door hinges are properly set
before leaving the factory. The
springs are adjusted to allow the door
to remain open when pulled 90
degrees forward and yet pull the door
tight against the oven front frame seal
when closed. The hinge and spring
assemblies are located in the door.
See Figure 18.
Lift-Off Doors
All models are equipped with lift-off
doors, see Fig. 18 for instructions.
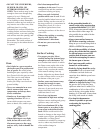
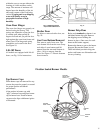
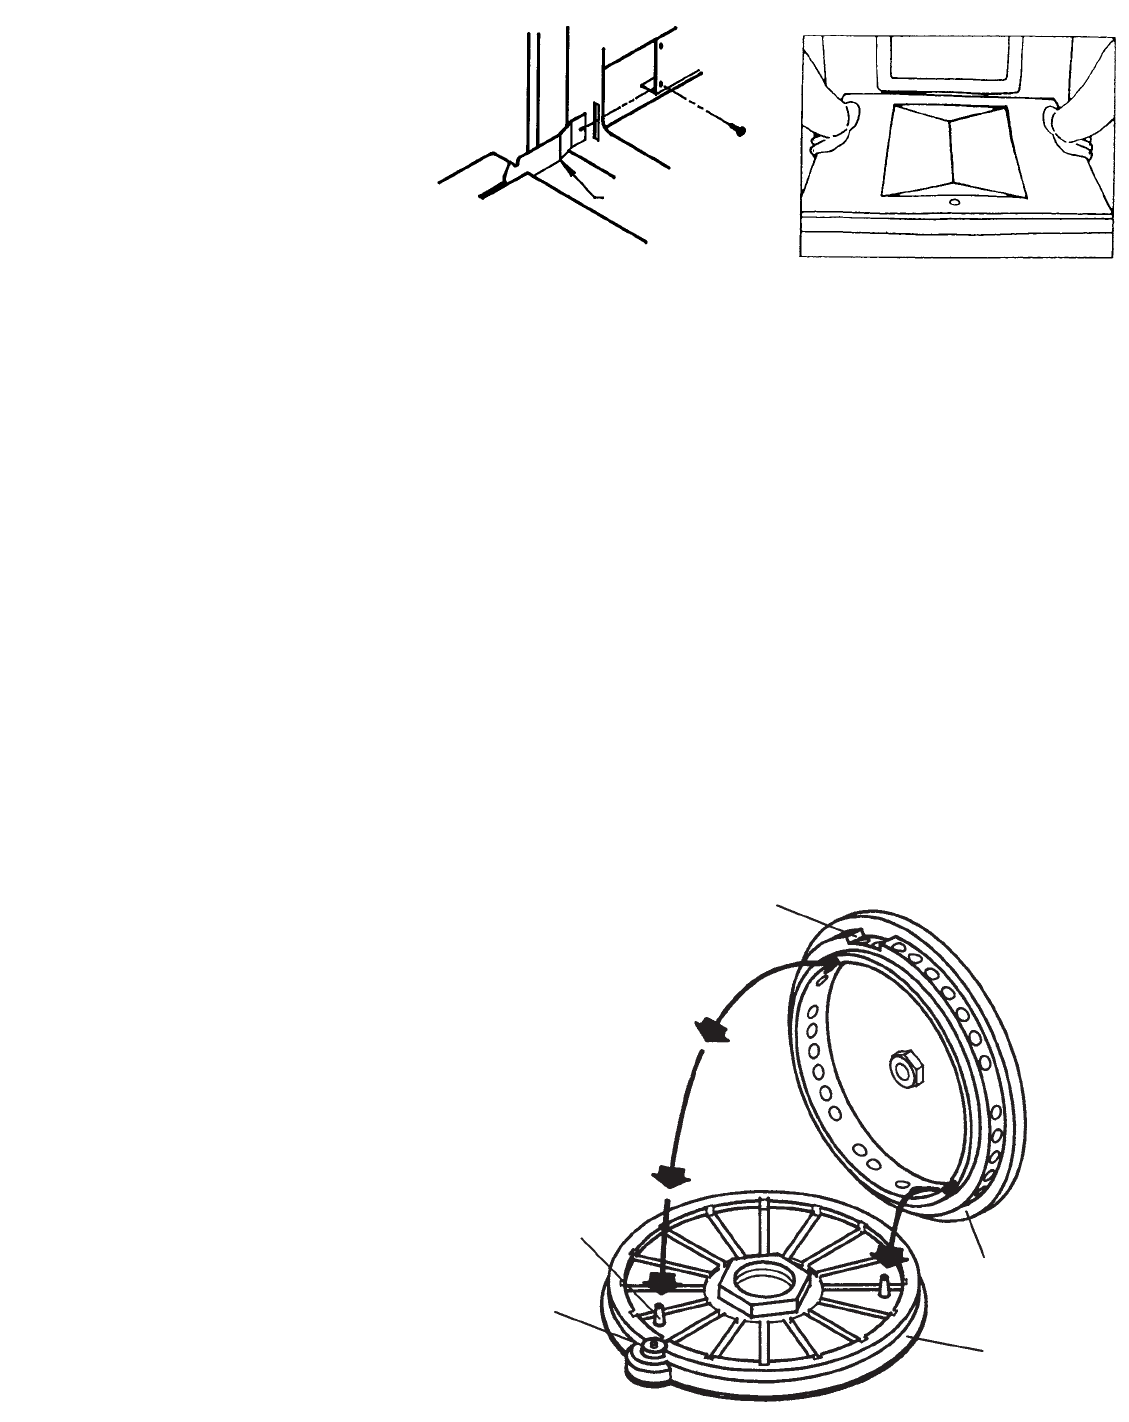
FiveStar Sealed Burner Models
Top Burner Caps
When burner caps are removed for any
reason, they must be properly re-seated
for proper ignition and burner
performance.
Align notches in burner cap with
“pegs” in burner base and place burner
cap on burner base. Notch in burner
cap must also align with burner ignitor
as illustrated.
IGNITION
NOTCH AND
PORTS
BURNER
BASE “PEGS”
BURNER
IGNITOR
BURNER
BASE
BURNER
CAP
BROILER DOOR
BROILER DOOR
HINGE