10
If voltage is present as described, proceed to
#5.
If voltage is not present as described, refer to
the Wiring Diagrams and check the grinder wir-
ing harness.
5. Check for continuity across the terminals on the
bag sensor switch.
If continuity is present as described, reconnect the
wires, the switch is operating properly.
If continuity is not present as described, replace the
switch.
Removal and Replacement:
1. Remove the wires from the switch.
2. Remove the two #8-32 keps nuts securing the
bag sensor assembly to the grinder housing.
3. Remove the two #2-56 screws, nuts and exter-
nal tooth lockwashers securing the switch to the
bag sensor assembly.
4. Mount the new switch to the bag sensor assem-
bly using two #2-56 screws, nuts and external
tooth lockwashers. Adjust the assembly by lo-
cating the corner of the switch housing to the
top edge of the black metal mounting bracket.
5. Reattach the sensor assembly to the grinder
housing and secure with two #8-32 keps nuts.
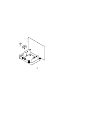
6. Refer to Fig. 3 when reconnecting the wires.
SERVICE (cont,)
BAG SENSOR SWITCH (cont.)
WHI/ORA to
Terminal “A”
on Relay
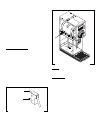
FIG. 3 BAG SENSOR SWITCH TERMINALS
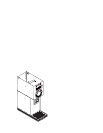
AC MOTOR AND GRIND CHAMBER
CLEANING LEVERCLEANING LEVER
GROUND
COFFEE
1. Select the desired grind.
2. Lift the lid and pour coffee beans into the hopper.
3. Slip bag under the chute. Rest the bag on the tray.
4. Press the start switch.
5. Flip the cleaning lever a few times as dispensing slows.
6. Remove the bag. The grinder will stop automatically.
STOP
TUR
KISH
S
P
E
C
I
A
L
R
E
G
P
E
R
C
E
L
E
C
P
E
R
C
A
U
T
O
M
A
T
I
C
D
R
I
P
F
I
N
E
E
S
P
R
E
S
S
O
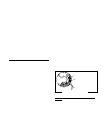
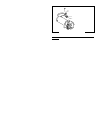
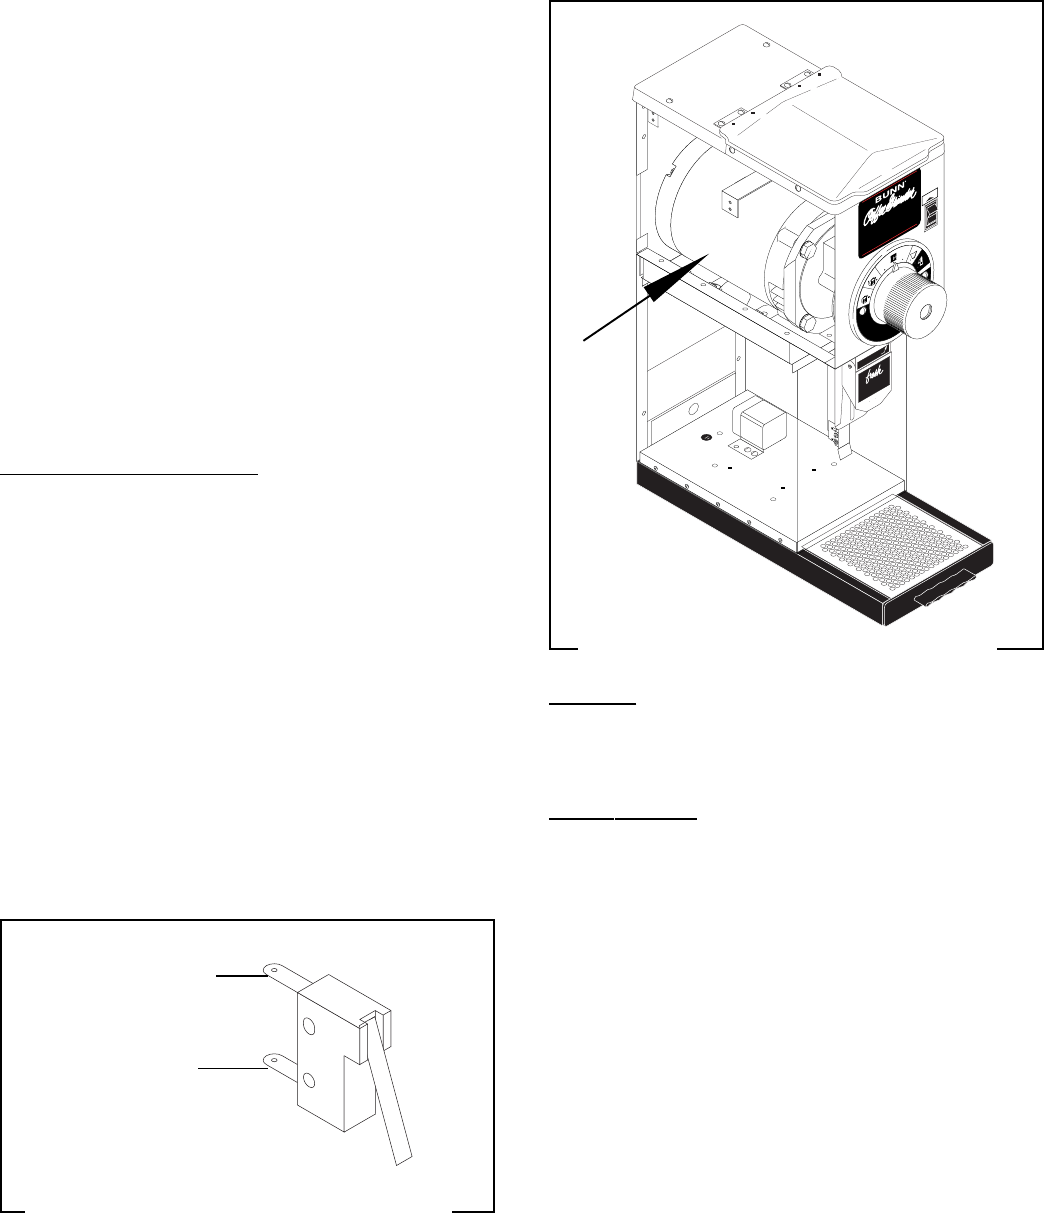
FIG. 4 AC MOTOR AND GRIND CHAMBER
P1704
Location:
The motor is located inside the upper part of the
grinder housing.
Test Procedure:
1. Remove the plug located on the right side of the
housing. Press the red “Reset” button visible
through the opening. Listen carefully for a “click”.
This resets the motor protection circuit and may
indicate that something other than coffee was
inserted into the hopper for grinding.
If the grinder remains unable to start, proceed to #2.
If the grinder stops operating shortly after starting,
refer to removal and replacement instructions and in-
spect for foreign materials.
2. Disconnect the grinder from the power source
and place a coffee bag behind the dispense chute.
3. Remove the electrical access panel at the rear of
the motor.
4. Check the voltage across the white, red or red/
WHI/VIO from
Off/On/Start
Switch
P1705


