5
INITIAL SET-UP
CAUTION - The dispenser must be disconnected from the power source throughout the initial set-up, except
when specified in the instructions.
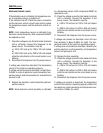
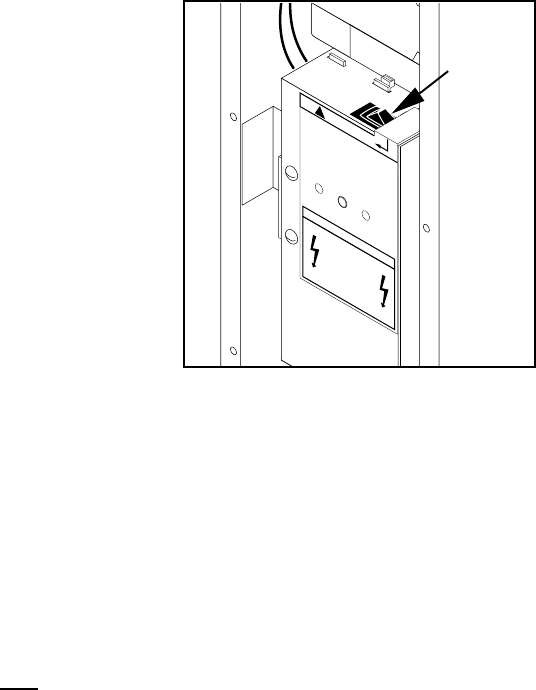
1. Remove the upper rear panel and place the tank heater switch in
the “OFF” position and replace the panel.
2. Connect the dispenser to the power source and turn-on the water
supply.
3. Water will automatically flow into the tank to the proper level and
shut-off. This will take approximately 10 minutes.
4. Disconnect the dispenser from the power source, remove the up-
per rear panel and place the tank heater switch in the “ON” posi-
tion, and replace the panel.
5. Connect the dispenser to the power source and wait approximately
twenty minutes for the water in the tank to heat.
6. On models with ready indicator, the indicator will glow when the
proper water temperature for use is achieved.
NOTE - Discontinue dispensing if the indicator LED turns off. Dispense only when the indicator LED glows.
DRAINING THE DISPENSER
CAUTION - The dispenser must be disconnected from the power source throughout these steps.
1. Disconnect the dispenser from the power source.
2. Shut-off and disconnect the incoming water supply
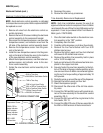
3. Remove the 4-40 screws at the sides of the top panel.
4. Gently remove one of the grommets from the tank lid.
5. Insert a tube to the bottom of the tank and syphon ALL of the water out. Bunn-O-Matic has a syphon assem-
bly available (#12440.0000) for this purpose.
NOTE - The dispenser must be full using the INITIAL SET-UP steps before reconnecting to the power source.
CLEANING
The use of a damp cloth rinsed in any mild, non-abrasive, liquid detergent is recommended for cleaning all
surfaces on Bunn-O-Matic equipment.
WALL MOUNTED INSTALLATION
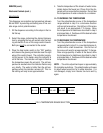
If the dispenser is wall mounted, the bottom of the dispenser should be at the same height as a counter or
table top. Use B.O.M. part #12542.0000 for side mounted Wall Bracket Kit or # 13125.0001 for front mounted
Wall Bracket Kit .
SUPPORT FOR LARGE RECEPTACLES
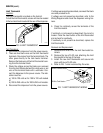
CAUTION: If the dispenser is to be used with larger receptacles such as pitchers or pots, those receptacles must
be adequately supported during dispensing of hot water to avoid spillage of very hot water. This support may be
provided by a table or counter top, or use B.O.M. part #12599.0000 Shelf Kit
O
N
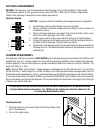
CAUTION
!
Failure To Comply Voids Warranty!
H
ot W
ater Systems –
W
ater Tank W
ill Fill
Automatically When Unit Is C
onnected To Power!
Coffee Brew
ers –
Fill The W
ater Tank In
Accordance W
ith The Installation Instructions!
DO NOT
Turn On The Tank Heater Switch
Until Water Comes From Opened Faucet!
HAZARDOUS
VOLTAGE
DISCONNECT FROM
POWER SOURCE
BEFORE REMOVING!
WARNING
O
N
OFF
ON
STOP
READ NOTICE
P1771
10420 072500


