Page 14
SERVICE (cont.)
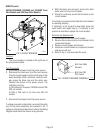
CIRCUIT BREAKER (120/208V and 120/240V Three
Wire Models and 440V Four Wire Models)
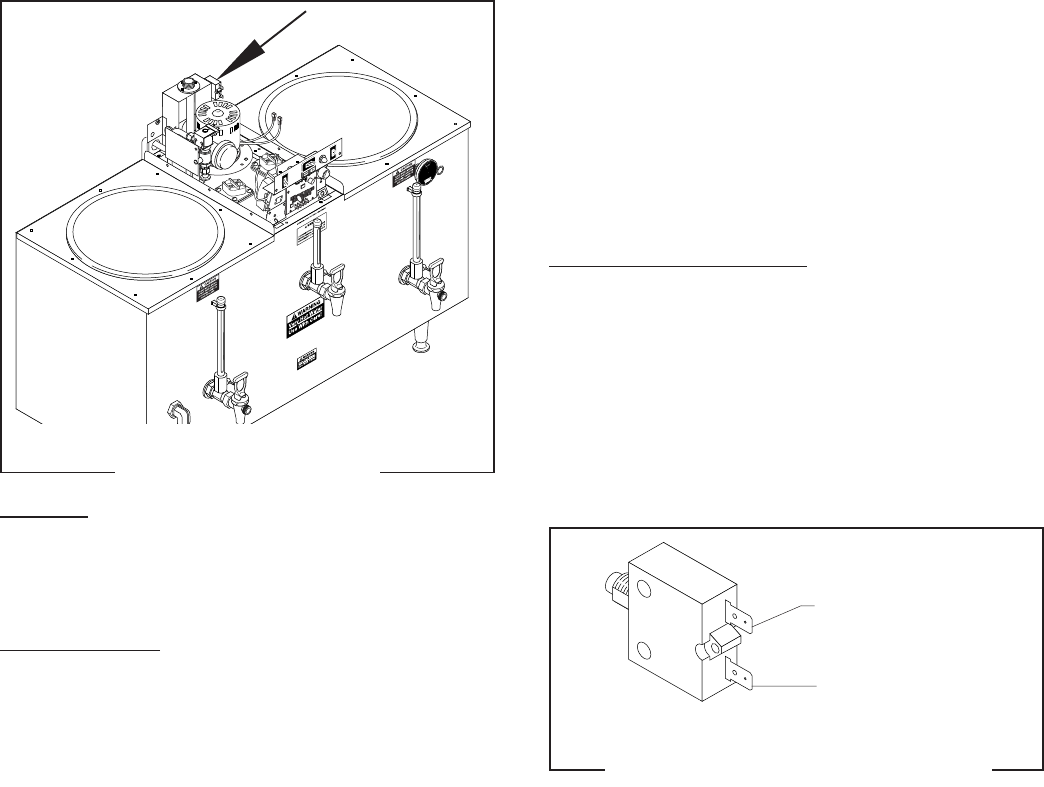
Location:
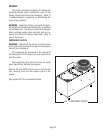
The circuit breaker is located on the right rear of
the component bracket.
Test Procedures:
1. Disconnect the brewer from the power source.
2. Disconnect the black wire from the main harness
from the circuit breaker and the white wire on the
pump assembly. With a voltmeter, check the volt-
age across the black wire and the white wire.
Connect the brewer to the power source. The
indication must be:
a) 120 volts ac for three wire 120/208 volt and 120/
240 volt models.
b) 208 or 240 volts ac for four wire 440 volt
models.
3. Disconnect the brewer from the power source.
If voltage is present as described, reconnect the white
wire to the pump assembly and proceed to #4. If
voltage is not present as described, refer to the
Wiring
Diagrams
and check the brewer wiring harness.
P2209.60
FIG. 2 CIRCUIT BREAKER
4. With the black wire removed, remove the other
black wire from the circuit breaker.
5. Check for continuity across the terminals on the
circuit breaker.
If continuity is present as described the circuit breaker
is operating properly.
If continuity is not present as described, press the
reset button and repeat step 5, if continuity is not
present as described, replace the circuit breaker.
Removal and Replacement:
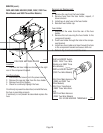
1. Remove wires from the circuit breaker.
2. Remove the nut securing the circuit breaker to the
component bracket.
3. Remove circuit breaker and discard.
4. Install new circuit breaker on component bracket
and secure with nut.
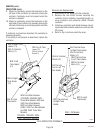
5. Refer to Fig. 3 and reconnect the wires.
BLK from Main
Harness
BLK from ON/
OFF Switch
FIG. 3 CIRCUIT BREAKER TERMINALS
P1723
10060 080900


