18
USING YOUR ONIX400 GPS RECEIVER : The HOT Button
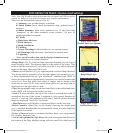
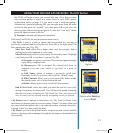
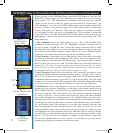
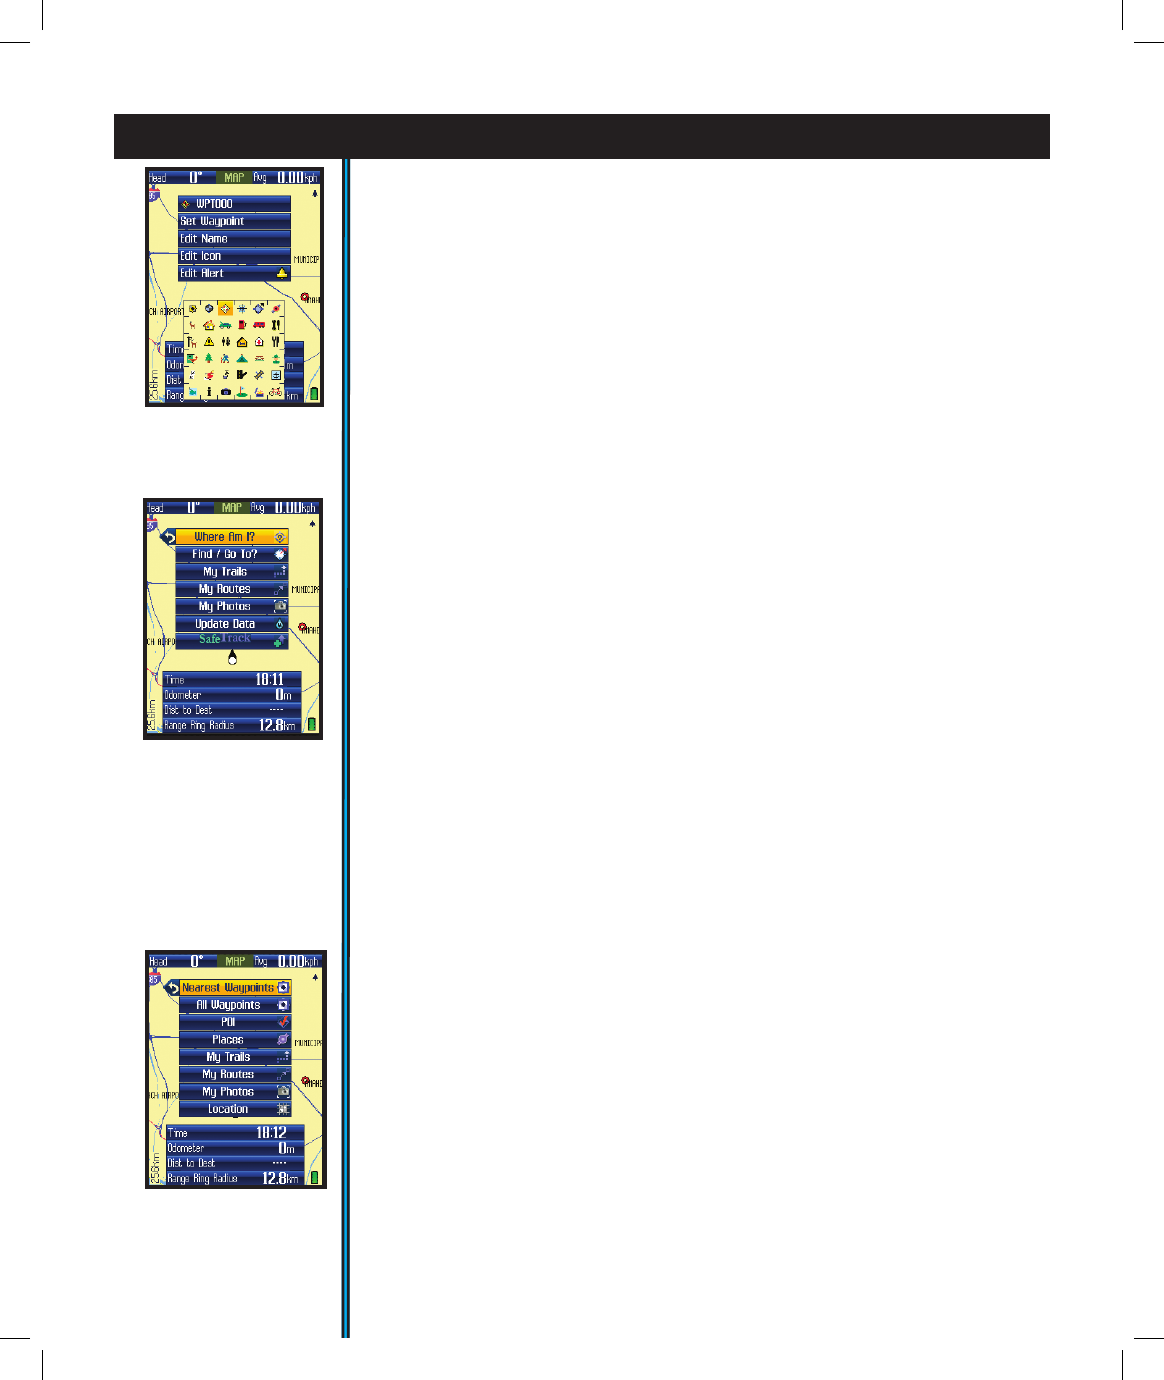
Fig 23.
HOT
Button Menu
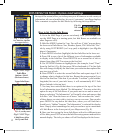
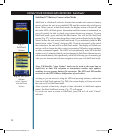
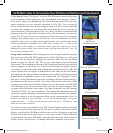
Fig 24.
Find/
GoTo Sub-Menu
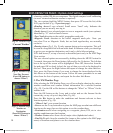
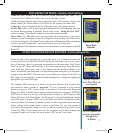
To edit the text, arrow up to the waypoint name, then click OK and use the
keypad screen you will see to create a name to replace it (see “Using the Text
Tool” on pg.19 for details on how to do this). You can also move down to select
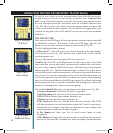
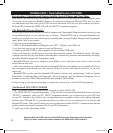
the icon, and again press OK and choose from the available different icons
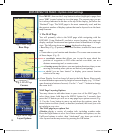
(Fig. 22). Move down to the alarm icon in the popup window and press OK
to turn on the alarm for that waypoint. The last item in the popup allows you
to delete the waypoint (you will be asked if you are sure, to prevent accidental
deletions).
THE HOT BUTTON
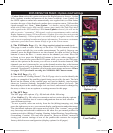
Once you go to the MAP page, all your navigation actions are easily controlled
by Bushnell’s exclusive “Hot button”. From the MAP page, click the Hot
button to view its menu, then arrow down to select an item (Fig. 23).
The rst highlighted item is always
• “Where Am I?”, press OK to see your current location on the map display.
This function lines up the GPS position icon (small black circle) with the
crosshair pointer icon.
The next Hot button menu item (press Down to select it) is:
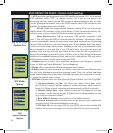
•Find/Go To. Click OK or the Right button to nd or go to any of the listed
items (note that you can only select from previously stored items, not create a
new one, when using the Find/GoTo feature). After selecting your destination
and pressing OK, you . The title of the destination will show in a yellow box at
the top of the screen, and the bearing arrow will point in the correct direction to
take you to it. To stop this navigation activity, press the Hot button again-you
will see the option to stop. Press OK to conrm you want to stop navigating,
and you will be returned back to the MAP page screen, but without the bearing
arrow pointing the way to a specic destination. The bearing arrow effectively
becomes a “heading arrow” once you stop navigating.
The available Find/GoTo items you can choose to navigate to are (Fig. 24):
1) Nearest Waypoints-a short list of close by waypoints
2) All Waypoints-pick from list of all (closest to furthest order)
3) POI (Point of Interest)-gas stations, hospitals, etc.
4) Places-built into the base map-city names, etc.
5) My Trails-pick from list of saved Trails (see next section). The ONIX
will start pointing you to the closest point on that trail. A trail is a previously
walked path, for example a trail that you took back to your campsite that
wound around trees and past the edge of a pond.
6) My Routes-pick from your list of saved routes (point to point
navigation)
7) My Photos (or Topos)-after you pick a photo or topo from the list (arrow
down to it) and press OK to conrm you wish to navigate towards that area,
Fig 22.
Waypoint
“Edit Icon”
ONIX400 1LIM QS Guide-Feb08 Revi18 18 2/20/08 8:56:04 PM


