18
Electronic Clock & Automatic Cooking Feature
AUTO COOKIN TIMER
There are two Auto Cooking programmes for the 1st oven, that can be selected using the display:
(a) To set the 1st oven to switch ON immediately and OFF automatically after a time of your choice.
(b) To set the 1st oven to switch ON and OFF automatically, at the times of your choice.
(a) To set the 1st oven to switch ON immediately and OFF automatically:
This allows you to cook for a specified duration, after which the oven will automatically switch off.
STEP 1. Check that the correct time of day is set, if not follow instructions for setting the time of
day.
STEP 2. Place food to be cooked on shelf in the oven.
STEP 3. Switch the 1st oven control to the desired mode. The display will automatically
suggest a cooking temperature. This can be changed by turning the +/- control knob. (The
oven will start).
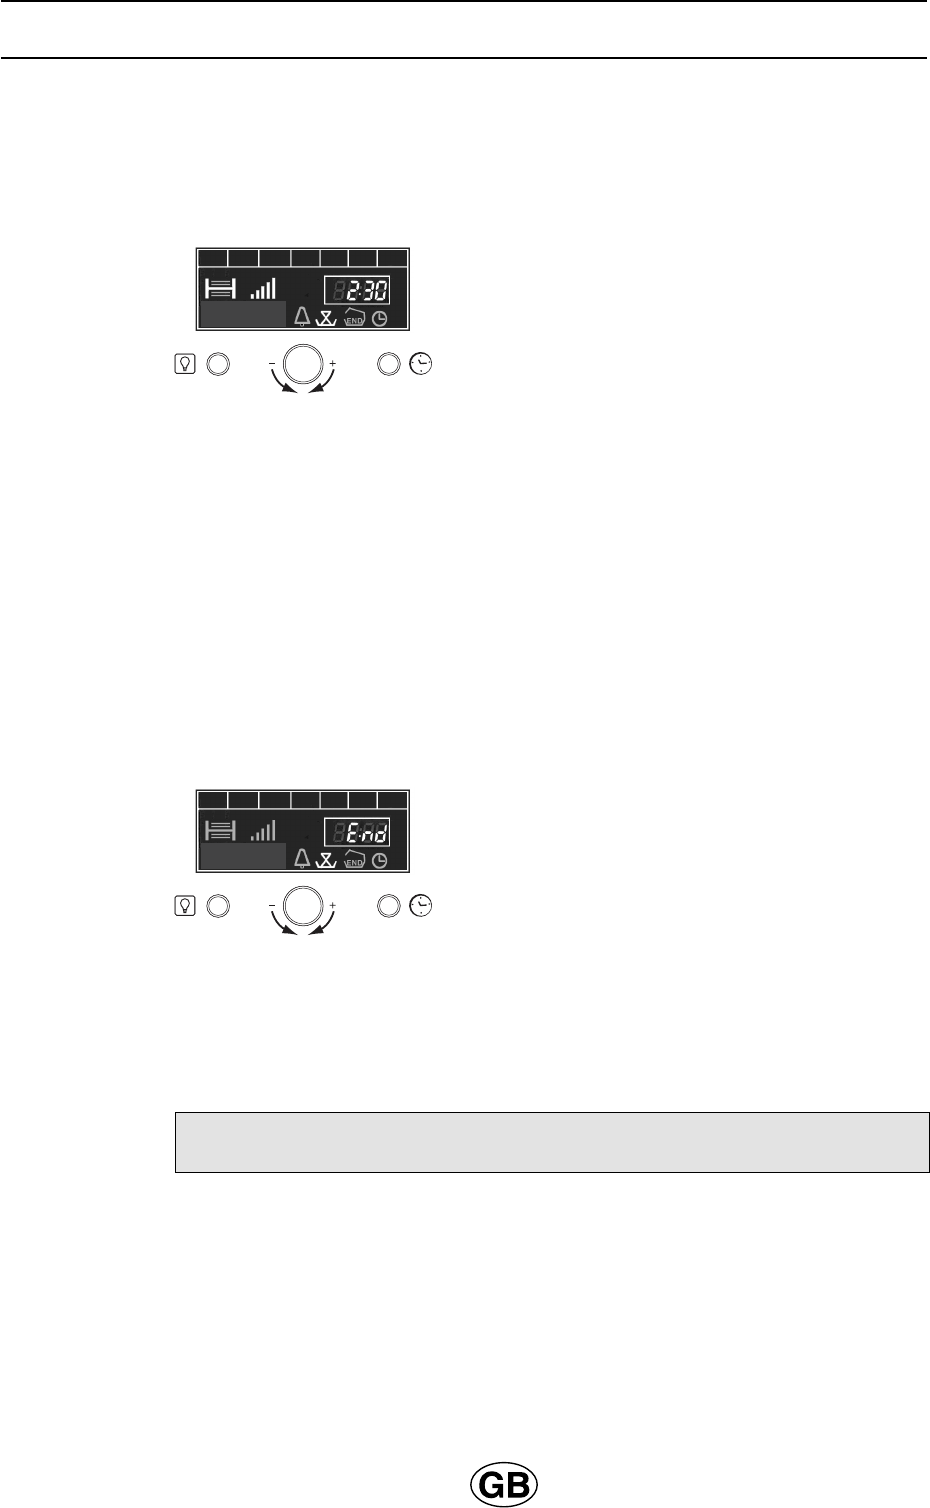
STEP 4. Press the Time/Mode button, until the “cooking duration” symbol is flashing.
STEP 5. Turn the +/- control knob to set the cooking duration you require. After a few seconds
the “cooking duration” symbol will stop flashing and the display will show the temperature that
has been set. This will change every few seconds when the display will show the cooking
duration re1sting.
THE COOKING DURATION IS NOW SET.
At the end of the set cooking duration, “End” will show in the display and an audible tone will
be heard for a few seconds.
Turn the 1st oven control to “O”, the OFF position to switch the oven off. The display will revert
back to the time of day.
To cancel the automatic mode at any time turn the 1st oven control to “O”, the OFF position.
Note: During the cooking period the cooking duration will be shown in the display for a
few seconds and then revert to the temperature set.


