


6
using your new range: burners
SEALED BURNERS:
The range features four or six gas surface burners; each
rated at 15,000 BTUS/HR. The burners are sealed to the
stainless steel top frame to prevent liquid spills from
accumulating below the top surface, making it easier to
clean. Each burner has its own control knob.
burner operation:
1) Depress the knob and turn it counterclockwise
to the High position.
2) The igniter for the selected burner clicks and sparks.
3) After flame ignition, the igniters stop clicking.
4) Rotate the knob to any flame setting between “HI” and
"Sim" (note: for pre-2006 models LO and SIM are the same)
ELECTRONIC IGNITERS:
Each burner has its own electronic igniter that sparks when
the burner is turned on. Each burner should light within 4
seconds or less. If a burner does not light, check to see
that the cap is positioned correctly on the base.
DO NOT touch the burners when the igniters are sparking.
If a burner fails to ignite, refer to the section “Before Calling
For Service.”
automatic re-ignition:
If any one or more burners or grill blow out, the electronic
igniter automatically sparks to relight the flame. Again, DO
NOT touch the burners when the igniters are sparking.
before using your range for the first time:
Record the Model and Serial number of your appliance on the
Service Page of this use and care guide. This will be used for
any future contact with your service technician or the factory.
Also, enter this information on the Product Registration Card in
ded with this product, and mail it to the indicated address.
A NOTE ON ACCESSORIES:
Your range does not ship with a backtrim. It
must be ordered from the dealer at time of
purchase. The options are: Island Trim, 12”
Back-guard, or 22” High Shelf
WARNING! Power Failure:
In the event of a power failure, only the standard burners
can be manually lit. It is necessary to light each one
individually. If the range is being used when the power
failure occurs, turn ALL knobs to the OFF position.
Holding a match at the ports and turning the control
knob to the HI position can light the standard burners.
Wait until the flame is burning all around the burner cap
before adjusting the flame to the desired height. Neither
the grill nor the griddle burner can be used during a
power failure. If you smell gas, refer to safety
instructions listed inside the front cover.
IMPORTANT:
For proper combustion, do not use the range without
the burner grates in place.
NOTE: There is a slight sound associated with gas
combustion and ignition. This is a normal condition.
On ranges using propane gas (LP), a slight “pop” sound
may be heard at the burner ports a few seconds after
the burner has been turned off.
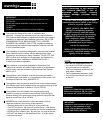
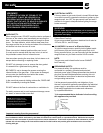
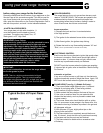
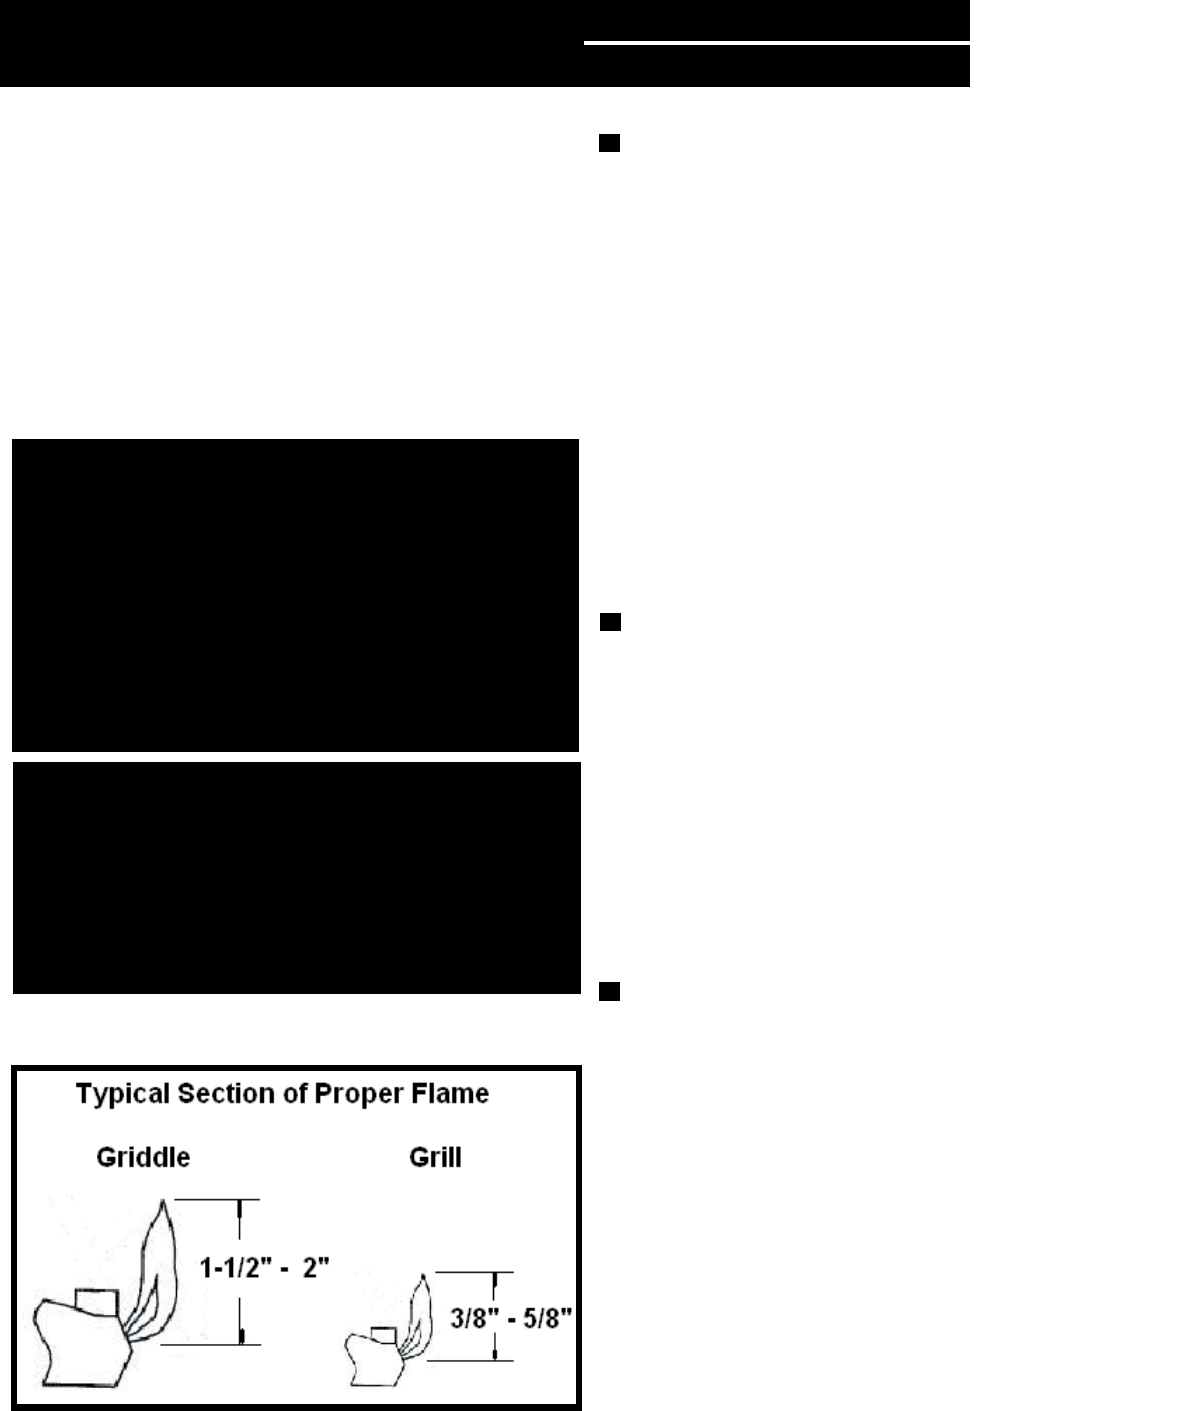
Fig. 1
FLAME HEIGHT (see fig. 1) (Griddle Grill only):
1) The correct flame height depends upon 1) size and
material of pan being used; 2) food being cooked;
and 3) amount of liquid in the pan.
2) Never extend the flame beyond the base of the pan.
3) Use a low or medium flame for pan materials that
conduct the heat slowly, such as porcelain-coated steel
or glass ceramic.
4) The burner flame color should be blue with no yellow
tips. It is uncommon to see orange in the flame color; this
indicates the burning of airborne impurities in the gas and
will disappear with use.
5) With propane (LP) gas, slight yellow tips on the
primary cone are normal.
6) The flame should burn completely around the burner
cap. If it doesn’t, check that the cap is positioned correctly
on the base and that the ports are not blocked.
7) The flame should be stable with no excessive noise
or fluttering.