


8.4 Heating and Frothing Milk
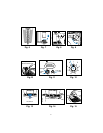
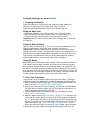
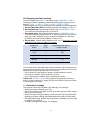
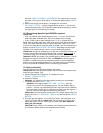
a. Turn the SW Dial from the 0-position to the steam position (fig. 2b). The display
will show HEATING UP (this takes about 15 to 25 seconds).
b. Add cold milk to a pitcher or a cup.
c. The display will now show STEAM READY / PRESS BUTTON.
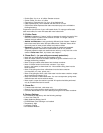
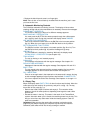
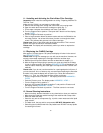
d. Immerse the tip of the frother into the milk (fig. 3c) and press the BUTTON.
Steaming will start instantly.
e. To stop steaming, turn the SW Dial back to 0.
Please note: Sometimes at the very beginning of frothing a little bit of water
might come out of the frother. If you do not want that water in your milk, start
the frothing procedure as follows:
• First, place an empty cup underneath the frother. When the display shows
STEAM READY push the BUTTON and after two seconds turn the SW Dial
back to the 0-position.
• Now immerse the frother in the pitcher or cup with milk, switch the SW dial
to the steam symbol and press the BUTTON. No more water will come out of
the frother.
Knocking Noise: If you froth for a prolonged time, the machine will pump little
droplets of water into the system to maintain enough steam. This is accompanied
by a "knocking noise".
Tips for frothing (Cappuccino):
The tip of the frother should not touch the bottom of your pitcher.
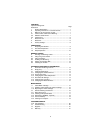
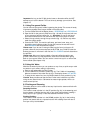
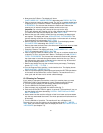
Start in the steaming position – cylinder "up" (fig. 3a) – for a few seconds. Then
push the cylinder "down". Milk froth will build up. This way the froth on top of
your milk is also warm. If the frothed milk is not warm enough, continue in the
steaming position.
Steaming and frothing directly in your cappuccino cup:
With practice, you can steam and froth directly in your cappuccino cup. First
steam and froth the milk, then add your espresso shot.
Please note: The less fat content the milk has the more froth will be created.
Skim milk will produce the most froth and will let you taste more of the coffee.
1% and 2% milk will give you less froth. Regular whole milk (3% fat) will
produce the least amount of froth. You can also use soy milk.
8.5 Cleaning the Frother
Always keep the Dual Frother Plus clean and free of milk deposits. Clean
immediately after use. Hardened milk particles will make it impossible to create
milk froth.
Fast cleaning:
Place a cup underneath the frother (fig. 3c) and turn the Steam/Water Selector
to the water symbol. Let hot water run through the frother for about 3 seconds
and then stop. This will flush out any small milk droplets.
Thorough cleaning of the Dual Frother parts:
If you use the frother daily, do the following at least once or twice a week:
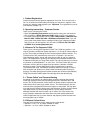
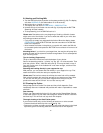
• Unscrew the black frother tip with a coin (
see fig. 3b).
• Remove the cylinder and make sure that the two small side holes in the black
tip and the groove connecting those two holes are free of milk deposits.
12