Manufacturer reserves the right to discontinue, or change at any time, specifications or designs without notice and without incurring obligations.
PC 903 Catalog No. 533-00009 Printed in U.S.A. Form 30GX,HX-14SI Pg 1 102 7-00 Replaces: 30GX,HX-7SI
Book 2
Ta b 5 c
Installation Instructions
Part No. 30GX-900---048,
(60 Hz — 115-v Control)
Part No. 30GX-900---049
(50 or 60 Hz — 230-v Control)
CONTENTS
Page
SAFETY CONSIDERATIONS
. . . . . . . . . . . . . . . . . . . . . . 1
INTRODUCTION
. . . . . . . . . . . . . . . . . . . . . . . . . . . . . . . . . . 1
INSTALLATION
. . . . . . . . . . . . . . . . . . . . . . . . . . . . . . . . . 1-8
Step 1 — Examine Package Contents
. . . . . . . . . . . . 1
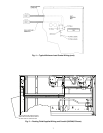
Step 2 — Install Piping
. . . . . . . . . . . . . . . . . . . . . . . . . . . 2
• REMOVE MINIMUM LOAD PORT PLUGS
AND INSTALL FITTINGS
• INSTALL PIPING
• INSTALL BALL AND SOLENOID VALVES
• CONNECT PIPING
• 30GXN,R UNITS ONLY
Step 3 — Dehydrate and Recharge Circuit
. . . . . . . . 3
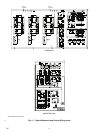
Step 4 — Install Control Wiring
. . . . . . . . . . . . . . . . . . . 3
• 30HX UNITS
• 30GXN,R UNITS
• ALL UNITS
Step 5 — Configure Unit for Minimum
Load Control
. . . . . . . . . . . . . . . . . . . . . . . . . . . . . . . . . . . 8
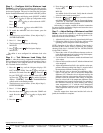
Step 6 —Test Minimum Load Relay
Outputs
. . . . . . . . . . . . . . . . . . . . . . . . . . . . . . . . . . . . . . . . 8
Step 7 — Adjust Setting of Minimum
Load Ball Valve
. . . . . . . . . . . . . . . . . . . . . . . . . . . . . . . . 8
SAFETY CONSIDERATIONS
Installing, starting up, and servicing air-conditioning equip-
ment can be hazardous due to system pressures, electrical com-
ponents, and equipment location.
Only trained, qualified installers and service technicians
should install, start up, and service this equipment.
When working on air-conditioning equipment, observe pre-
cautions in the literature and on tags, stickers, and labels
attached to the equipment.
Follow all safety codes. Wear safety glasses and work
gloves. Use care in handling equipment.
INTRODUCTION
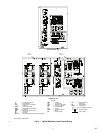
The minimum load control accessory allows 30HX and
30GXN,R chillers to have their capacities decreased below the
standard fully unloaded condition. The accessory provides
more precise control of leaving fluid temperature during light
load conditions.
The 30GXN,R and 30HX chillers have a dual-circuit
design. Each minimum load control accessory package con-
tains the items required for both circuits. Because of an auto-
matic lead/lag feature on the chillers, the accessory should be
installed on both circuits.
INSTALLATION
Step 1 — Examine Package Contents —
Pack-
age includes solenoid valves, ball valves, O-ring seal fittings,
and instructions. Examine each item. If any part is damaged or
missing, file a claim immediately with the shipper and notify
your Carrier representative. See Table 1 for accessory package
contents and field-supplied material.
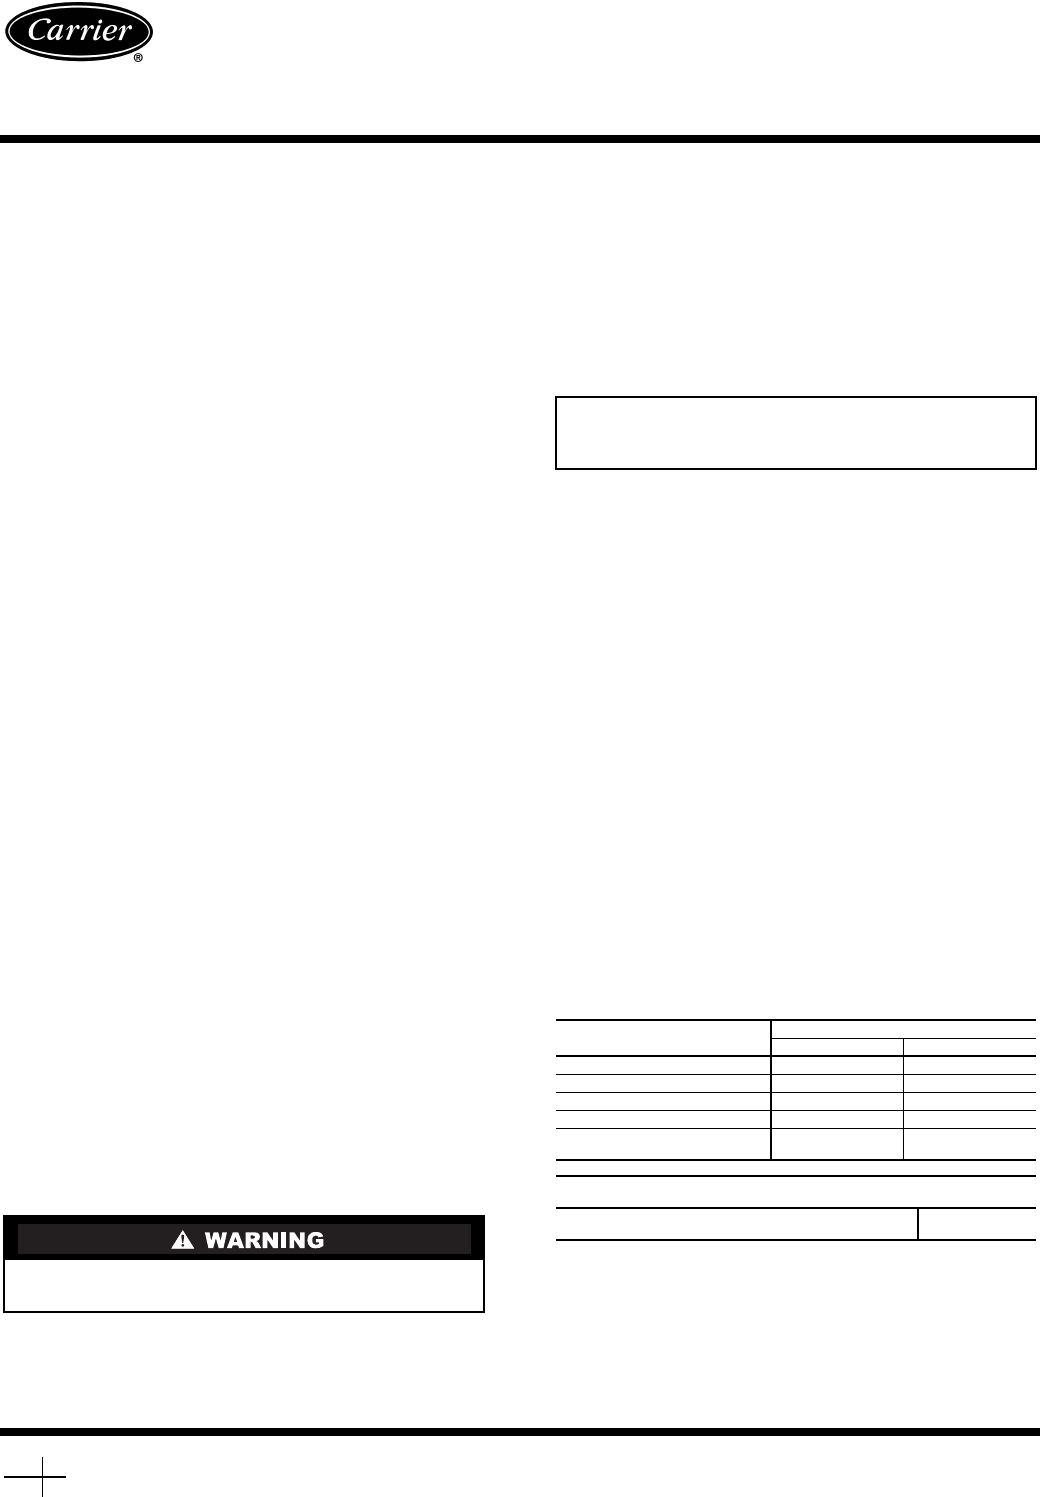
Table 1 — Accessory Package Contents
and Field-Supplied Material
Be sure power to equipment is shut off before performing
maintenance or service.
IMPORTANT: When removing refrigerant, use an
approved refrigerant recovery device. Do not vent refrig-
erant into the atmosphere.
ACCESSORY PACKAGE
COMPONENTS
ACCESSORY PART NUMBER
30GX-900---048 30GX-900---049
Solenoid Valve (2) EF23JX212 (2) EF23JX231
Ball Valve (2) EP71BA201 (2) EP71BA201
O-Ring Seal Fitting (4) 30GX503492 (4) 30GX503492
Tube Assembly (2) 30GX503487 (2) 30GX503457
Tube Assembly (Condenser
Oil Separator)
(2) 30HX402343 (2) 30HX402343
FIELD SUPPLIED MATERIAL — REQUIRED PARTS
(Ordered Separately)
5
/
8
-in. OD Copper Tubing, Wiring, Conduit,
Thread Sealant, Electrical Supplies
Field Supplied
30GXN,R080-528
30HX076-271
Minimum Load Control Accessory
50/60 Hz


