PAGE 10 OF 15
Defrosting
The Appliance is Frost Free and will not require manual defrosting.
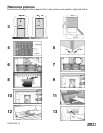
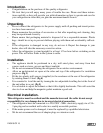
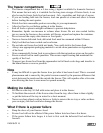
Refrigerator defrost water will be channeled to an evaporation pan located above the
compressor at the rear of the refrigerator. (fig 8)
Ensure that the drain pan is firmly secured above the compressor.
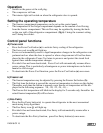
To replace a faulty light bulb proceed as follows:
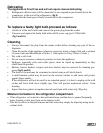
Switch of at the wall socket and remove the power plug from the socket.
Unscrew and replace the faulty bulb with an E14 screw cap type 15 Watt bulb
(fig 9 and 10).
Cleaning
Always disconnect the plug from the mains socket before cleaning any part of the re-
frigerator.
Clean the inside of the appliance whenever necessary using a damp cloth and a solution
of warm water and Bicarbonate of Soda ( 1 table spoon to every 2 litres of water ).
Dry with a soft cloth.
Do not use pot scourers or abrasive powders to clean the appliance.
Spillages, especially citric and acidic juices, must be wiped up immediately as they
could stain the product.
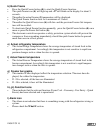
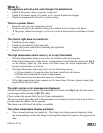
Shelves, freezer baskets, crispers and door shelves may be removed for cleaning pur-
poses.(fig11 and12)
The back of the unit may be vacuumed or dusted using a soft bristle brush.
A mild furniture polish may be used on the exterior cabinet to add lustre and protect
against finger marks.
If the refrigerator will not be used for an extended period, it is best to unplug at the wall
socket and leave both doors slightly ajar. This will prevent unpleasant odours from
forming.
Inspect the door gaskets at regular intervals and clean with water only. Wipe dry.
Moisture formation in the refrigerator compartment.
If the refrigerator is located in a hot and humid area, and the door is opened frequently,
water droplets or dew may form on the interior walls.
This has no effect on the performance and the water may simply be wiped up using an ab-
sorbent cloth.


