10
10: Checking the Water Hardness
The machine was released from the factory with a specific pre-set setting for water hardness. To
change that setting, please follow the instructions below step by step.
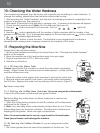
1. After removing the “Water Hardness” test strip from its packaging immerse it completely in the
water for a few seconds, then remove it.
2. Wait about 30 seconds for the test strip to change color. A number of red squares will appear.
3. Check that the machine is off (Note: All of the indicator lights are off).
4. Press the button and hold it for 5 seconds. The four lights will
illuminate.
5. Press the button repeatedly until the number of lights coincides with the number of red
squares on the test strip. (Ex. If 3 red squares appear on the test strip, press the button until the
3 indicator lights illuminate.
6. Press the button to save the data. The machine is now programmed to indicate a
decalcification warning when necessary, based on the hardness of the water.
11: Preparing the Machine
Please follow the instructions below.
1. Set the water hardness according to the instructions in the “Checking the Water Hardness”
section of the manual.
2. Place the machine on a flat, level surface away from any edge.
3. Plug the machine into a 120V / 60Hz only outlet.
4. Press the on/off button.
11.1 Filling the Water Tank
Caution: Never switch the machine on when the water tank is completely
empty. Without water, the machine cannot make espresso / coffee and the
machine will become noisy.
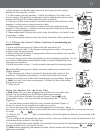
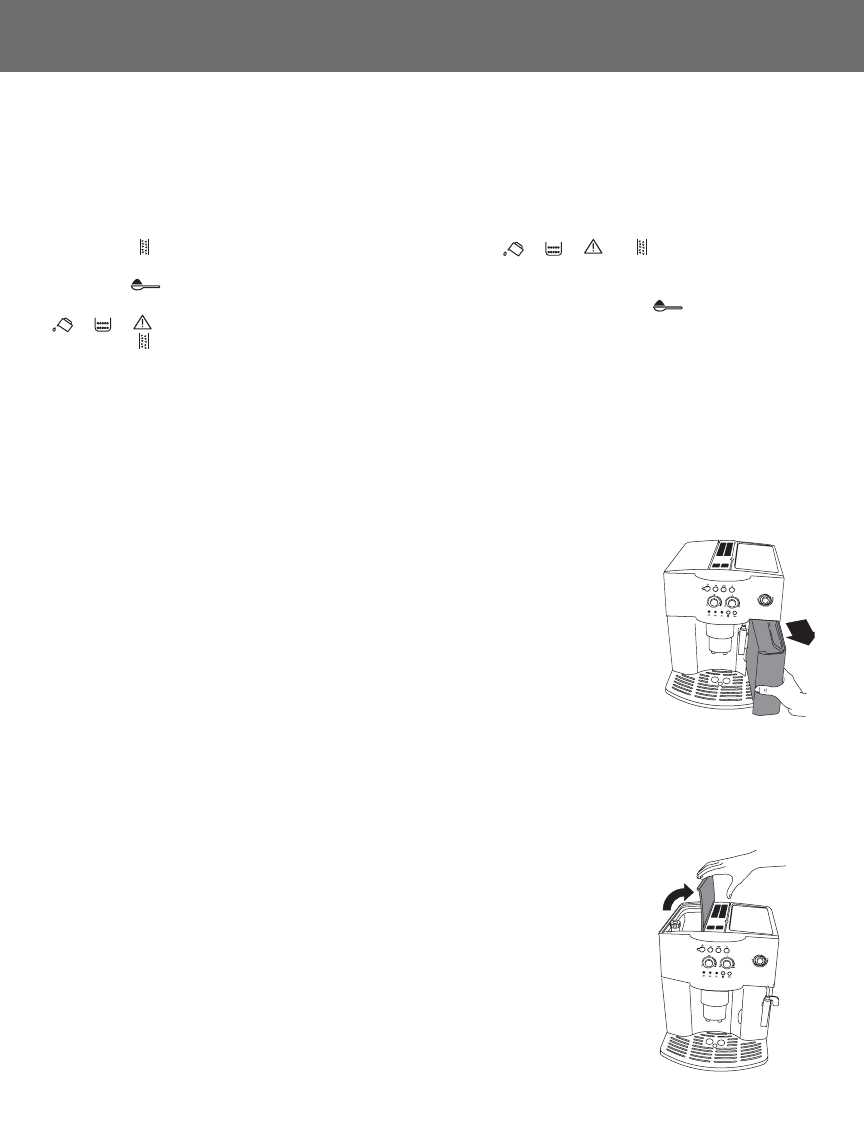
1. Move the frother to the center of the machine to remove the water tank.
2. Rinse the water tank and fill it with clean, cold water without exceeding
the MAX line. Replace the water tank by pushing it all the way in. (Figure 1)
Tip: Renew water daily.
11.2 Filling the Coffee Bean Container (If you are using whole coffee beans)
• Never fill coffee bean container with pre-ground coffee.
Tip: Before filling the coffee bean container, make sure to remove any
foreign objects
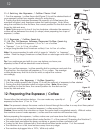
1. Open the coffee bean container lid and fill container with coffee beans
and close the lid. (Figure 2)
2. Note: If you are using frozen coffee beans, let them thaw for 3 to 4 hours
before filling them into the bean container. This will prevent moisture from
seeping into the grinder. Never use sugar-coated beans.
Note: It is recommended not to use oily, sugar coated or flavored beans.
These types of beans could damage the machine.
11.2A Setting the Coffee Grinder (If you are using whole coffee
beans)
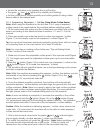
1. The coffee grinder does not need to be adjusted for the first use. The
Figure 1
Figure 2


