


12
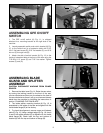
Fig. 28
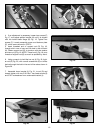
Fig. 30
E
Fig. 29
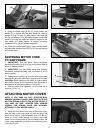
FASTENING MOTOR CORD
TO SAW FRAME
1. IMPORTANT: Turn the blade tilting handwheel
counterclockwise as far as it will go until the saw blade is
in the 45 degree position.
2. IMPORTANT: Turn the blade raising and lowering
handwheel counterclockwise until the blade is at its
lowest position.
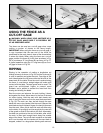
3. Fasten motor cord (A) Fig. 31 to the saw frame cross
member (B), using the cable tie (C) supplied with the saw.
CAUTION: Before tightening the cable tie, make certain
that cord (A) is free of any interference from the motor or
saw blade at all possible positions of the motor.
4. After the cable tie is tightened, cut off excess tail of
cable tie (C) Fig. 31.
Fig. 31
Fig. 32
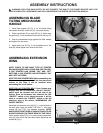
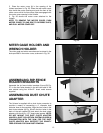
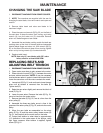
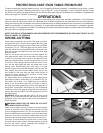
12. Using a straight edge (A) Fig. 27, make certain the
splitter (P) is aligned with the saw blade (B). Using a
square (C) Figs. 28 and 29, make certain saw blade (B)
Fig. 28, and splitter (P) Fig. 29, are 90 degrees to the table
surface. Once you are certain the splitter is aligned to the
saw blade and table, tighten all splitter mounting
hardware (D) Fig. 29 and recheck alignment.
13. Holding the clear blade guard, lower the saw blade
and assemble the table insert (E) Fig. 30, into the opening
on the saw table.
C
B
A
C
B
A
P
D
C
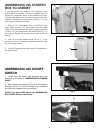
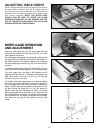
ATTACHING MOTOR COVER
NOTE: IF YOU HAVE AN “LVC” (STARTER BOX)
VERSION UNISAW, YOU WILL HAVE TO ATTACH TWO
BOTTOM SPRING CLIPS TO THE MOTOR COVER. IF
YOU HAVE AN “GPE” (STARTER BOX) VERSION
UNISAW THE SPRING CLIPS ARE ALREADY
ATTACHED TO THE MOTOR COVER.
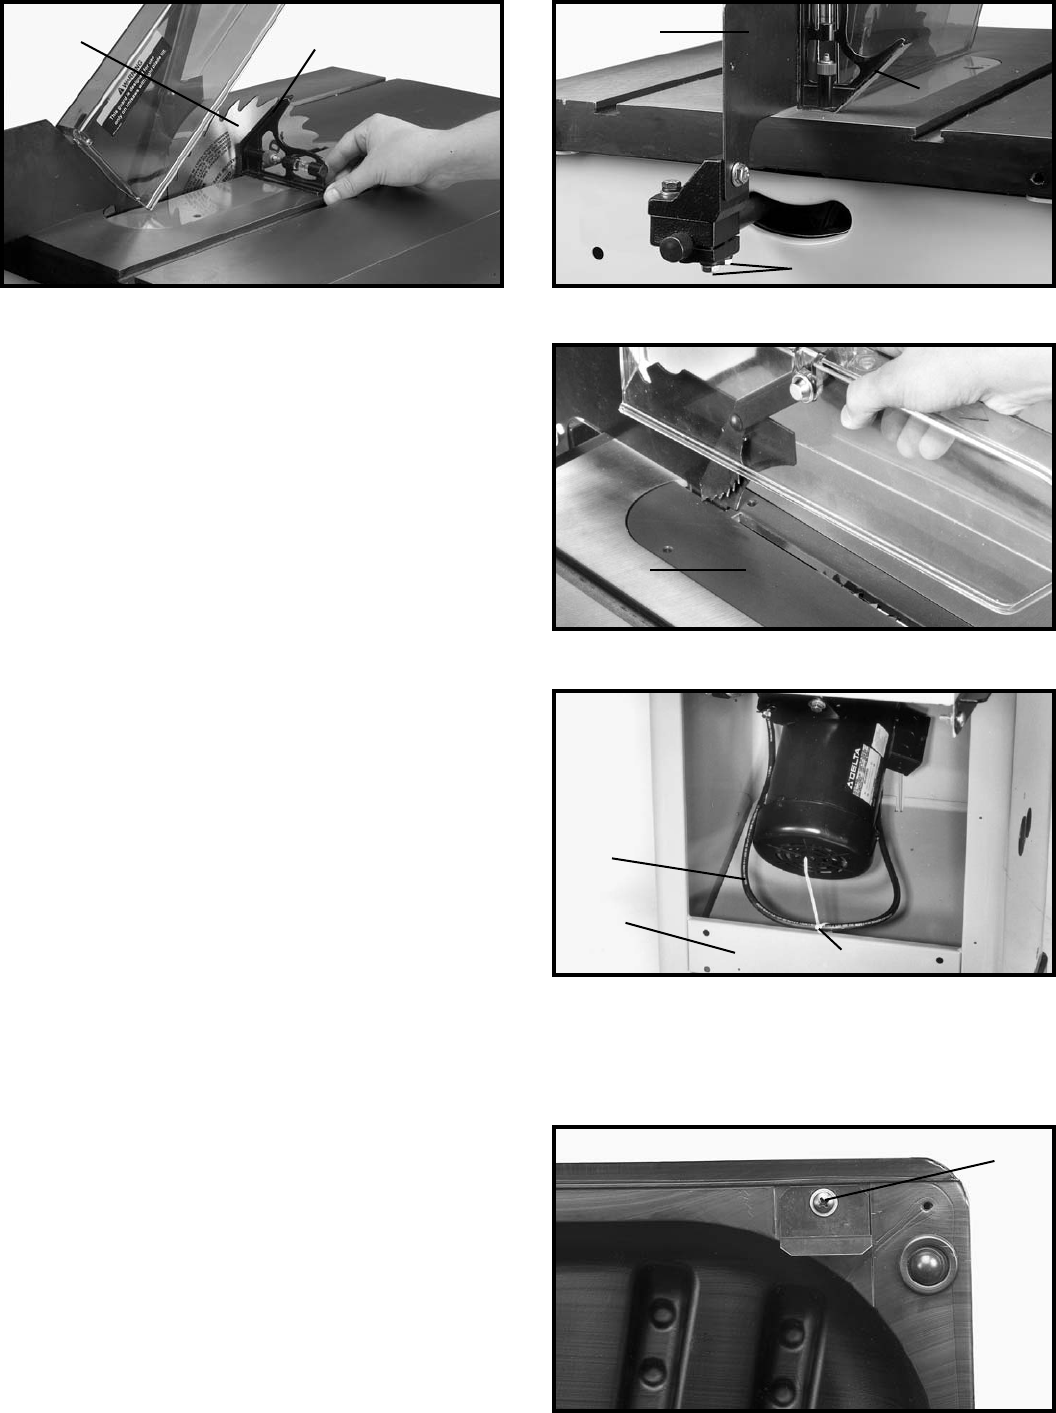
1. Attach the two motor cover clips to the motor cover.
Align the hole in the motor cover clip with the hole in the
motor cover. Place a 13/64 flat washer onto a 10-32x1/2"
screw (A), insert screw through the hole in the motor
cover clip and thread screw (A) into the tapped hole in the
motor cover, repeat this process for the remaining motor
cover clip, Fig. 32.