6. Assembly of the Surface Burner Heads, Burner
Caps and Burner Grates:
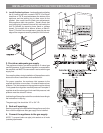
It is very important to make sure that all of the Surface Burner
Heads, Surface Burner Caps and Surface Burner Grates are
installed correctly.
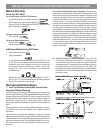
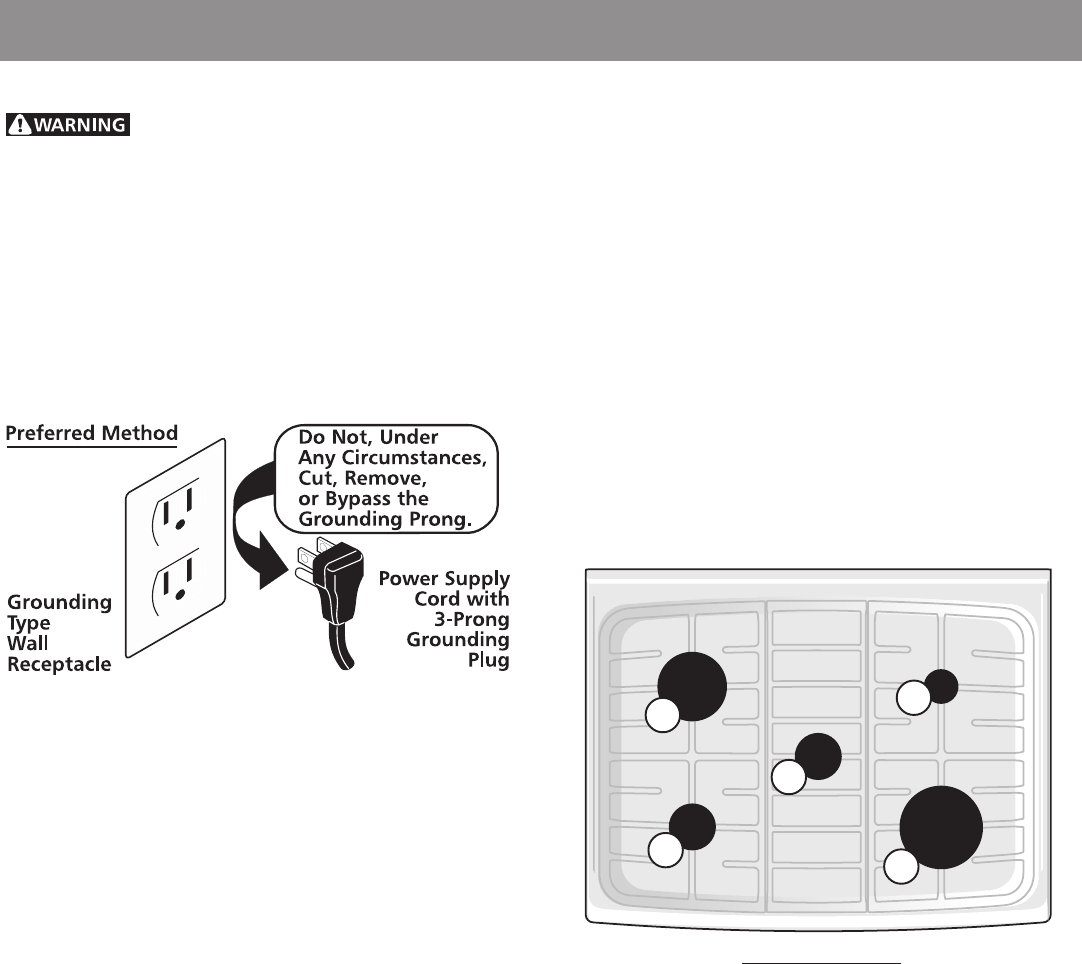
Your appliance was shipped with the burner heads and burner
caps assembled in the correct locations (See Fig. 1).
Should you need to re-install the burner caps please refer to
the Use & Care Guide for more information.
REMEMBER — DO NOT ALLOW SPILLS, FOOD, CLEANING
AGENTS OR ANY OTHER MATERIAL TO ENTER THE GAS
ORIFICE HOLDER OPENING. Always keep the Burner Caps
and Burner Heads in place whenever the surface burners are
in use.
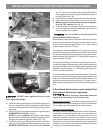
Where a standard two-prong wall receptacle is encountered,
it is the personal responsibility and obligation of the customer
to have it replaced with a properly grounded three-prong wall
receptacle.
DO NOT, UNDER ANY CIRCUMSTANCES, CUT OR REMOVE
THE THIRD (GROUND) PRONG FROM THE POWER CORD.
PLEASE READ CAREFULLY! For personal
safety, this product must be properly grounded.
Grounding Instructions
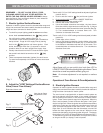
The power cord of this appliance is equipped with a
3-prong (grounding) plug which mates with a standard
3-prong grounding wall receptacle to minimize the possibility
of electric shock hazard from this appliance. The customer
should have the wall receptacle and circuit checked by a
qualified electrician to make sure the receptacle is properly
grounded and polarized.
INSTALLATION INSTRUCTIONS FOR FREESTANDING GAS RANGE
6
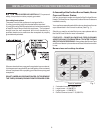
Burner sizes and cooktop locations
Front of cooktop
Fig. 1
1
2
3
4
1. 2 standard burners - 9,500 BTU.
2. Large burner - 16,000 BTU.
3. Large burner - 14,000 BTU.
4. Perfect Simmer burner™- 5,000 BTU.
1


