13
Setting Oven Controls
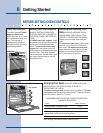
SETTING SILENT CONTROL OPERATION
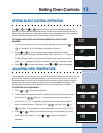
The or and or pads control the Silent Control operation feature. The
Silent Control operation feature allows the oven control to be operated without sounds or
beeps whenever necessary. If desired the control can be programmed for silent operation
and later returned to operating with all the normal sounds and beeps.
To change control from normal sound operation to silent control
operation:
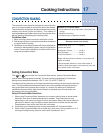
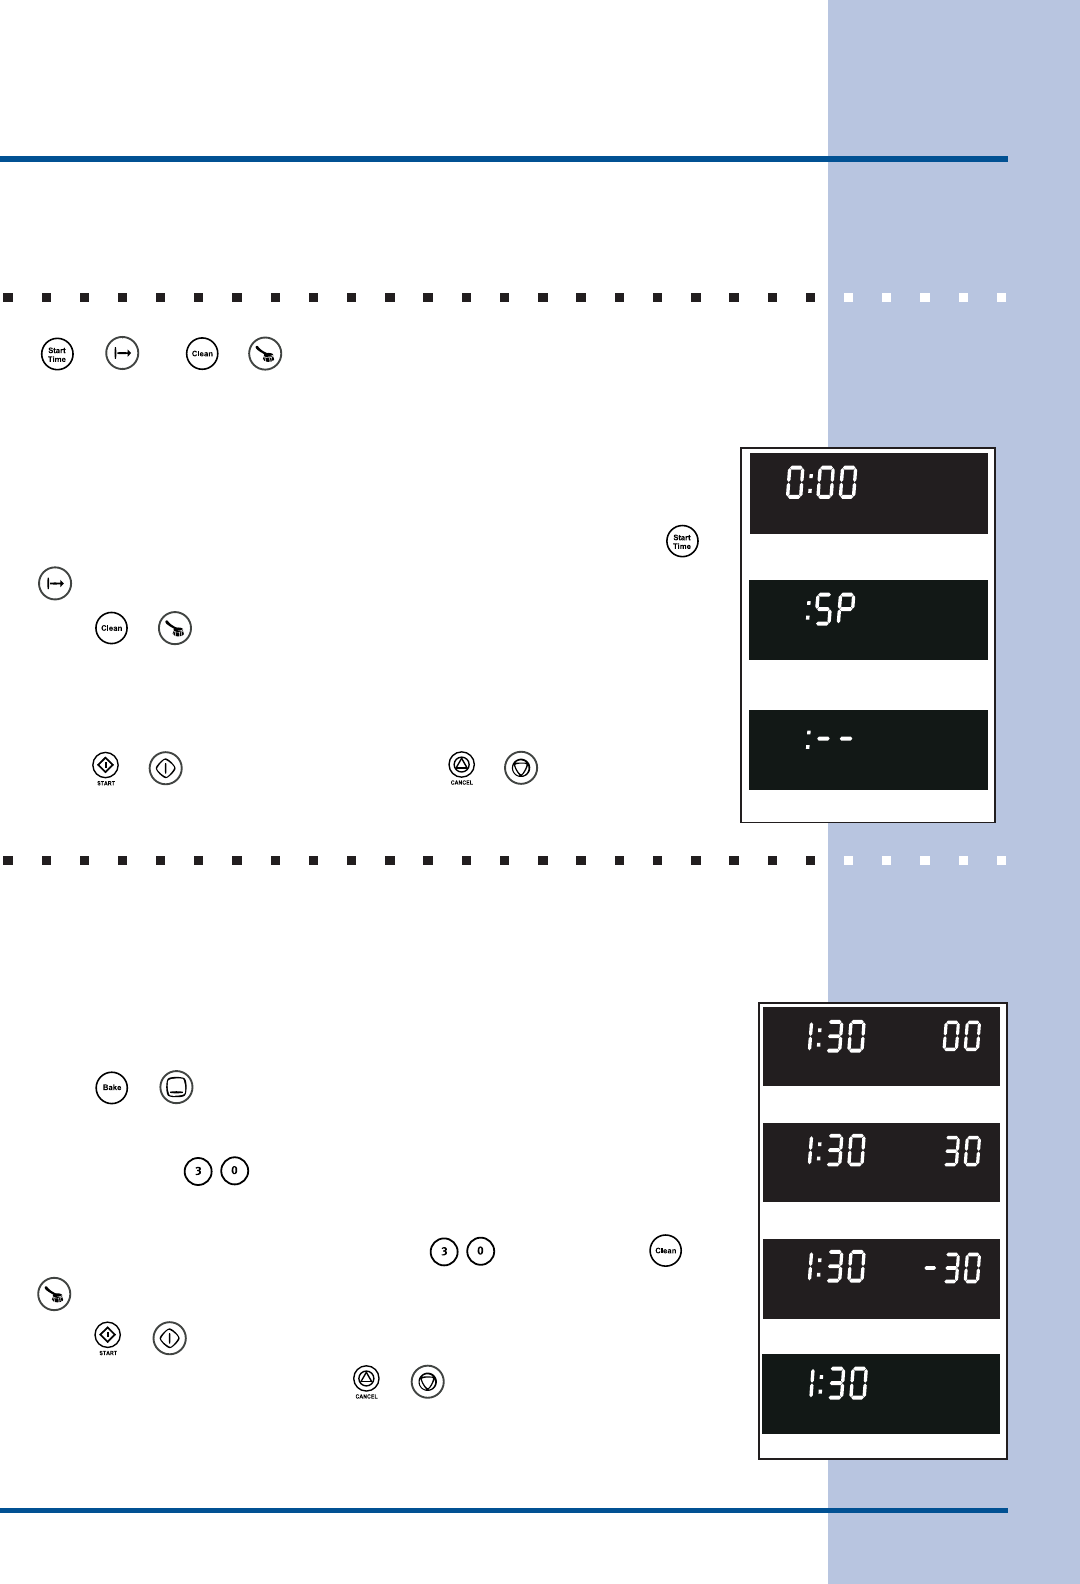
1. To tell if your range is set for normal or silent operation press and hold or
for 7 seconds. "0:00" will appear in the display (Figure 1).
2. Press or to switch between normal sound operation and silent
operation mode. The display will show either ":SP" (Figure 2) or ":--" (Figure 3).
If ":SP" appears (Figure 2), the control will operate with normal sounds and
beeps. If ":- -" appears (Figure 3), the control is in the silent operation mode.
3. Press or to accept the change or press or to reject the change.
Figure 1
Figure 2
Figure 3
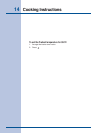
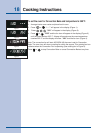
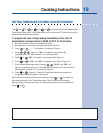
To adjust the oven temperature:
1. Press or for 8 seconds (Figure 4).
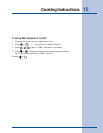
2. To increase the temperature use the number pads to enter the desired change.
(Example 30°F) (Figure 5). The temperature may be increased as
much as 35°F (17°C). To decrease the temperature use the number pads to
enter the desired change. (Example -30°F) and then Press or
(Figure 6). The temperature may be decreased as much as 35°F (17°C).
3. Press or to accept the temperature change and the display will return
to the time of day (Figure 7). Press or to reject the change if
necessary.
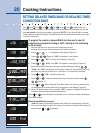
ADJUSTING OVEN TEMPERATURE
The temperature in the oven has been pre-set at the factory. When first using the oven, be
sure to follow recipe times and temperatures. If you think the oven is too hot or too cool,
the temperature in the oven can be adjusted. Before adjusting, test a recipe by using a
temperature setting that is higher or lower than the recommended temperature. The
baking results should help you to decide how much of an adjustment is needed.
Figure 4
Figure 5
Figure 7
Figure 6


