15
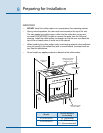
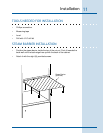
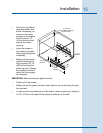
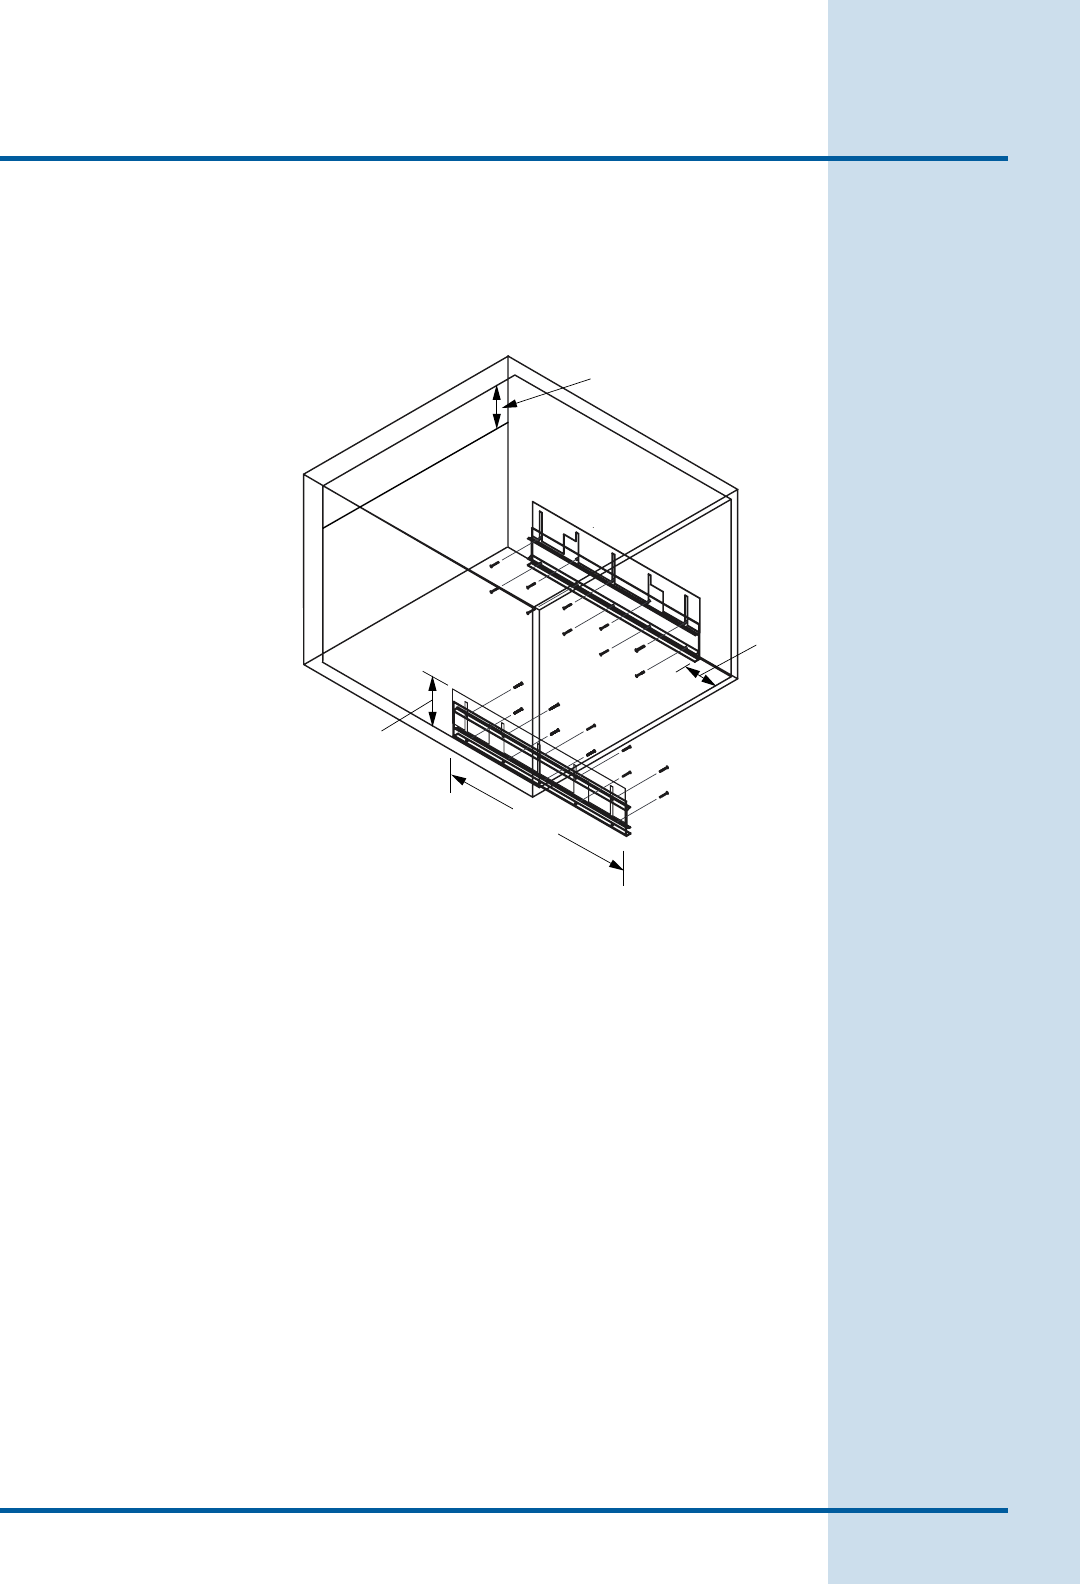
Put the two (2) cabinet
glide assemblies, and
shims if necessary, as
shown on the inside
surfaces of the cabinet.
Position them 3 1/2”
(9.0cm) from the front
edge of the cutout
opening.
Insert the screws in
the holes of the glides
without tightening them
completely.
Make sure the outside
distance between the
fixing angles is 22 1/8”
(56.2cm) and that the
glides are level. Change
the number of shims or
adjust the fixing angles
as necessary.
IMPORTANT: Make sure that the glides are level.
Tighten all of the screws.
Make sure that the power cord and water feed line can be fed freely through
the back wall.
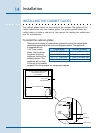
In order to avoid overheating the coffee maker, make an opening of at least 3
15/16” (10.0cm) at the back of the cabinet to allow air to circulate.
•
•
•
•
•
•
Installation
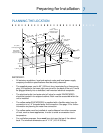
Cabinet Front
Cabinet Rear
4” (100mm)
Cabinet Back Cutout for
Air Circulation
3 1/2”
(8.9cm)
18”
(45.7cm)
3 9/16”
(9.0cm)


