14
Installation
INSTALLING THE BURNER COMPONENTS
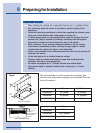
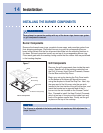
Burner Components
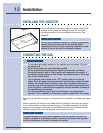
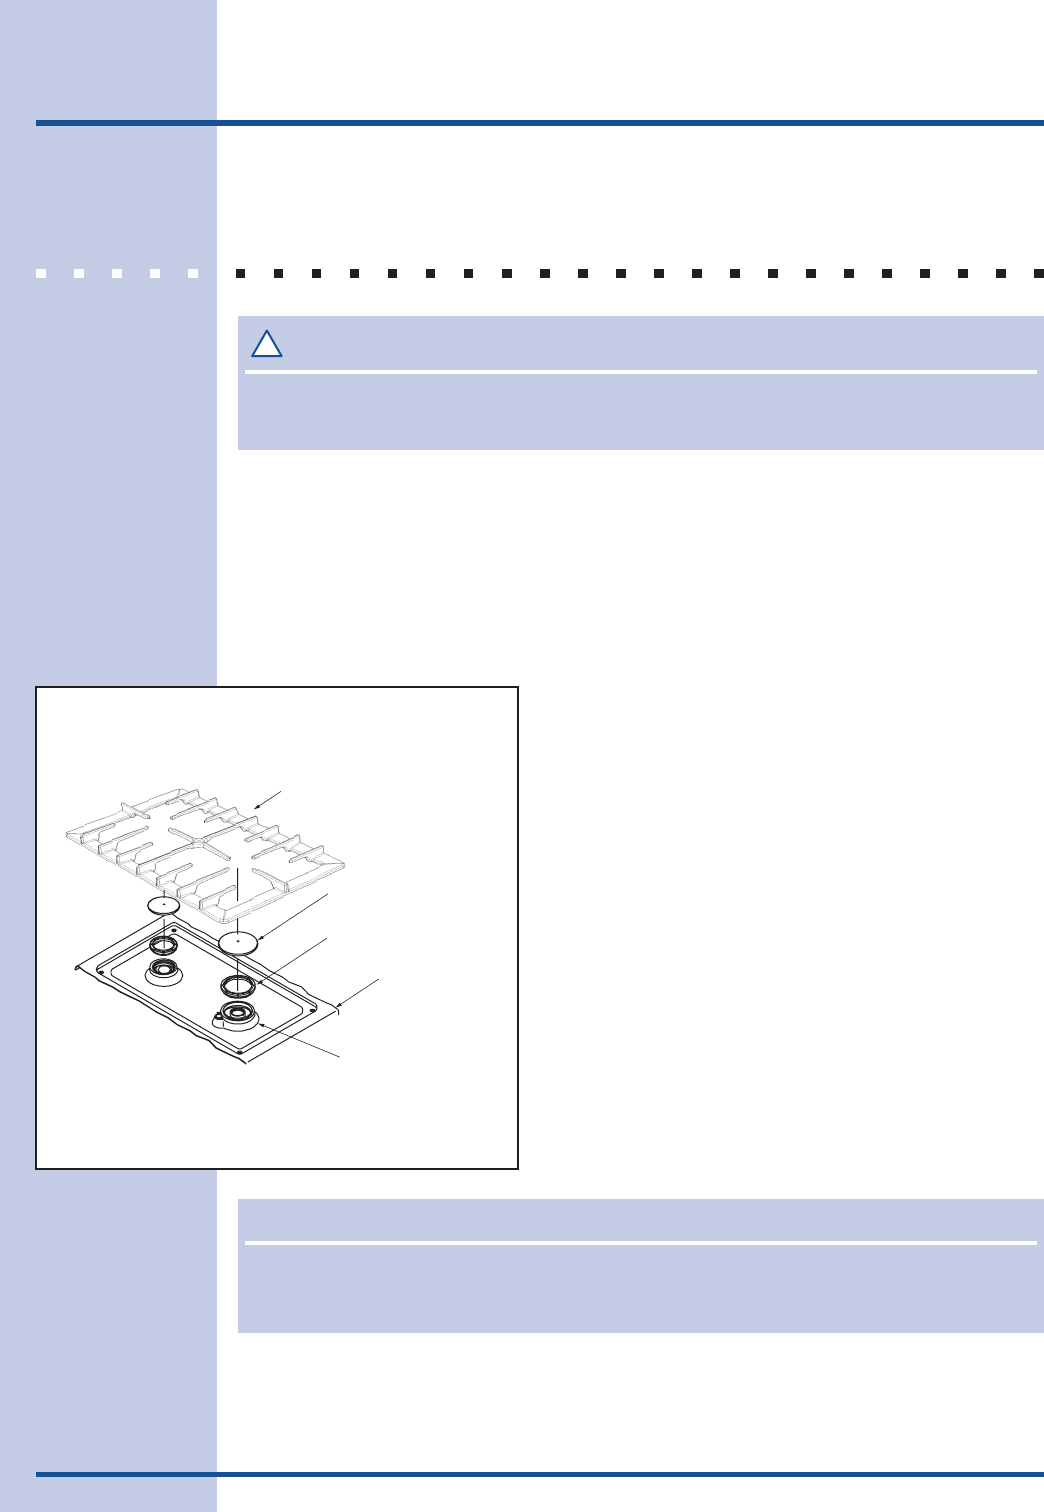
Remove the brass burner rings, porcelain burner caps, and porcelain grates from
their shipping packages. Place each burner ring onto its corresponding burner
base, being certain that the five alignment tabs slide into the matching notches in
the base. Set each porcelain burner cap on top of its corresponding burner ring.
Place each grate onto the cooktop, being certain that the rubber feet are positioned
in the locating dimples.
Grill Components
Remove the grill components from inside the main
carton. Remove all of the packing materials from
the Grill, U-burner, Heat Control Channels, Grease
Control Box and the Drip Pans.
Begin your set up by placing the Drip Pans inside
on the bottom of the open grill burner box area,
using the dimples to locate the Drip Pan. Next, slip
the open end of the U-burner onto the gas stub
located in the front inside of the grill burner box, and
insert the bracket on to opposite end of the U-
burner into the slot located on the Grease Control
Box. Proceed to install the Heat Control Channels,
which sit on top of four pins at the inside front and
back of the grease control box. Finally, set the grill
in place on the top of the cooktop.
!
WARNINGWARNING
WARNINGWARNING
WARNING
Never attempt to operate the cooktop with any of the burner rings, burner caps, grates
or grill components removed.
NONO
NONO
NO
TETE
TETE
TE
The U-burner is adjusted at the factory and does not require any field adjustment for
proper function.
Grate
Burner Cap
Burner Ring
Top Frame
Burner Head (Fixed)
Burner Components
Figure 7


