


Setting the Clock
The clock has two options; a 24 hour
clock or a 12 hour clock.
The clock can be set each time you plug
in the toaster oven. To set the clock:
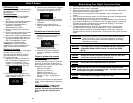
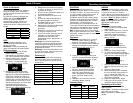
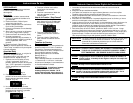
1. Press the “Clock” button once, Hr24
will appear in the display window,
press clock button a second time,
Hr12 will appear. “Clock” will flash
continuously. (Fig. 15)
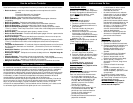
2. To enter the correct time of day,
press the “Increase” button until the
appropriate hour appears. (Fig. 16)
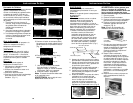
3. Once the hour is selected press the
clock button again to change the
minutes. The :00 will flash. (Fig. 17)
Fig. 15
Fig. 16
Fig. 17
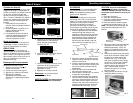
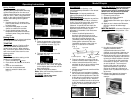
Using the Stop/Cancel Function
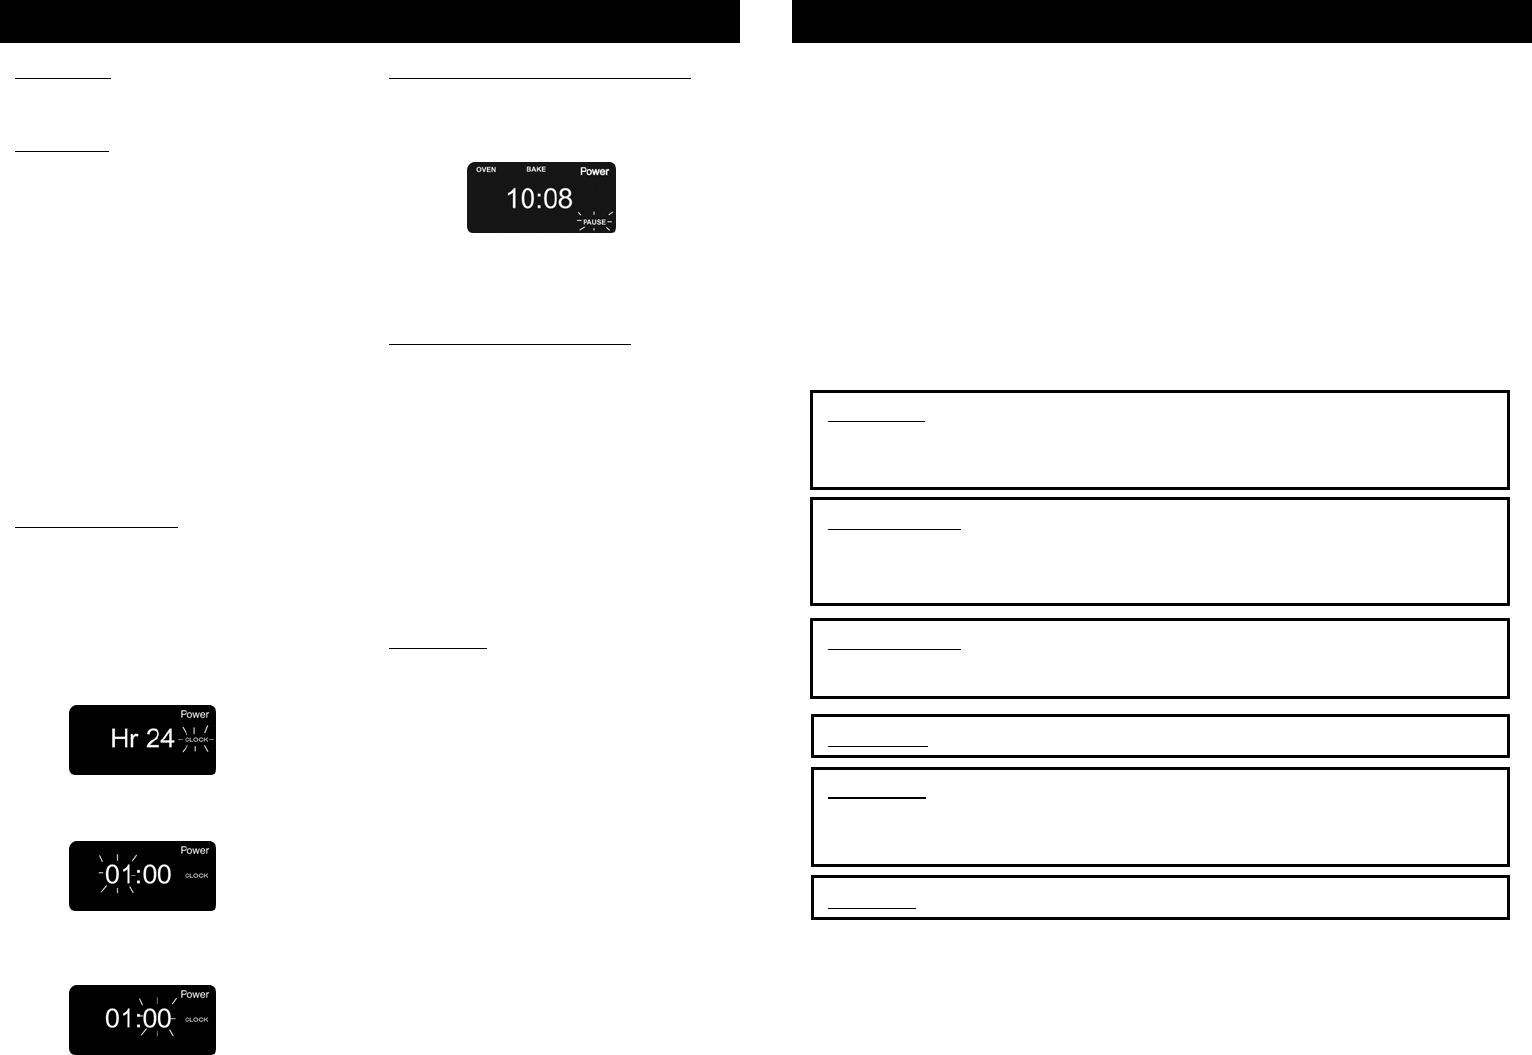
1. Press the “Stop/Cancel” button to
stop the oven while oven is in
operation. “PAUSE” will light up on
the display window. (Fig. 18)
2. Press the “Start” button to resume
function.
3. Press “Stop/Cancel” to cancel
setting or selected function.
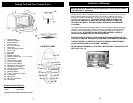
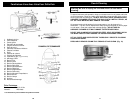
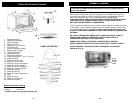
Recommended Pan Sizes
The following recommended pan sizes
should fit your Convection/Toaster Oven.
To be sure the pan will fit, place the pan
inside the oven to check before preparing
your recipe.
6 - cup muffin pan
8 x 4 loaf pan
9 x 5 loaf pan
8" round or square baking pan or dish
1-1 1/2 quart casserole dish - most types
When baking in loaf pans, we
recommend you do not fill more than half
full.
CAUTION: When sliding the wire
rack out of oven, always support the
rack. Do not let go until you are sure
the rack is securely supported.
Fig. 18
4. Press the “Increase” button until the
appropriate minutes are displayed.
5. Press the “Clock” button one more
time to set the time selected.
10
Operating Instructions
DEFROST
Note: It is not recommended to pre-heat
the oven when using the defrost function.
Operation
1. Connect unit to power supply.
2. Place wire rack on desired support
guide.
3. Press the “Defrost” button to select
the defrost function.
4. Set the timer by pressing the
“Increase/Decrease” button.
5. Place food on the bake pan.
6. Open the door and place the food in
the oven, then close the door.
7. Press the “Start” button.
8. When the defrost process is done, the
unit will beep 3 times and “END” will
appear in the display window.
9. Press the “Start/Cancel” button.
Note: There is no need to press the
“Timer/Temp” button when using this
feature to adjust the time desired.
1. Avant d’utiliser votre four grille-pain, lisez toutes les directives.
2. Assurez-vous que le four est débranché.
3. Nettoyez tous les accessoires à l’eau savonneuse chaude ou au lave-vaisselle.
Retirez aussi la pellicule de protection du panneau de commande.
4. Séchez complètement tous les accessoires et remettez-les dans le four au
besoin.
5. Branchez le four dans la prise électrique. L’affichage à DEL s’illumine et le four
émet un bip afin de vous informer qu’il est branché.
6. Après l’assemblage de votre four, nous vous recommandons de le faire
fonctionner à la température maximale en mode cuisson durant environ 15
minutes afin d’éliminer tout résidu. Cela éliminera en autre toute trace d’odeur
initiale.
7. Pour sélectionner la fonction de cuisson, appuyez une fois sur le bouton « four ».
Appuyez ensuite sur le bouton d'augmentation pour augmenter la température du
four. Une fois la température sélectionnée, appuyez sur la minuterie pour régler
la durée. Appuyez sur le bouton de diminution pour sélectionner une durée de 15
minutes. Une fois la durée réglée, appuyez sur le bouton de démarrage.
27
Remarque: Le démarrage initial peut causer une odeur et une fumée minimale
durant environ 15 minutes. Cela est normal et sans danger. Ce
phénomène est causé par le brûlage de l’enduit protecteur appliqué
aux éléments chauffants en usine.
Mise en garde: Soyez toujours extrêmement prudent lorsque vous retirez
la grille, le plateau de cuisson, le plateau à miettes ou tout
objet chaud d’un four.
Mise en garde: AFIN DE RÉDUIRE LES RISQUES DE BLESSURE OU DE
BRÛLURE, NE TOUCHEZ PAS AUX SURFACES CHAUDES
LORSQUE LE FOUR EST EN MARCHE. UTILISEZ
TOUJOURS DES GANTS DE CUISSON.
Attention : Ne laissez pas l’appareil sans surveillance pendant l’utilisation.
Remarque: Préchauffez toujours le four pendant 15 minutes avant la
cuisson. Les viandes surgelées peuvent nécessiter une durée
plus longue. L’utilisation d’un thermomètre à viande est donc
fortement recommandée.
Attention: Débranchez le four lorsque vous ne l’utilisez pas.
Avant D’employer Votre Four À Convection Numérique