15
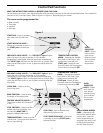
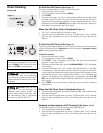
Be sure the range is cool
before removing elements or drip bowls.
Be careful not to bend terminal ends
when replacing elements after cleaning.
General Cleaning
(continued)
Surface Elements and Drip Bowls
Surface elements can be unplugged and removed to make cleaning the drip pans
easier. The surface elements clean themselves when they are turned on. Food spilled
on a hot element will burn off. Food spilled on a cool element may be cleaned with
a damp cloth—any remaining soil will burn off the next time the element is used.
Never immerse a surface element in water.
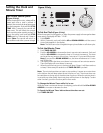
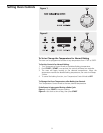
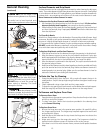
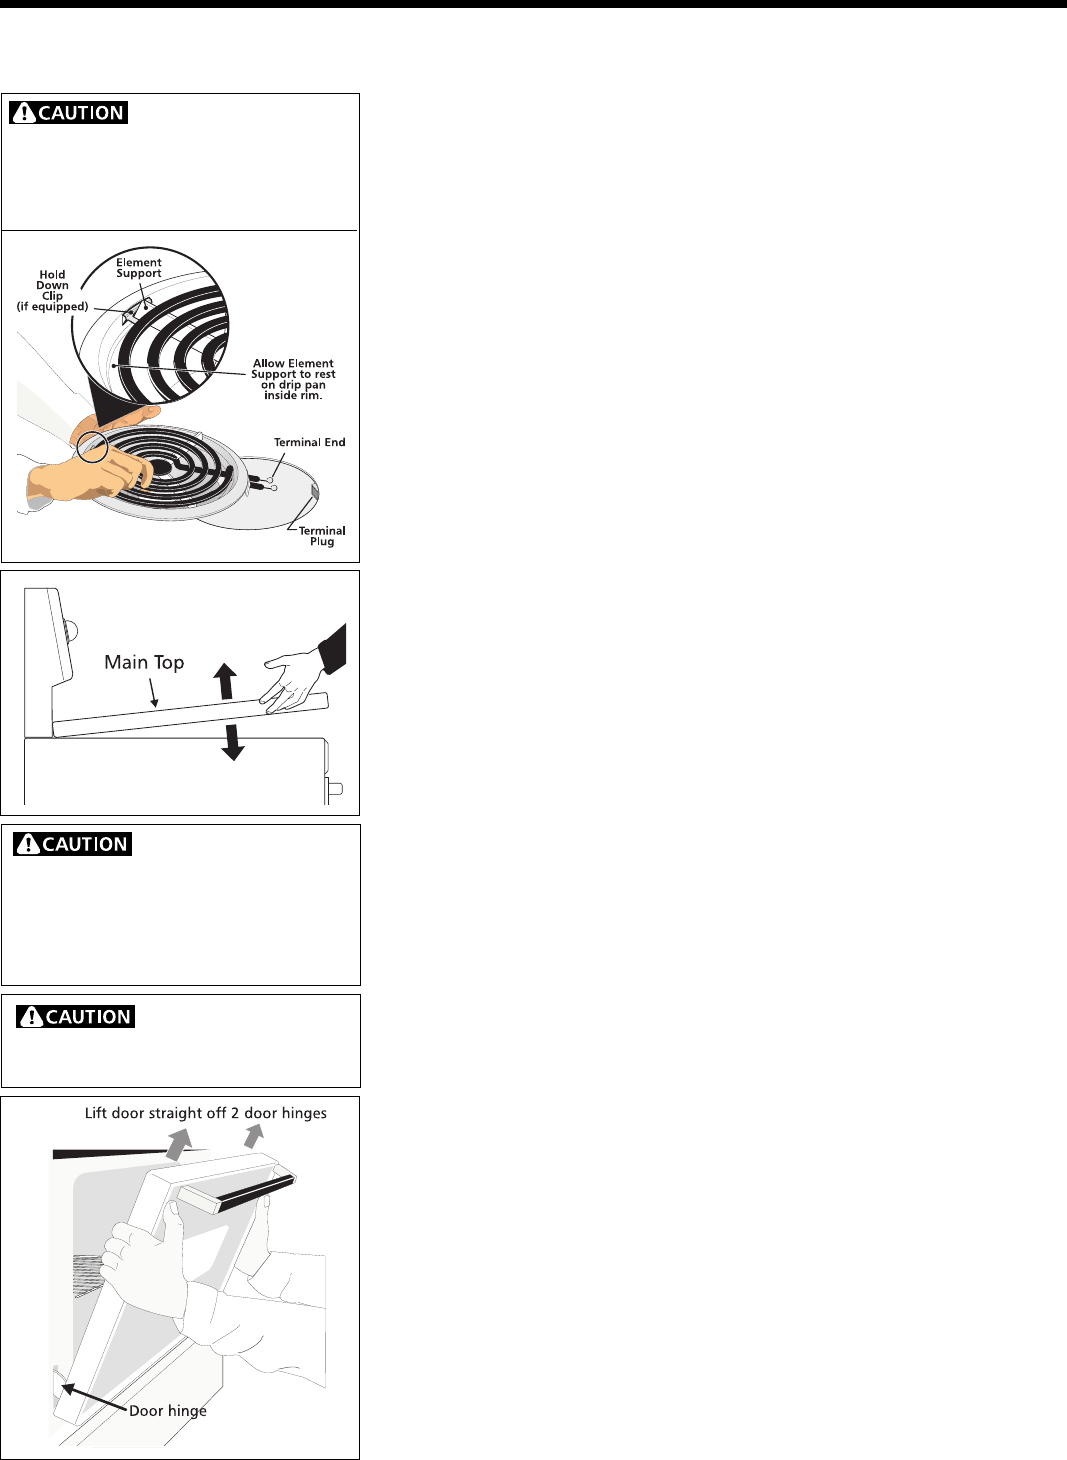
To Remove the Surface Elements and Drip Bowls
1. Lift the edge of the drip bowl across from the terminal end. Lift the surface
element and drip bowl together just enough to clear the cooktop.
2. While holding the drip bowl and surface element, gently pull the terminal end
out from the terminal plug. If equipped, DO NOT remove the hold down clip
from the drip bowl.
To Clean Drip Bowls
Wash in hot, soapy water or in the dishwasher. Rinse and dry while still warm. Hard
to remove, burned on soil can be removed by soaking the drip bowls for about 20
minutes in a lightly diluted liquid cleanser or a solution of ammonia and water
(1/2 cup ammonia to 1 gallon of water). A nylon scrubber may be used after soaking.
DO NOT use abrasive cleaners or steel wool, as they will scratch the surface. Always
rinse with clean water and polish dry with a soft cloth.
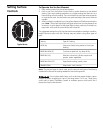
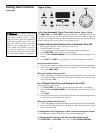
To Replace Drip Bowls and Surface Elements
1. Slide the terminal end on the element through the opening in the drip bowl.
2. Align the element support to rest on the rim inside the drip bowl. If your drip
bowl is equipped with a hold down clip, align the element support opposite the
terminal end with the slot in the hold down clip, and snap into place.
3. After the element is positioned in the drip bowl, line up the terminal end with
the terminal plug as shown.
4. Hold the surface element and drip bowl together as level as possible and firmly
push the terminal end into the terminal plug. Make sure element terminal is
seated properly into terminal plug. Make sure the surface element is level to
reduce the hazard of pans sliding off the element.
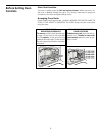
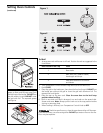
To Raise the Top for Cleaning
1. Grasp the sides and lift from the front. Lift-up rods will support the top in its
raised position. Only lift the top high enough to allow the support rods to snap
into place.
2. Clean underneath using a clean cloth and hot, soapy water.
3. To lower the top, gently push back on each rod to release the notched support.
Hold the range top and slide the range top down into the range frame.
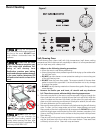
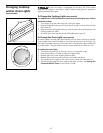
To Remove and Replace Oven Door
To Remove Oven Door
1. Open the door to the quarter-open position. Grasp the door firmly on both sides
and lift up and off the hinges.
2. To clean oven door, follow the instructions provided in the cleaning chart
under General Cleaning.
To Replace Oven Door
1. Be sure the hinge arms are in the quarter-open position. Be careful if pulling
the hinges open by hand. The hinges may snap back against the oven frame
and could pinch fingers.
2. Hold the door at the sides near the top. Insert the hinge arms into slots at the
bottom of the door.
3. Hinge arms must go into the range slots evenly. The hinge arms should be
inserted into the bottom corners of the door as far as they can go.
4. If the door is not in line with the oven frame, remove it and repeat the above
steps.
The door is heavy. For safe,
temporary storage, lay the door flat with
the inside of the door facing down.
When lowering the lift-up
range top, grasp the sides with finger-
tips only. Be careful not to pinch fingers.
DO NOT drop or bend the range top
when raising or lowering. This could
damage the surface.


