


10
30" DUAL FUEL SLIDE-IN RANGE INSTALLATION INSTRUCTIONS
(Models with an Electric Oven and a Gas Cooktop)
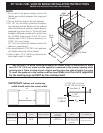
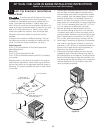
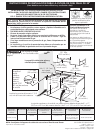
Standard Installation
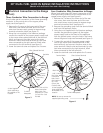
The range cooktop overlaps the countertop at the
sides and the range rests on the floor. The cooktop is
31½" (80 cm) wide.
Install base cabinets 30" (76.2 cm) apart. Make sure
they are plumb and level before attaching cooktop.
Shave raised countertop edge to clear 31½" (80 cm)
wide range top rim.
Install cabinet doors 31" (78.7 cm) min. apart so as
not to interfere with range door opening.
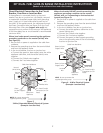
Cutout countertop exactly as shown on page 1.
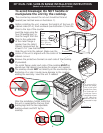
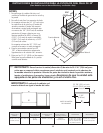
Make sure the four leveling legs are setup higher
than the height of the cabinet (shown on page 3).
Install the anti-tip bracket at
this point before placing the range at its final
position. Follow the installation instructions on page
13 or on the anti-tip bracket template supplied with
the range.
To provide an optimum installation, the top surface
of the countertop must be level and flat (lie on the
same plane) around the 3 sides that are adjacent to
range cooktop. Proper adjustments to make the top
flat should be made or gaps between the countertop
and the range cooktop may occur.
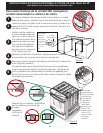
To reduce the risk of damaging your
appliance, do not handle or manipulate it by the
cooktop. Manipulate with care.
Position range in front of the cabinet opening.
Make sure that the underside of the cooktop clears
the countertop. If necessary, raise the unit by lowering
the front leveling legs and the back leveling wheels.
Level the range (see section 9). The floor where
the range is to be installed must be level. Follow the
instructions under "Leveling the Range".
Slide the range into the cutout opening.
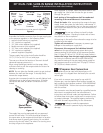
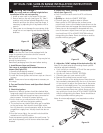
8. Range Installation
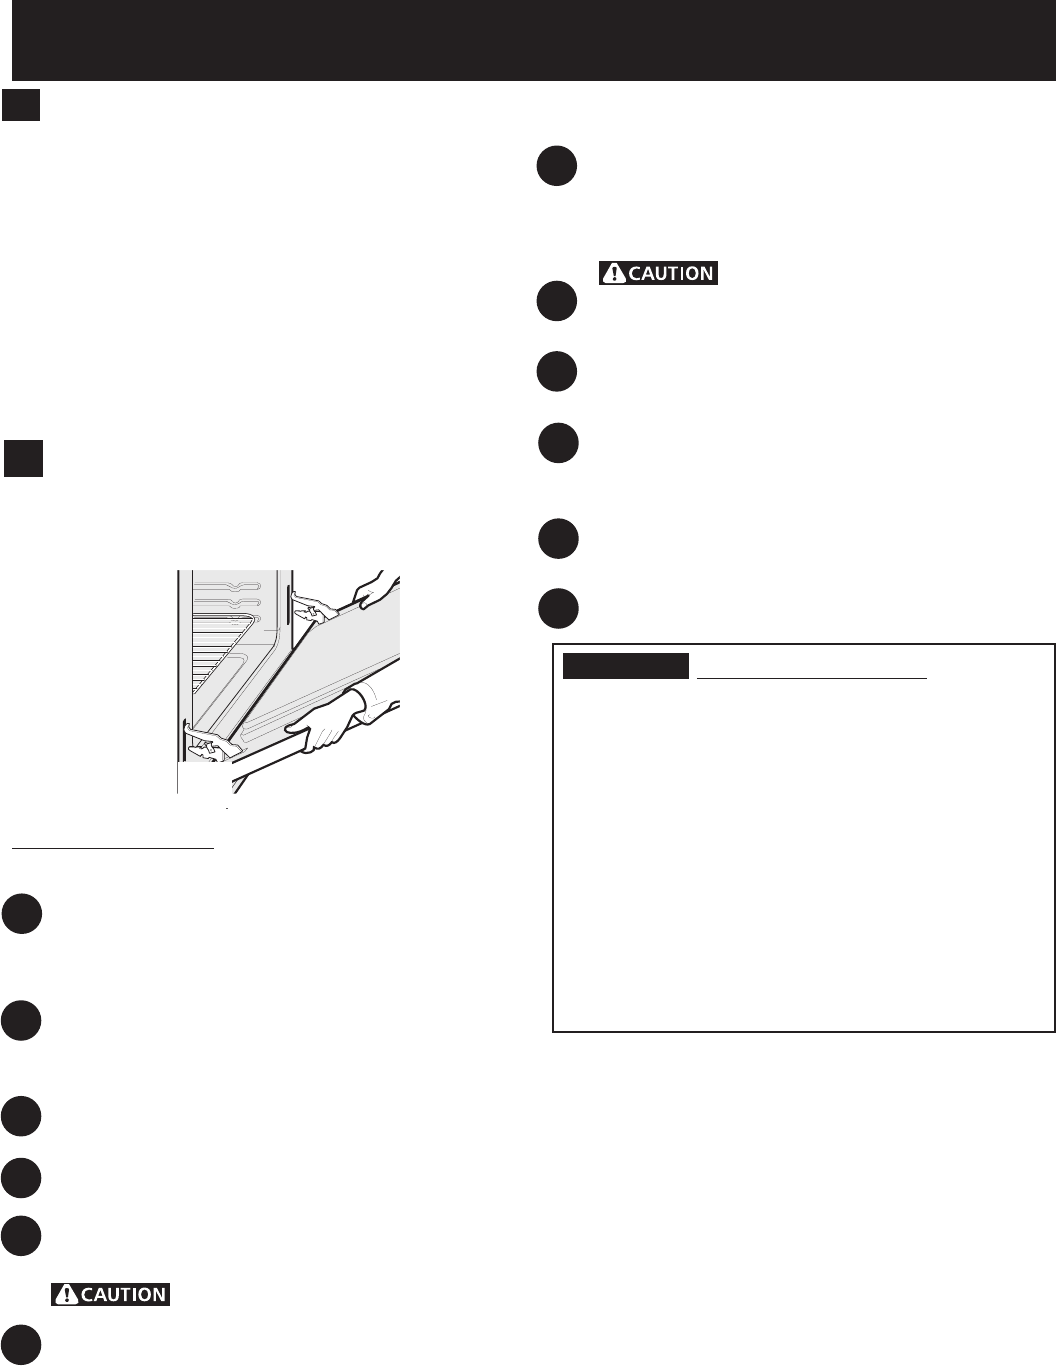
Important Note: Door removal is not a requirement for
installation of the range, but is an added convenience.
Refer to the Use and Care Guide for oven door removal
instructions.
1
2
3
4
5
6
7
8
9
10
11
12
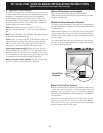
IMPORTANT
If Accessories Needed :
Installation With Backguard
The cutout depth of (21 3/4" (55.2 cm)Min., 22 1/8"
(56.2cm) Max.) needs to be increased to 24" (61 cm)
when installing a backguard.
Installation With End Panel
A End Panel kit can be ordered through a Service
Center.
Installation With Side Panels
A Side Panels kit can be ordered through a Service
Center. Note: Install cabinet doors 31" (78.7 cm) min.
apart so as not to interfere with range door opening.
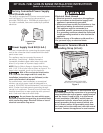
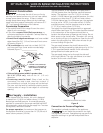
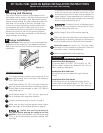
7. Moving the Appliance for
Servicing and Cleaning
Turn off the range line fuse or circuit breakers at the
main power source, and turn off the manual gas shut-off
valve. Make sure the range is cold. Remove the service
drawer (warmer drawer on some models) and open the
oven door. Lift the range at the front and slide it out
of the cut-out opening without creating undue strain
on the flexible gas conduit. Make sure not to pinch
the flexible gas conduit at the back of the range when
replacing the unit into the cut-out opening. Replace
the drawer, close the door and switch on the electrical
power and gas to the range.
Figure 11