


4-2
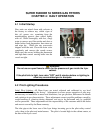
4.2.1 Pilot Lighting Procedures, Domestic (non-CE)
WARNING
When checking for burner ignition or performance, do not get too close to the
burners. Slow ignition can cause possible flashback, increasing the potential
for facial and body burns.
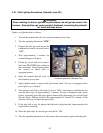
Light or re-light the pilot as follows:
1. Turn off the manual shut-off valve on the incoming service line.
2. Turn the operating thermostat "OFF".
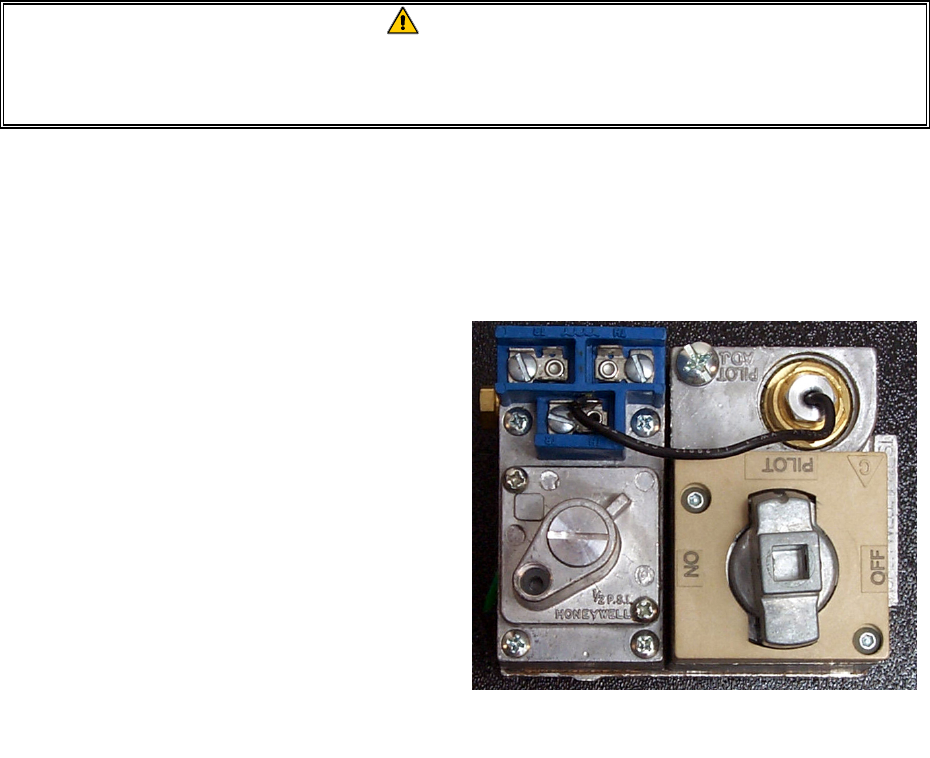
3. Depress the pilot gas cock dial on the
combination control valve and turn to
"OFF".
4. Wait approximately 5 minutes for
accumulated gas to disperse.
5. Fill the fry vessel with oil or water to
the lower OIL LEVEL line scribed on
the vessel back. Ensure heating tubes
are covered in liquid prior to
engaging burners.
6. Open the manual shut-off valve on
the incoming service line.
7. Apply lighted match or taper to the pilot burner head. (If fryer is equipped with a
piezo ignitor, go to Step 8).
8. Turn the gas cock dial on the control valve to "Pilot", then depress and hold the dial
until the pilot stays lit (approximately 1 minute). (If fryer is equipped with a piezo
ignitor, repeatedly press the piezo ignitor button while depressing gas cock dial until
the pilot lights. Release the dial after approximately 45 seconds to 1 minute. If the
pilot does not stay lit, repeat the procedure.)
9. If the pilot fails to stay lit, depress the dial and re-light the pilot, depressing the dial
longer before releasing.
10. When the pilot stays lit, turn the gas cock dial to "ON".
11. Turn the operating thermostat on, then ensure the main burners ignite from the pilot.
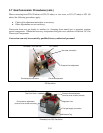
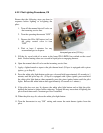
Honeywell gas valve (Domestic Only).
Honeywell gas valve (Domestic Only).