


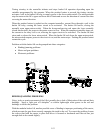
1-12
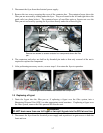
10. Reconnect the unit to the electrical power supply, and verify that the pump is functioning
correctly (i.e., when a filter handle is placed in the ON position, the motor should start and there
should be strong suction at the intake fitting and outflow at the rear flush port.)
11. When proper operation has been verified, reinstall the back panels and the filter pan and lid.
12. Reposition the fryer under the exhaust hood and reconnect it to the electrical power supply to
return the fryer to service.
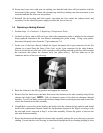
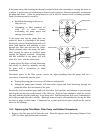
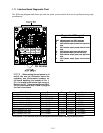
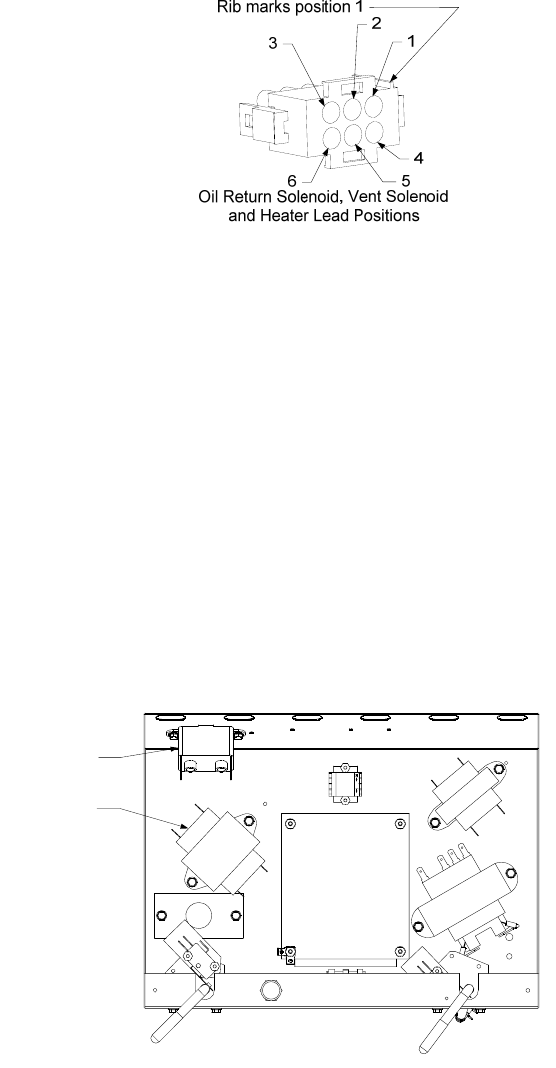
1.9.3 Replacing the Filter Transformer or Filter Relay
Disconnect the fryer from the electrical power supply. Remove the left controller from the fryer to
expose the interior of the left component box. The filter transformer and relay are located as shown
in the illustration below. NOTE: The right component box is identical to the left except that the
filter transformer and relay are not present. The components are held on by threaded pin studs so
that only removal of the nut is required to replace the component.
Filter
Relay
Filter
Transformer
Dual-vat configuration illustrated. In full-vat units, left filter handle is not present.
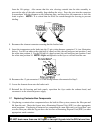
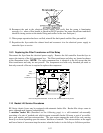
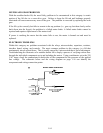
1.10 Basket Lift Service Procedures
RE Series electric fryers may be equipped with automatic basket lifts. Basket lifts always come in
pairs, although each operates independently.
A modular basket lift (illustrated on the following page) is a self-contained sub-assembly
consisting of a pair of toothed rods which support removable basket lift arms, a pair of reversible-
drive gear motors, and four microswitches. The gear motors engage the teeth of the rods, moving
them up or down depending upon the motors’ direction of rotation. The microswitches at the upper
and lower limits of movement stop the motors when the basket is in the full up or full down position.