


• 31 •
English
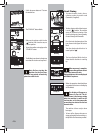
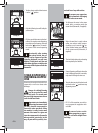
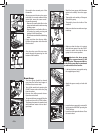
At this point the button “ “ is program-
med; each time it is pressed and released,
the machine will brew the same amount
of co ee that was just programmed.
The same operation can be repeated for
the “
“ button. If the “ “ or “ “
button is pressed twice to brew coffee,
the machine will brew double the stored
quantity.
Standby
The machine is designed for energy sa-
ving. The machine automatically turns o
after 60 minutes of inactivity.
The “
“ button blinks when the machine
is in stand-by mode.
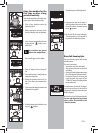
Note: During the turning o
phase, the machine performs
a rinse cycle, if a co ee product has
been brewed.
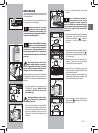
Warning: When turning the machine
on after it has been turned com-
pletely off, the machine will be in
stand-by mode
To turn the machine on again simply press
the STAND-BY button (if the power but-
ton is set to “I”). In this case the machine
will go through the rinse cycle only if the
boiler is cold.
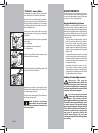
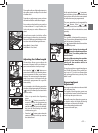
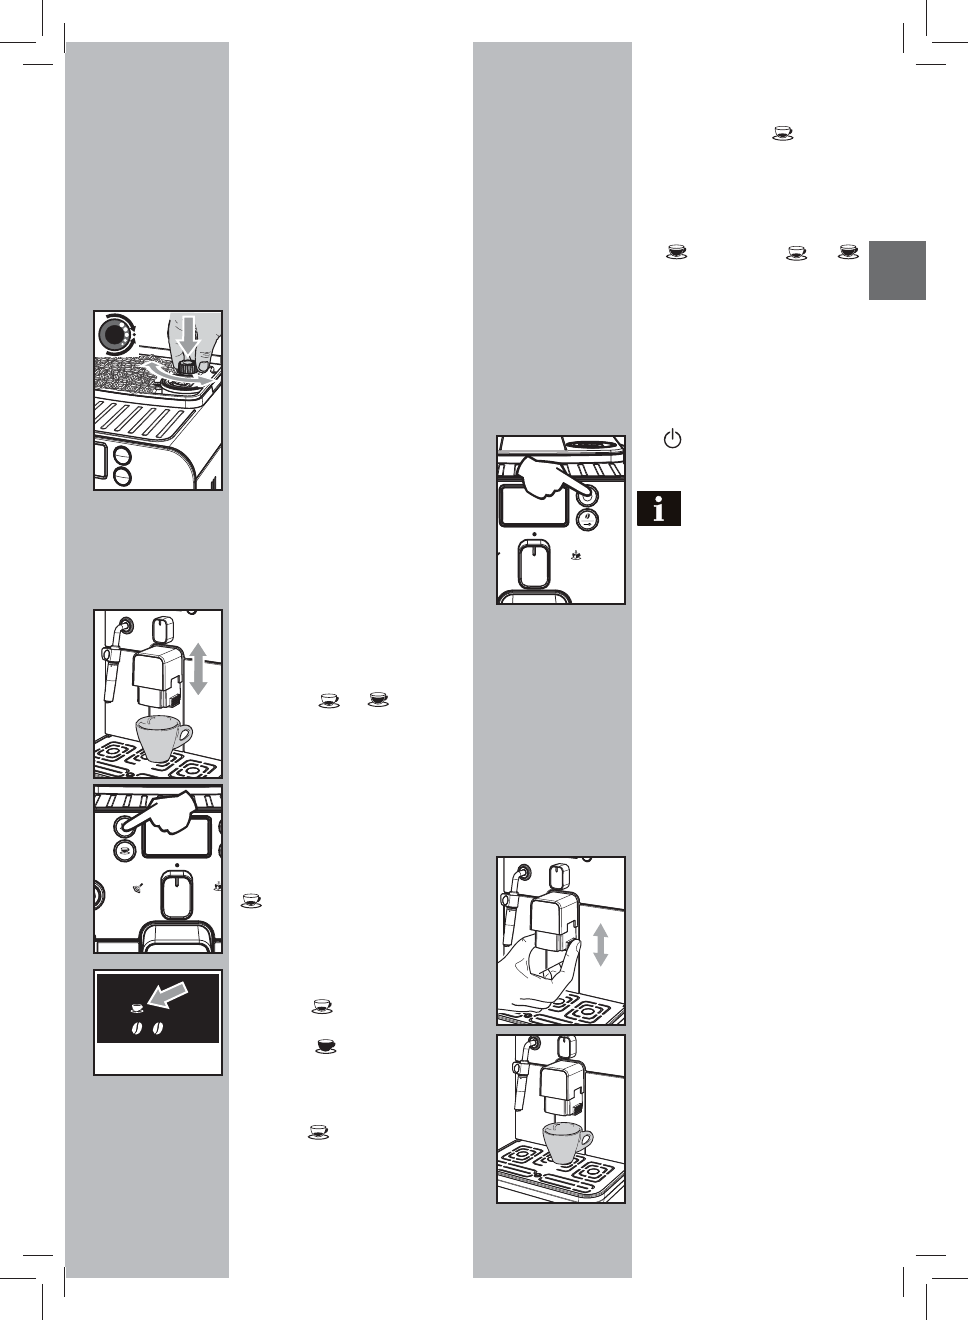
Dispensing Spout
Adjustment
Most cups on the market can be used with
this co ee machine.
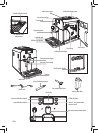
The height of the dispensing spout may
be adjusted to better t the dimensions
of the cups that you wish to use.
Manually move the dispensing spout up
or down to adjust its height by placing
your ngers as shown in the gure.
The recommended positions are:
For use with small cups;
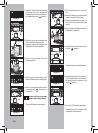
The machine allows slight adjustments to
the co ee grinder to adapt it to the kind
of co ee used.
To make any adjustment, press and turn
the knob inside the co ee bean hopper.
Press and turn the knob by one notch at
a time and brew 2-3 cups of coffee; this
is the only way to notice differences in
grind.
The reference marks inside the coffee
bean hopper indicate the grind setting.
There are 5 di erent grind settings to cho-
ose from with the following references:
Large Mark - Coarse Grind
Small Mark - Fine Grind.
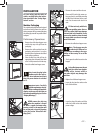
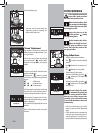
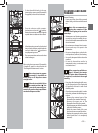
Adjusting the Coff ee Length
The machine allows you to adjust the
amount of brewed coffee according to
your taste and/or the size of your cups.
Each time the “ “
or “ “ buttons are
pressed and released, the machine brews
a pre-set amount of co ee, as per factory
settings. This amount may be reprogram-
med to your taste. Each button may be
individually programmed for a specific
brew setting.
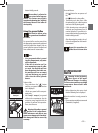
As an example, the following procedure
describes the programming of the button
“
“, which is normally associated with
espresso co ee.
• Place a cup under the dispensing
spout.
•
Hold the “ “ button pressed for 5
seconds to enter the programming
mode; the “
“ icon will blink quickly
and the co ee will start to be brewed;
the icon will flash during the whole
co ee brewing cycle.
• Press the “ “ button again when the
amount of coffee in the cup reaches
the desired level.
Blinking