


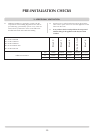
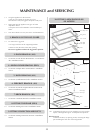
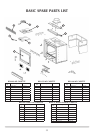
26
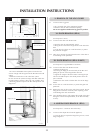
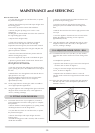
9.4 Following completion of the fitting of the ducts replace and
finish the final 300mm of masonry above the front of the
Riva MF. See diagram 20.
HOT
Final Masonry
300mm
19
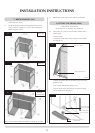
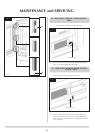
8.2 The removal of the frame is the reverse of the previous
operations.
8.3 Protect the Riva MF paintwork from possible damage and
marking from building debris during installation.
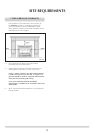
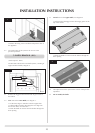
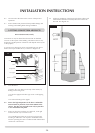
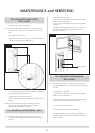
9. FITTING CONVECTION AIR DUCTS
Riva 55/66/66 Avanti/76 Only
Convection air may be ducted from the Riva MF to distribute
warm air to other parts of the building. The distance this air may
be ducted, and the position of the ducts will depend on the layout
of the property.
A convection air ducting kit can be purchased from your Stovax
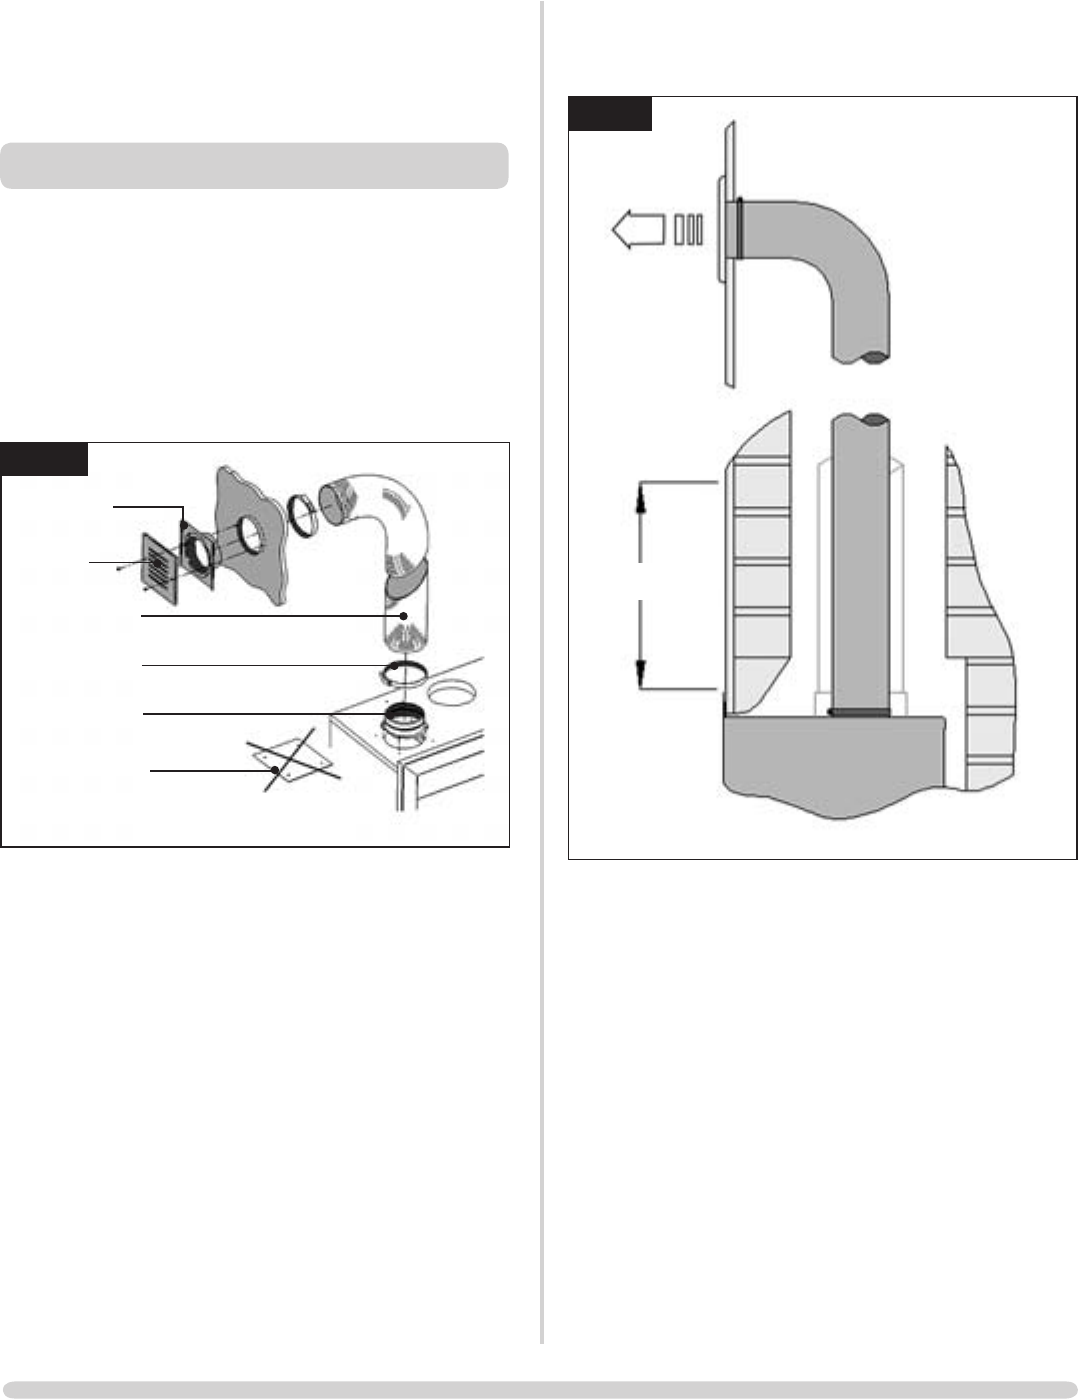
dealer (Stovax part number 8572), as shown in diagram 18.
Wall plate
Vent
Duct
Cover
(Remove from box)
Duct Spigot
Clamp Band
18
9.1 To fit the ducts:
•Removethecoverplatesonthetopofthefirebox,by
drilling out the fixing rivets
•Fittheductspigotswitheitherpoprivetsorself-tapping
screws
•Fitandsealductingtothespigots
9.2 Due to the high temperature of the ducts combustible
material must be placed no closer than 100mm to the
surface. The duct exits and grills must only be placed in
a non-combustible wall panel.
9.3 Protect or place the exit ducts at a high level, as the grill
surfaces become very hot when in use.
Use a suitable guard if the exit is at low level to prevent
touching or obstruction. Do not place combustible items
near the operating duct exit as conducted and radiated heat
could cause a fire hazard.
INSTALLATION INSTRUCTIONS