


30
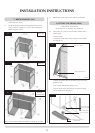
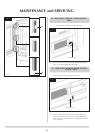
•SqueezeagenerousbeadoffreshStovaxThermicSeal
glue into the rope locating groove
•PressthenewStovaxropeintothelocatinggroove,
placing the joint in the middle of the lower edge of the
door
•Refitthedoorandclosethedoortoapplypressuretothe
new rope
•Leavetheapplianceclosedforatleast12hoursbefore
lighting the appliance and using at a low output for
approximately one day
11.2 Using the appliance with a damaged door seal can cause
dangerous fumes to enter the room, or the appliance to
over fire, resulting in damage.
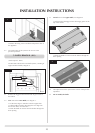
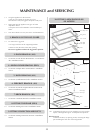
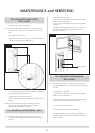
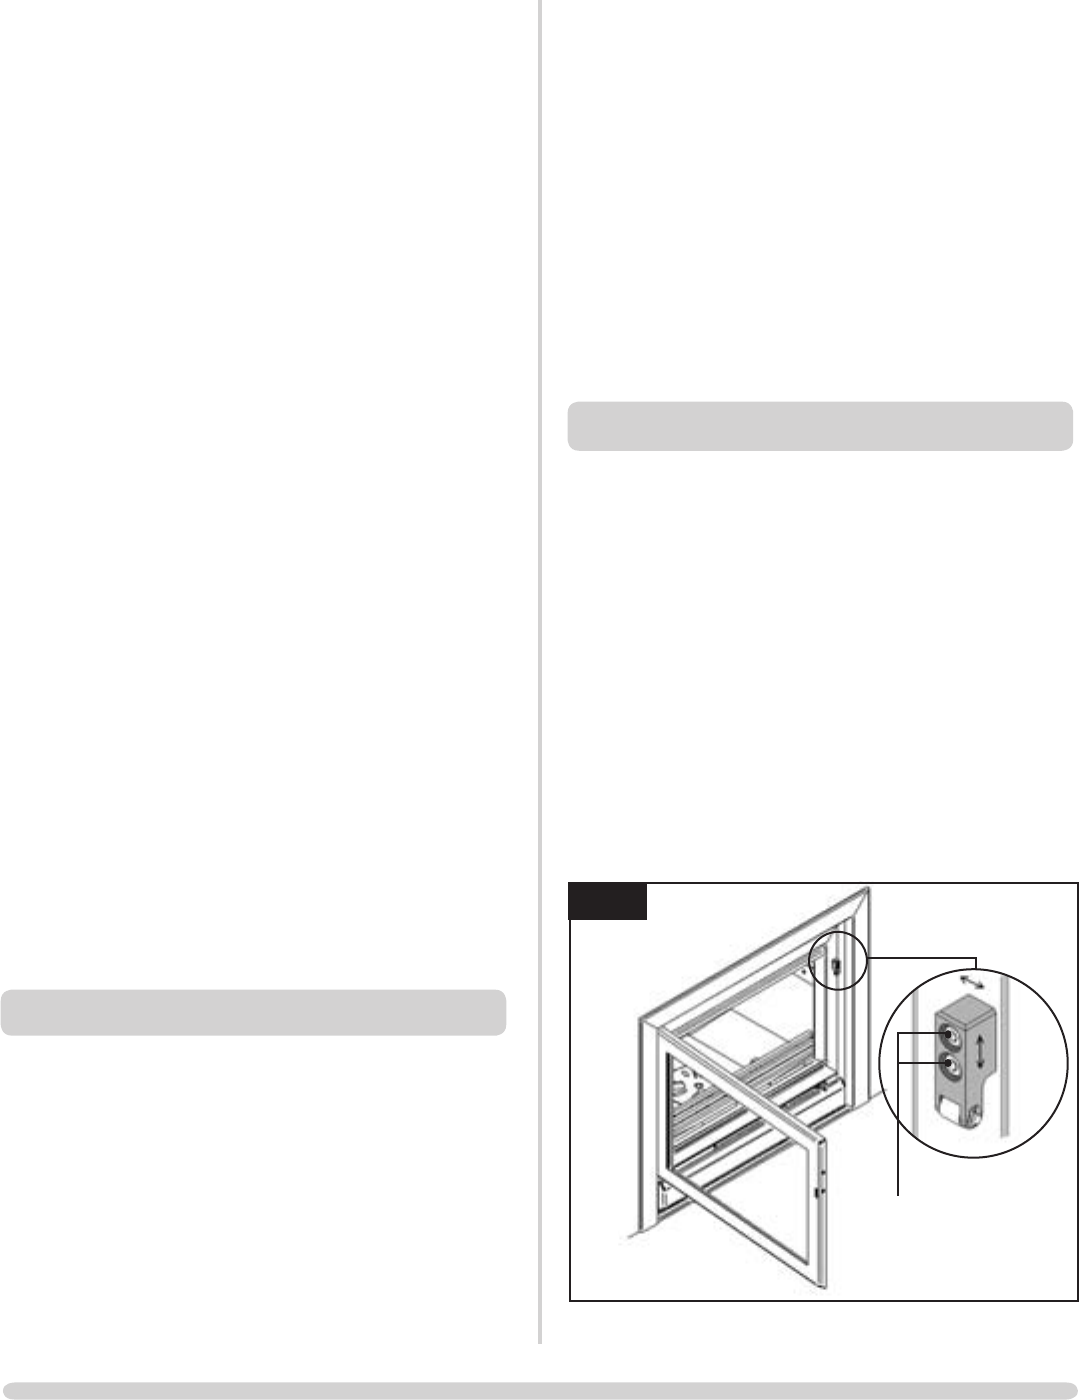
12A. ADJUSTING DOOR CATCH - RIVA
12a.1 To maintain the safe use of your Riva, you may need to
adjust the door catch to ensure safe correct closing of the
door.
To Complete this operation:
•Openthemainfiredoortogiveaccesstothefixedpartof
the door catch as shown in diagram 7.
•Usinga2.5mmA/Fhexagonkeyloosenthe2fixing
screws, as shown in diagram 7
•Repositionthecatchblocktoachieveacorrectfit
This may need a trial and error approach to find the correct
position.
12a.2 If the door feels loose after correcting the catch operation
the door rope seal is worn and requires replacement, as
detailed in section 7.
Fixing Screws
3
Riva 66 Avanti see 3B
•Laythedoorfacedownonasoftflatsurface,toprotect
the paintwork and glass
•Removetheolddoorropesealandscrapeoldgluefrom
the locating groove
Clean with a dry cloth to remove dust and debris.
•Removetheglassclipfixingscrewswitha2.5A/F
hexagon key
The old glass can then be lifted clear of the door (Note how
the edge sealing tape is fixed).
•Disposeoftheoldglasssafely.
•Cleanandre-painttherearofthedoorifrequired
Clean the screws with light oil and coat with high
temperature anti-seize grease, this will aid future removal.
•Fittheedgesealingtapetothenewglassandplacethe
glass into position in the door
•Placethedoorframe/trimbackintopositionandrefix
with the cleaning fixing screws
Do not over tighten the clips as this could break the glass.
•SqueezeagenerousbeadoffreshStovaxThermicSeal
glue into the rope locating groove
Do not glue over the screw heads.
•PressthenewStovaxdoorsealingropeintothelocating
groove, placing the joint in the middle of the lower edge of
the door
•Refitthedoorontotheapplianceandclosethedoorto
apply pressure to new rope
Leave the appliance closed for at least 12 hours before
lighting the appliance and use at a low output for
approximately one day.
10.2 Fit only original Stovax ceramic glass, which is suitable to
use in high temperature applications.
10.3 Using the appliance with a damaged door glass could cause
dangerous fumes to enter the room, or the appliance to
over fire, resulting in damage.
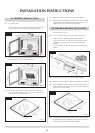
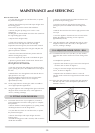
11. FITTING A NEW DOOR SEAL
11.1 To maintain the safe use of your appliance you need to
replace damaged or worn door sealing rope. To complete
this operation:
•Removethedoorfromtheappliance,byopening25mm,
and lifting the door free of the hinge blocks
•Laythedoorfacedownonasoftflatsurface,toprotect
the paintwork and glass
•Removetheoldropeandscrapeoldgluefromthe
locating groove
Clean the locating groove with a clean dry cloth to remove
all old dust and debris.
MAINTENANCE and SERVICING