


52
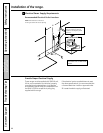
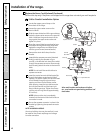
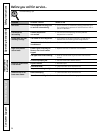
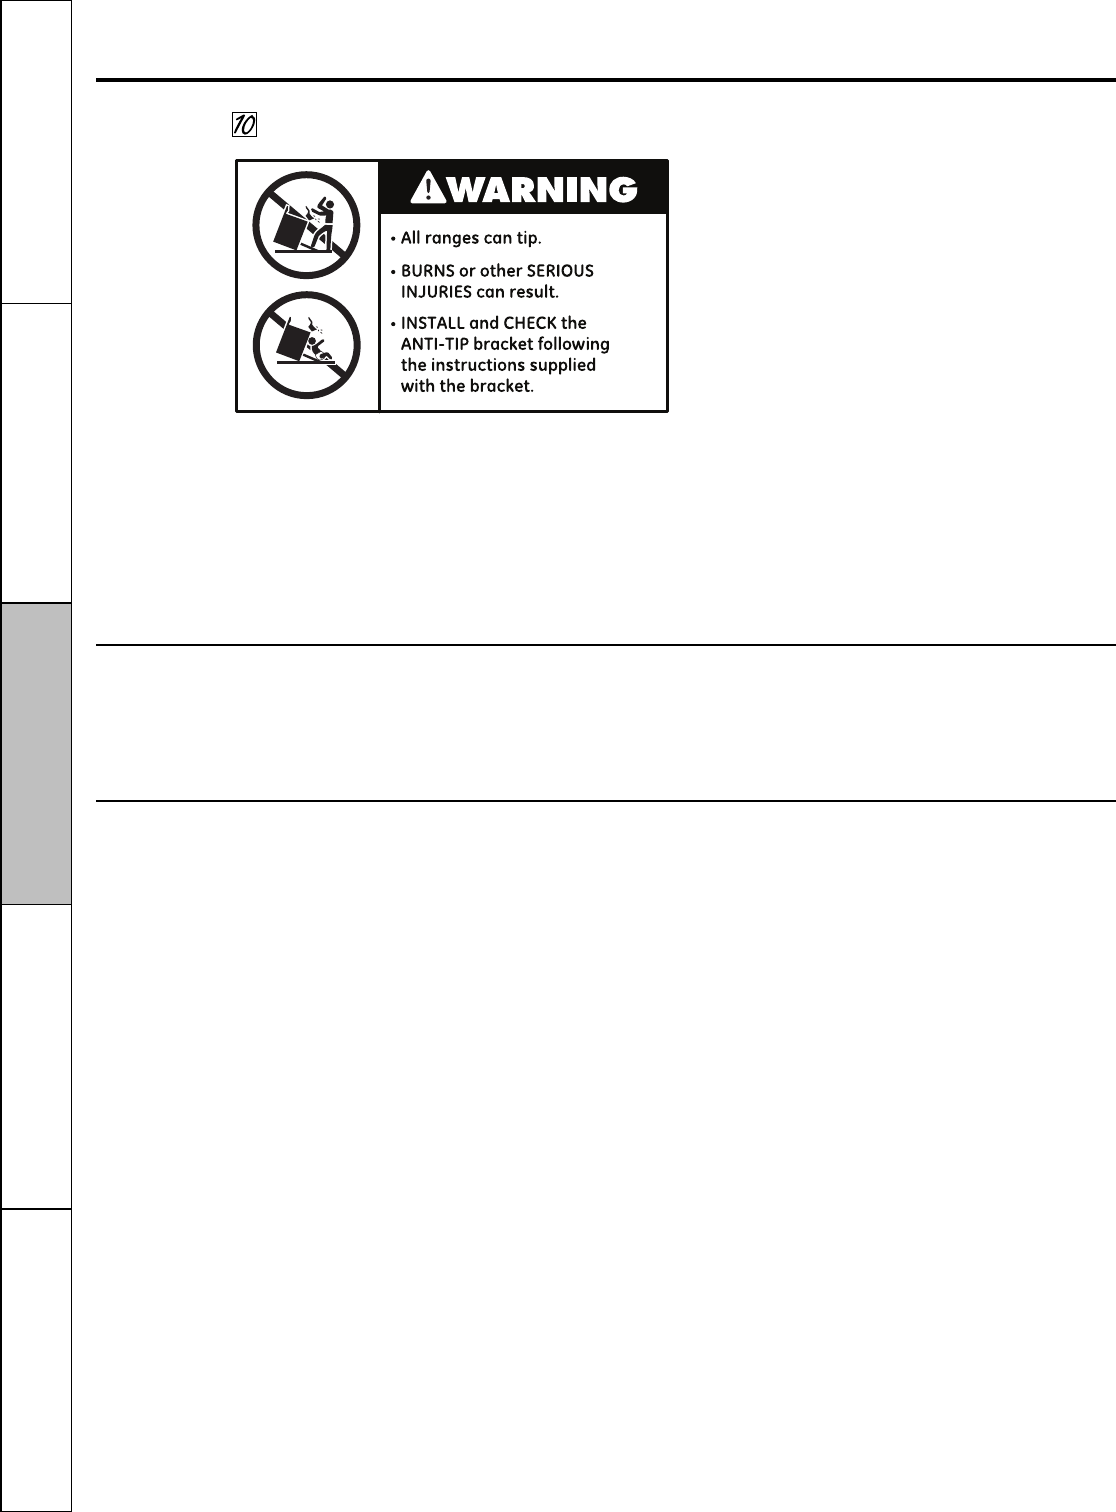
Anti-Tip Device Installation
To reduce the risk of tipping the range, the range
must be secured by a properly installed anti-tip
bracket. See installation instructions shipped with
the bracket for complete details before attempting
to install.
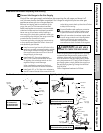
To check if the bracket is installed and engaged
properly, remove the storage drawer or kick panel
a
nd look underneath the range to see that the
leveling leg is engaged in the bracket. On models
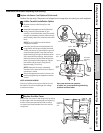
without a storage drawer or kick panel, carefully
tip the range forward. The bracket should stop
the range within 4 inches. If it does not, the
bracket must be reinstalled. If the range is pulled
from the wall for any reason, always repeat this
procedure to verify the range is properly secured
by the anti-tip bracket.
For free-standing or slide-in ranges, never
completely remove the leveling legs or the range
will not be secured to the anti-tip device properly.
If you did not receive an anti-tip bracket with
your purchase, call 1.800.626.8774 to receive
one at no cost (in Canada, call 1.800.561.3344).
For installation instructions of the bracket, visit
GEAppliances.com (in Canada, GEAppliances.ca).
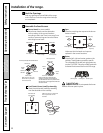
When All Hookups Are Completed:
MAKE SURE ALL CONTROLS ARE LEFT IN THE
OFF POSITION.
MAKE SURE THE FLOW OF COMBUSTION
AND VENTILATION AIR TO THE RANGE IS
UNOBSTRUCTED.
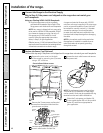
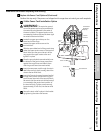
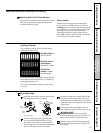
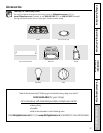
Converting to LP Gas (or converting back to natural gas from LP)
This range leaves the factory set for use with natural
gas. If you want to convert to LP gas, the conversion
must be performed by a qualified LP gas installer.
The conversion instructions and LP orifices can
be found attached to the range next to the
pressure regulator.
Keep these instructions and the orifices in case
you want to convert back to natural gas.
Installation of the range.
Operating Instructions
Safety Instructions
Installation
Instructions
Troubleshooting TipsConsumer Support