


HOW TO USE THE
MINUTE/SECO~
TMER
(continued)
Questions and Answers
Q. What will happen if I accidentally reverse my
defrost, hold and cook instructions?
A. The oven will automatically rearrange your
program. Defrosting will
always
come first, then hold,
and
then the cooking function.
Q. Can
I
defrost and hold only?
A. Yes. Sometimes you
may
only want to defrost
a
food,
hold it, and cook it later.
All
you
need to do is
program in defrost
and
amount of time. Then program
the hold time. Be sure to put the thawed dish in the
refrigerator promptly.
NOTE:
Foods that
spoil easily, such as milk, eggs,
fish, stuffings, poultry
and
pork should not be allowed
to sit out
for
more than one hour after defrosting.
Room temperature promotes the growth of harmful
bacteria.
Q. I programmed my oven for a specific defrosting
time but it defrosted longer than necessary. What
happened?
A. When instructions conflict, the oven carries
out
the
last
instruction. You may have set the oven to defrost
for
4
minutes,
hold
for 2 minutes, and then defrost for
6 minutes.
In
this case, the oven would defrost
for
6
minutes and hold for 2 minutes.
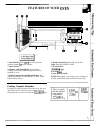
COOHNG
BY
TME
Time Cook
Time Cook I & II
allows
you to microwave for a
selected amount of time.
Power level
10
(High) is recommended
for
most
cooking, but you may change this
for
more flexibility.
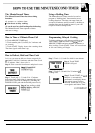
n
TIME COOK
I
&II
See the
Cooking
Guide.
Step 2: Touch TIME
COOK
1
& 11 pad.
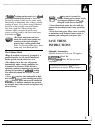
To become better acquainted with time cooking, make
a cup of coffee by following the steps below.
m
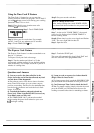
Step 3: Select your time. Touch pads 1,
() and () for one minute.
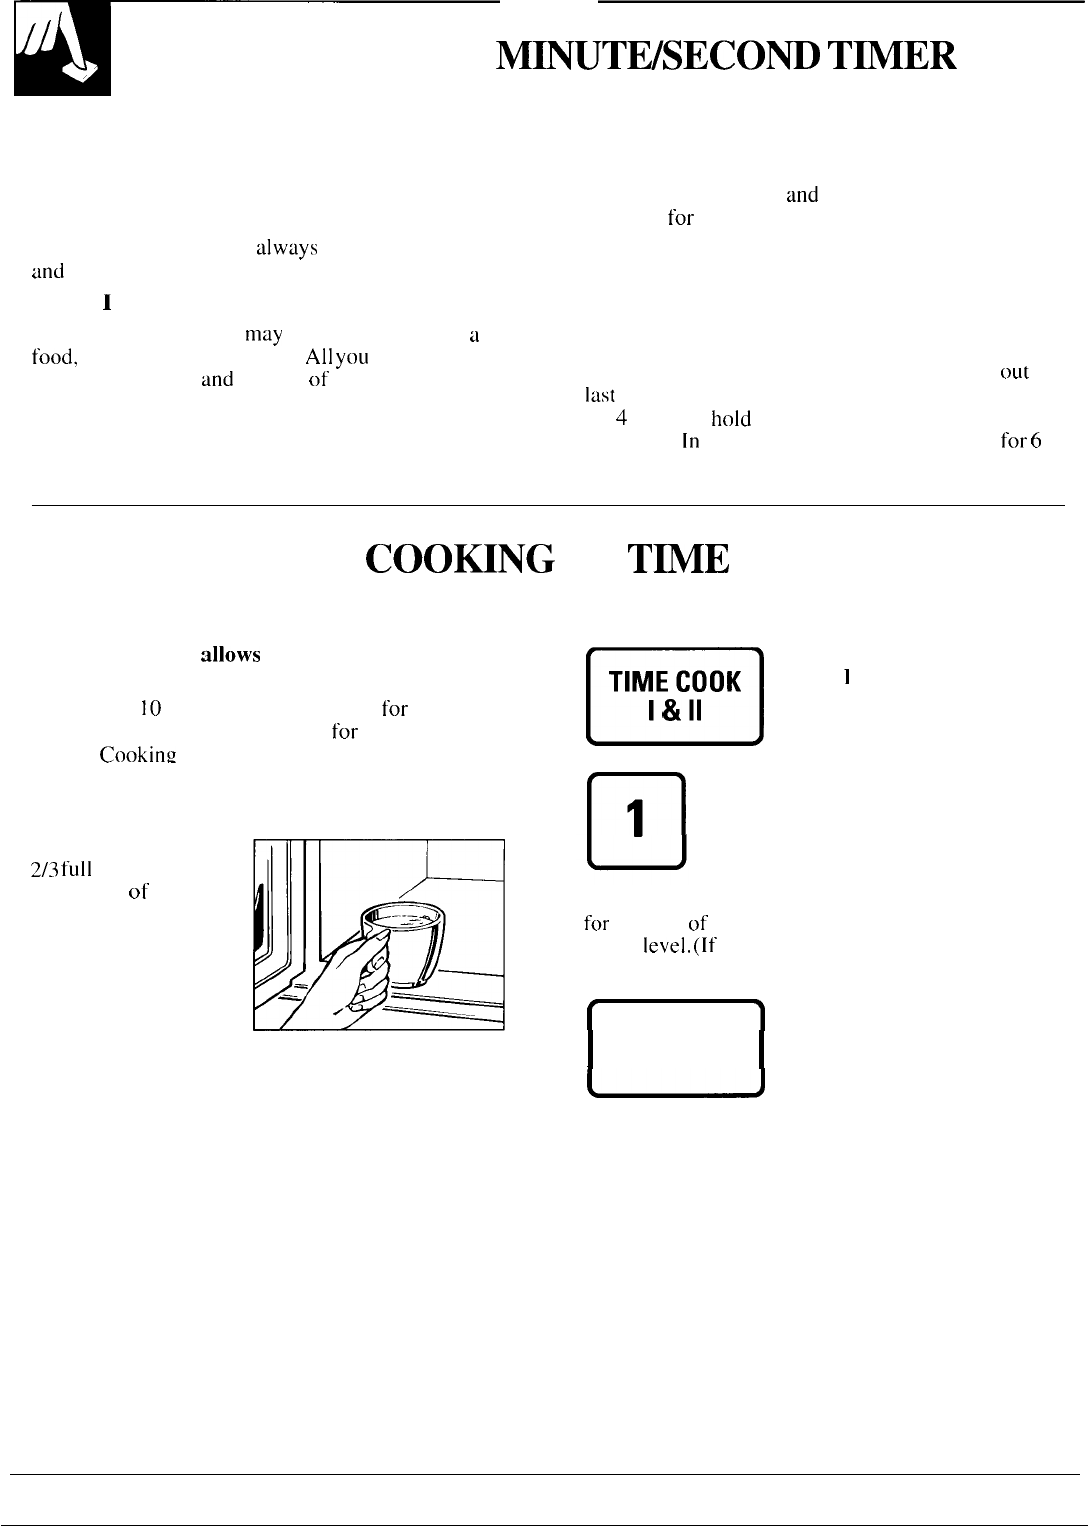
Step 1: Fill a cup
2/3
fUll of water, add
I teaspoon
of
instant
coffee and stir to
dissolve. Use a cup
that has no metal
decoration and is
microwave-safe (refer
to Microwaving Tips
section). Place cup in
oven and close door.
Because automatic power level IO is recommended
for
this cup of coffee, there is no need to change the
power
level.
(If power level 10 is not appropriate, see
“How to Change Power Level” on next page.)
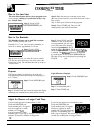
Step
4: Touch the START pad.
f
1
I
START
I
Step 5: When time is up, the oven signals and flashes
“End.” The oven, light and fan shut off.
Step 6: Open the door.
10