


22
Consumer Support Troubleshooting Tips Care and Cleaning Operating Instructions Safety Instructions
Care and cleaning of the range.
Be sure all controls are off and all surfaces are cool before cleaning any part of the range.
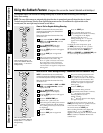
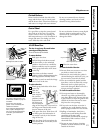
How to Remove Packaging Tape
To assure no damage is done to the finish
of the product, the safest way to remove
the adhesive left from packaging tape on
new appliances is an application of a
household liquid dishwashing detergent,
mineral oil or cooking oil.
Apply with a soft cloth and allow to soak.
Wipe dry and then apply an appliance
polish to thoroughly clean and protect
the surface.
NOTE: The plastic tape (on some models) must
be removed from all chrome trim. It cannot be
removed if it is baked on.
If your range is removed for cleaning, servicing or any reason, be sure the anti-tip
device is reengaged properly when the range is replaced. Failure to take this
precaution could result in tipping of the range and cause injury.
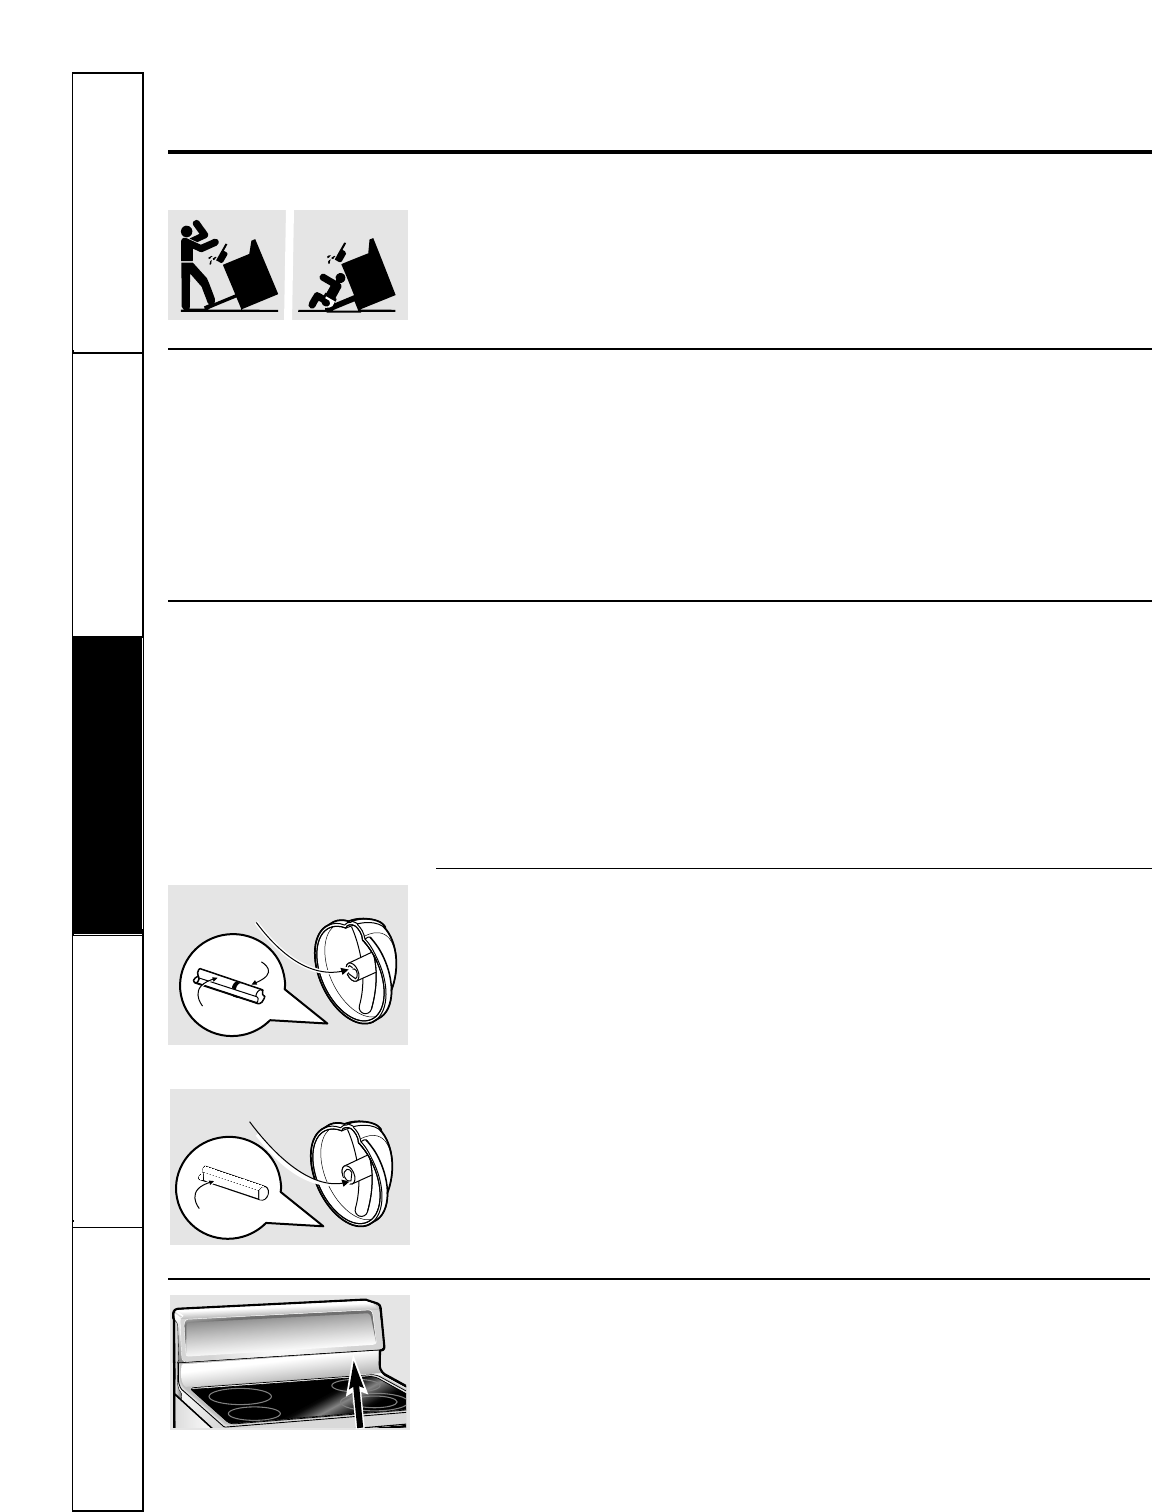
Oven Vent
The oven vent is located behind the right rear
surface unit.
This area could become hot during
oven use.
It is normal for steam to come out of
the vent and moisture may collect
underneath it when the oven is in use.
The vent is important for proper air circulation.
Never block this vent.
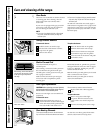
Control Knobs
The control knobs may be removed for easier
cleaning.
To remove a knob, pull it straight off the
stem. If knob is difficult to remove, place
a towel or dishcloth between the knob
and control panel and pull gently. Wash
the knobs in soap and water or a vinegar
and hot water solution.
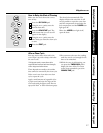
Before removing the knobs for
cleaning, please note that the knobs are
in the OFF position. When replacing the
knobs, check the OFF position to ensure
proper placement.
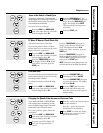
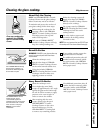
Molded flat area
Flat
Flat Stem
Spring clip
Clear groove
in stem
Molded rib
Groove Stem
On some models, the knob stem has a
groove in each side. The groove on one
side has a spring clip. The other groove is
clear (see illustration). Check the inside
of the knob and find the molded rib.
Replace the knob by fitting the molded
rib inside the knob into the clear groove
on the stem.
On some models, the knob stem is flat
on one side (see illustration). Check the
inside of the knob and find the molded
flat area.
Replace the knob by fitting the molded
flat area inside the knob onto the flat
area of the stem.