


Safety Instructions Operating Instructions Care and Cleaning Installation Instructions Troubleshooting Tips Consumer Support
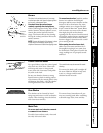
Read these instructions completely and carefully.
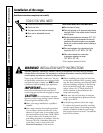
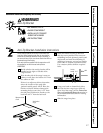
WARNING!
Anti-Tip Bracket
• ALL RANGES CAN TIP
• INJURY COULD RESULT
• INSTALL ANTI-TIP DEVICE
PACKED WITH RANGE
• SEE INSTRUCTIONS
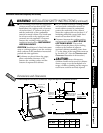
Anti-Tip Bracket Installation Instructions
Anti-tip bracket attaches to the floor to hold either rear
range leg. When fastening to the floor, be sure that the
screws do not penetrate electrical wiring or plumbing. If
you cannot be sure of this, use shorter screws that will not
penetrate through the flooring.
If the anti-tip device supplied with the range does not fit
the application, use the universal anti-tip device
WB02X7909.
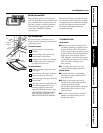
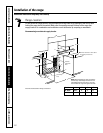
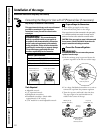
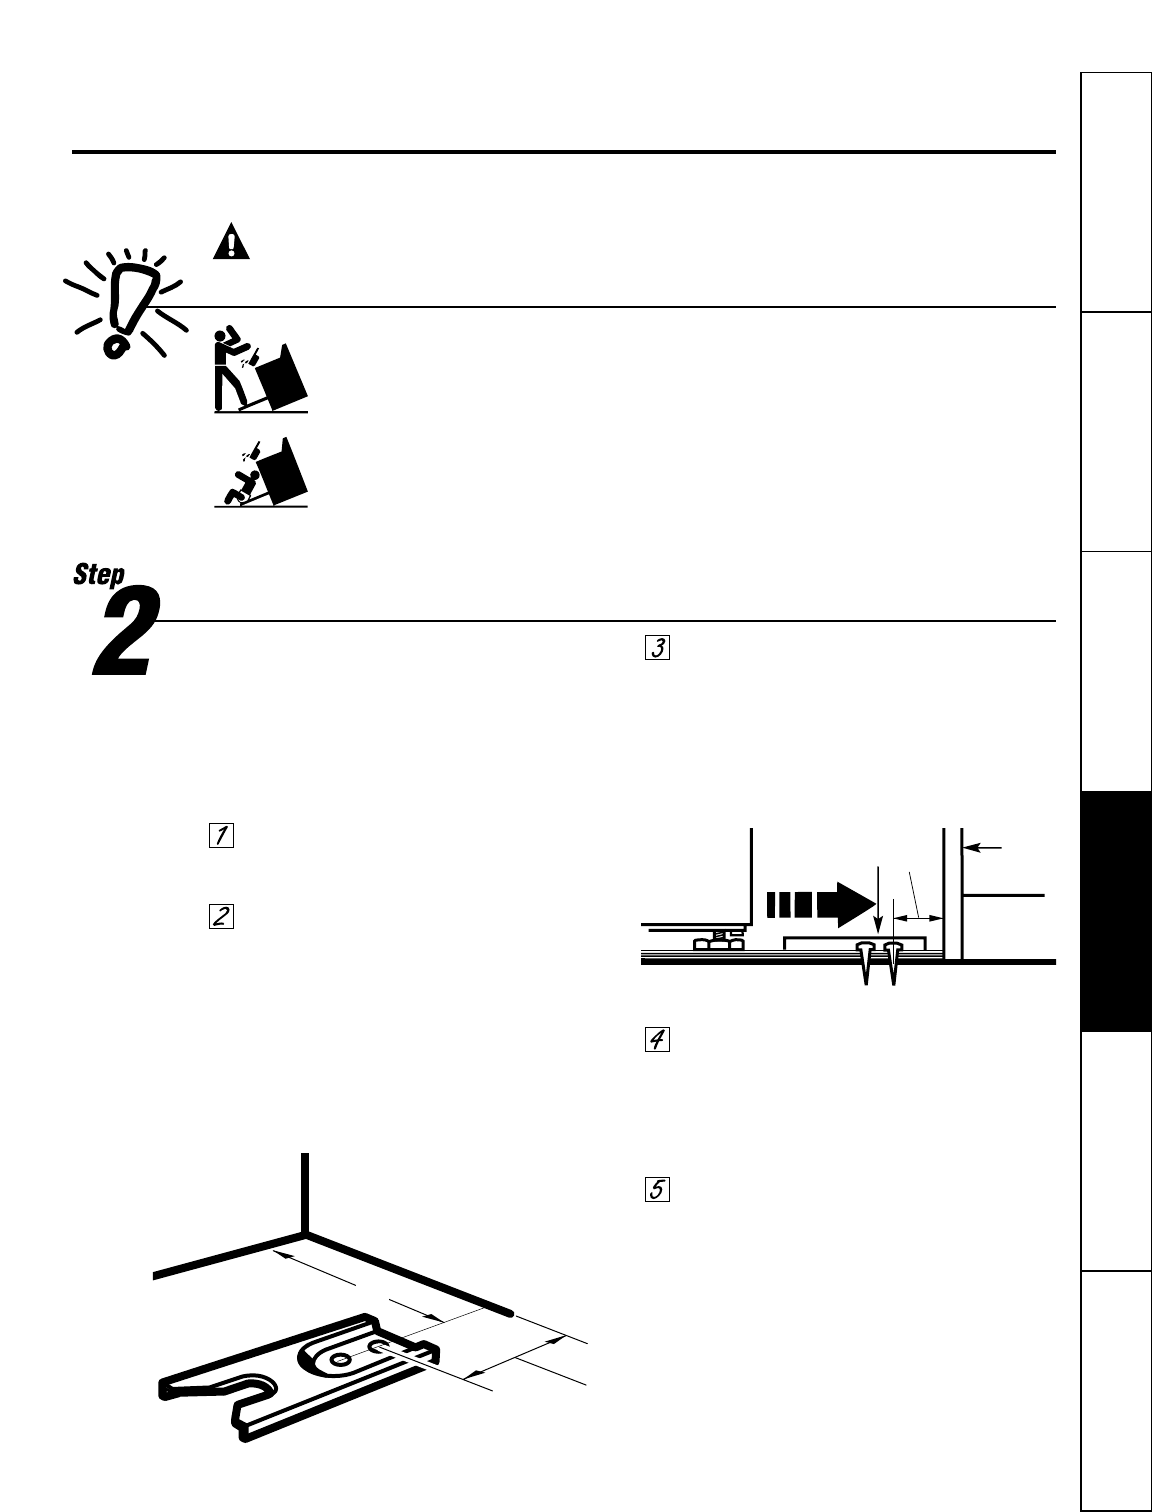
Decide whether the anti-tip bracket will be
installed on the right or left side of the
range location.
If the bracket side of the range is next to a
cabinet or wall, place the bracket 1
9
⁄16″ from
the cabinet or wall.
If there is no adjacent cabinet, determine
where the location of the range side
(painted outside panel) will be. Place the
bracket so that the distance between the
mounting holes (center line) is 1
3
⁄8″ from
the side panel. Position the bracket so the
back hole is 2
7
⁄16″ from the back wall.
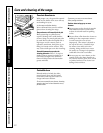
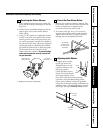
Screw the bracket securely to the floor
with the screws provided. The screws are
self-drilling in wood, plywood, particle and
chip board, and most metal framing. If
attaching to masonry, you can buy suitable
screws and/or anchors at hardware stores.
Use a masonry drill to drill the required
holes.
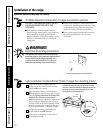
Using your hand or channel-lock pliers,
back out the four range legs at least two
turns. Level the range. See the Protect Your
Floor and Leveling the Range information in
these Installation Instructions for leveling
information.
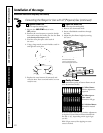
Slide the range into place.
27
Wall behind
range
Adjacent cabinet
or wall
2
7
⁄16″
1
9
⁄16″
Wall
Anti-tip
bracket
2
7
⁄16″