


29
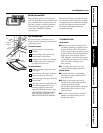
Safety Instructions Operating Instructions Care and Cleaning Installation Instructions Troubleshooting Tips Consumer Support
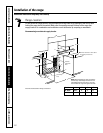
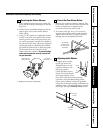
Converting the Surface Burners:
1. If the cooktop has been lowered, remove the
grates, lift the cooktop and support it with the
prop rod.
2. Lift the burner assemblies straight up and set
aside to gain access to the surface burner
orifice spuds.
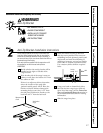
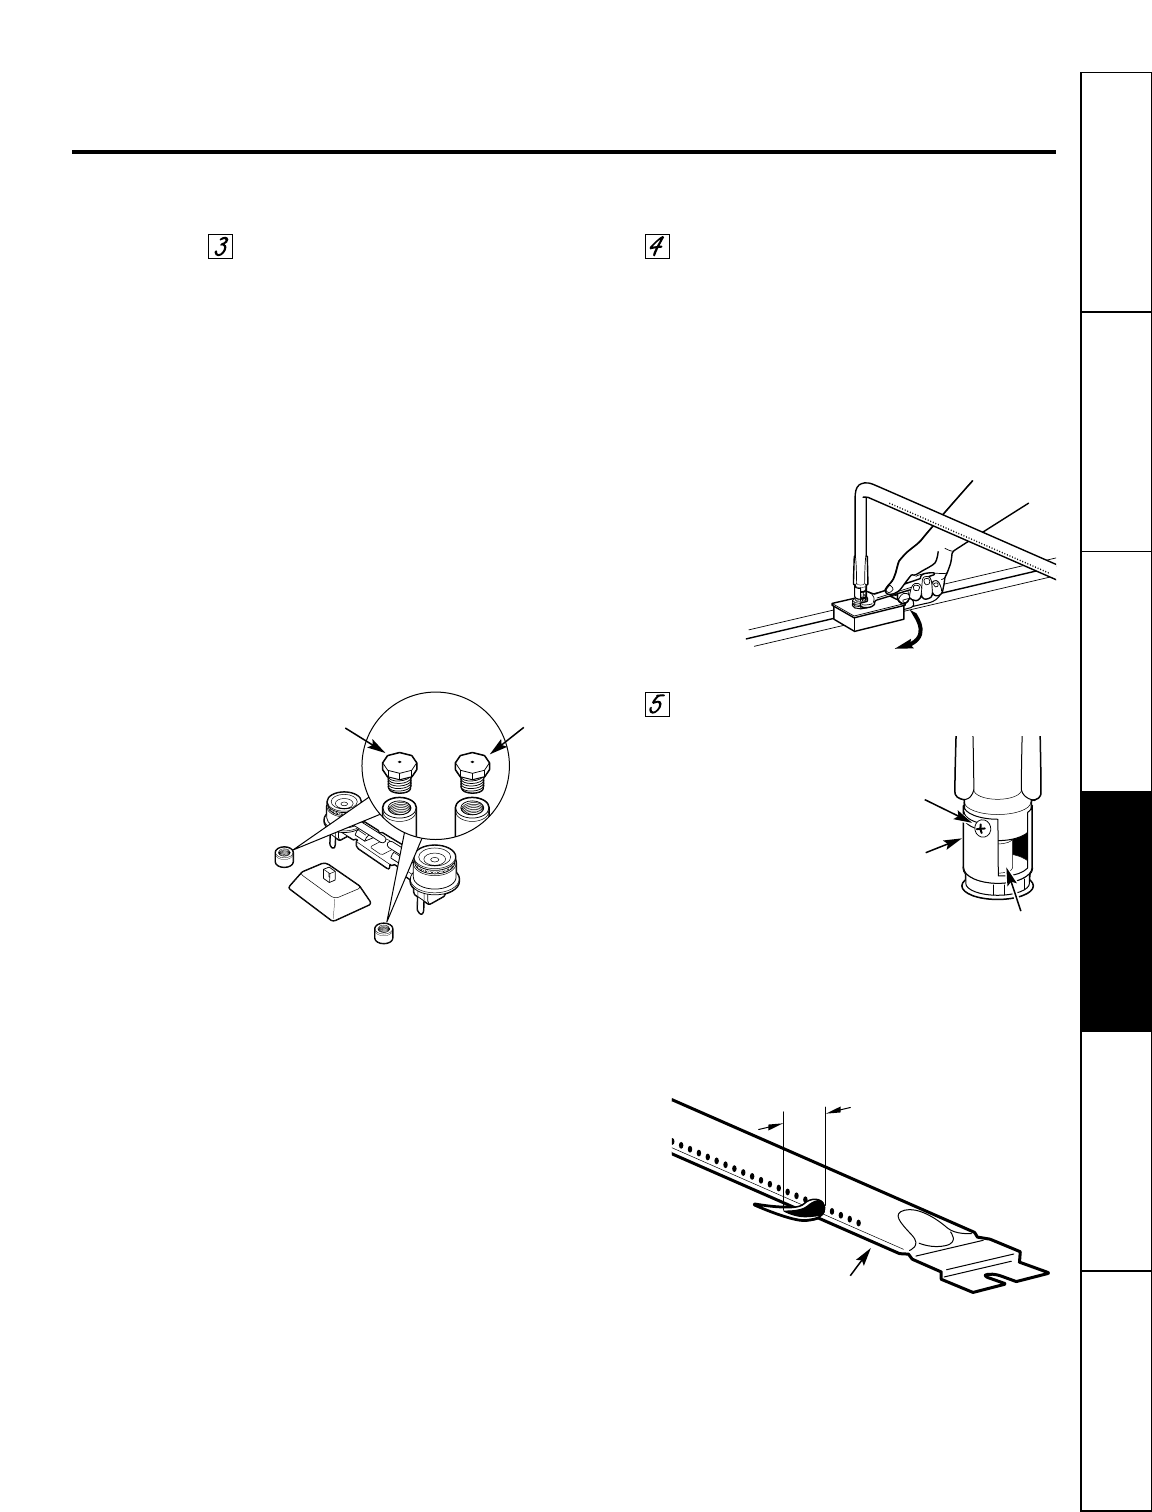
3. Using a 5/16″ nutdriver or adjustable wrench,
remove each of the four spuds on the surface
burner gas inlet tubes and replace them with
the correct gas spuds (mounted in a holder at
the left rear of the range, above the regulator).
Natural gas spuds are marked with N and LP
gas spuds are marked with L. Place the spuds
you removed from the inlet tubes to the
holder above the regulator. To prevent leakage,
make sure the spuds are securely screwed into
the gas inlet tubes.
4. Replace the burner assemblies.
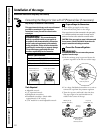
Convert the Oven Burner Orifice:
1. Remove the oven door and oven bottom. The
oven burner orifice hood is located behind the
broiler compartment. A shield must be
removed to access the orifice hood.
2. To convert to LP gas, use a 1/2″ wrench to
turn the lower burner orifice hood clockwise.
Tighten the hood until it is snug. To prevent
damage, do not overtighten the hood.
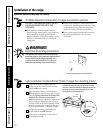
Adjusting the Air Shutter:
1. To adjust the air shutter
for LP gas, loosen the
Phillips head screw and
rotate the shutter to the
full open position.
Check the flame size for
LP gas. The flame should
have approximately 1-inch
blue cones. After 30 seconds of burner
operation, check for flames lifting off the
burner ports. If lifting is observed, gradually
reduce the air shutter opening until flames are
stabilized. Some yellow tipping may be normal
for LP gas. See step 8 Quality of Flames section.
Natural gas cap
(marked with “N”)
LP gas cap
(marked with “L”)
OR
This assembly
is located at the
rear of the broiler
compartment
Screw
Air
shutter
Hood
1″
Inner cone
of flame
Bake/Broil
burner
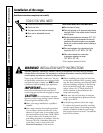
Read these instructions completely and carefully.