Prepare Food
We recommend preparing the food to be cooked before proceed-
ing with any cookware assembly. Cut all vegetables to be cooked
or prepare a homemade marinade for extra flavor (see “Recipes”
for information about Marinades and Rubs). If necessary, store food
in refrigerator while preparing Rotisserie Oven.
Assembling the Rotisserie Bar
Before placing any items to be cooked onto the Rotisserie Bar, we
suggest familiarizing yourself with how the Rotisserie Bar fits into
the Rotisserie Oven and how each accessory works.
1. Locate the Rotisserie Bar.
2. WITHOUT TURNING THE ROTISSERIE OVEN ON YET, use the
Cover Handles to lift open the Cover.
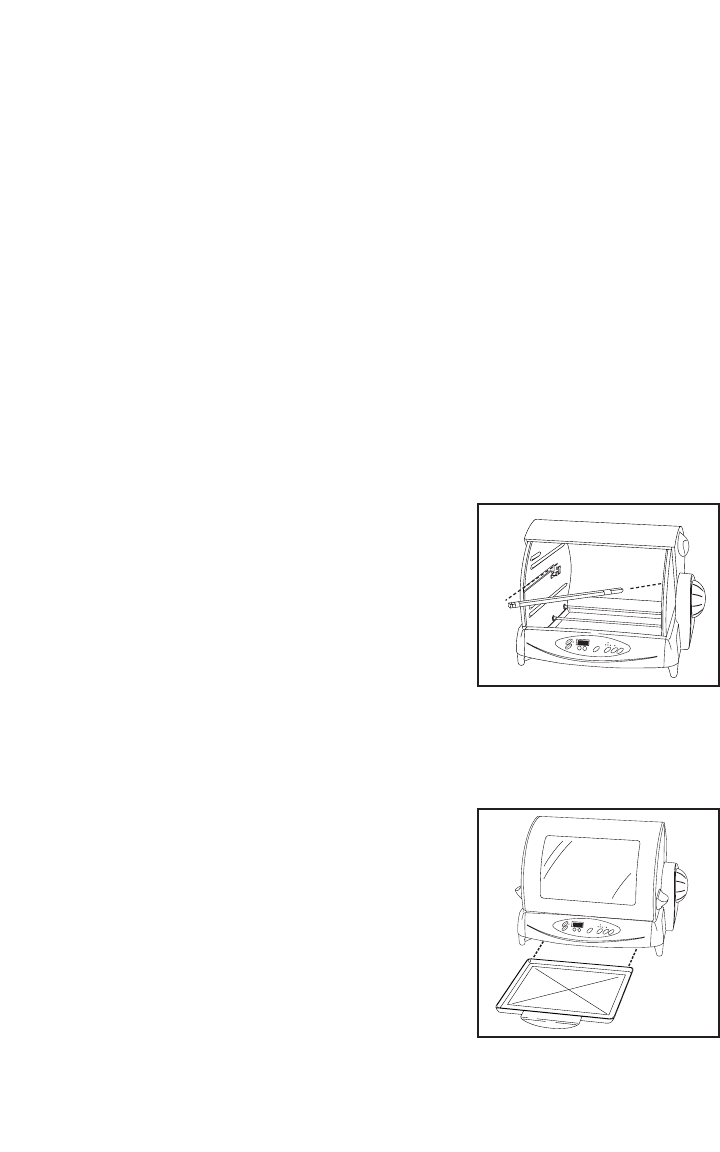
3. Angle the Rotisserie Bar so the point-
ed end fits into the center hole in the
right side (when facing front of
Rotisserie) of the Rotisserie Oven .
See Figure 1.
4. Move the square, “nut” end of the
Rotisserie Bar so it fits into the cut-out
on the left side (when facing front of
Rotisserie) of the Rotisserie Oven.
This is the correct position for assembling the Rotisserie Bar.
Assemble Drip Tray
1. If not in place, slide Drip Tray into
position as shown in Figure 2.
NOTE:To limit any smoke which may
occur as a result of dripping juices,
add about 2 cups of water to the Drip
Tray before beginning cooking.
Adding water to the Drip Tray will also
make clean-up easier!
Preparing for Use (Cont.)
O
N
P
A
U
S
E
RESET
OFF
TEMP
SELECT
MOTOR
LIGHT
H
M
REMAINING COOKING TIME
Figure 1
O
N
PAUSE
RESET
OFF
TEMP
SELECT
MOTOR
LIGHT
H
M
REMAINING COOKING TIME
Figure 2
13


