Installation
16 309572ZAG
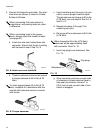
5. Connect the hoses to each other. Pair elec-
trical wires as follows: A-Hose to A-Hose;
B-Hose to B-Hose.
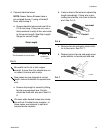
a. Insert one wire from heated hose into
connector. Ensure that ferrule is mating
with connector insert. See F
IG
. 8.
b. Thread in setscrew and use hex wrench
to torque setscrew to 60 in-lbs (6.78
N•m).
c. Insert remaining wire from pair into con-
nector; ensure proper insertion depth.
Thread setscrew and torque to 60 in-lbs
(6.78 N•m); see sub-step B. See F
IG
. 8
and F
IG
. 9.
d. Repeat sub-steps A through C for
remaining wire pair.
e. Re-torque all four setscrews to 60 in-lbs
(6.78 N•m).
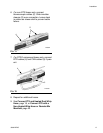
f. Insert cap plugs over setscrews. See
F
IG
. 10.
g. Wrap connector and wire on each side
of connector in black electrical tape to
help seal out moisture. Ensure 1 in.
(25.4 mm) of wire on each side of con-
nector is wrapped.
When connecting first hose section to
proportioner, wire pairing does not make
a difference.
When connecting hose to the propor-
tioner, always check the hoses for leaks
(see page 21).
F
IG
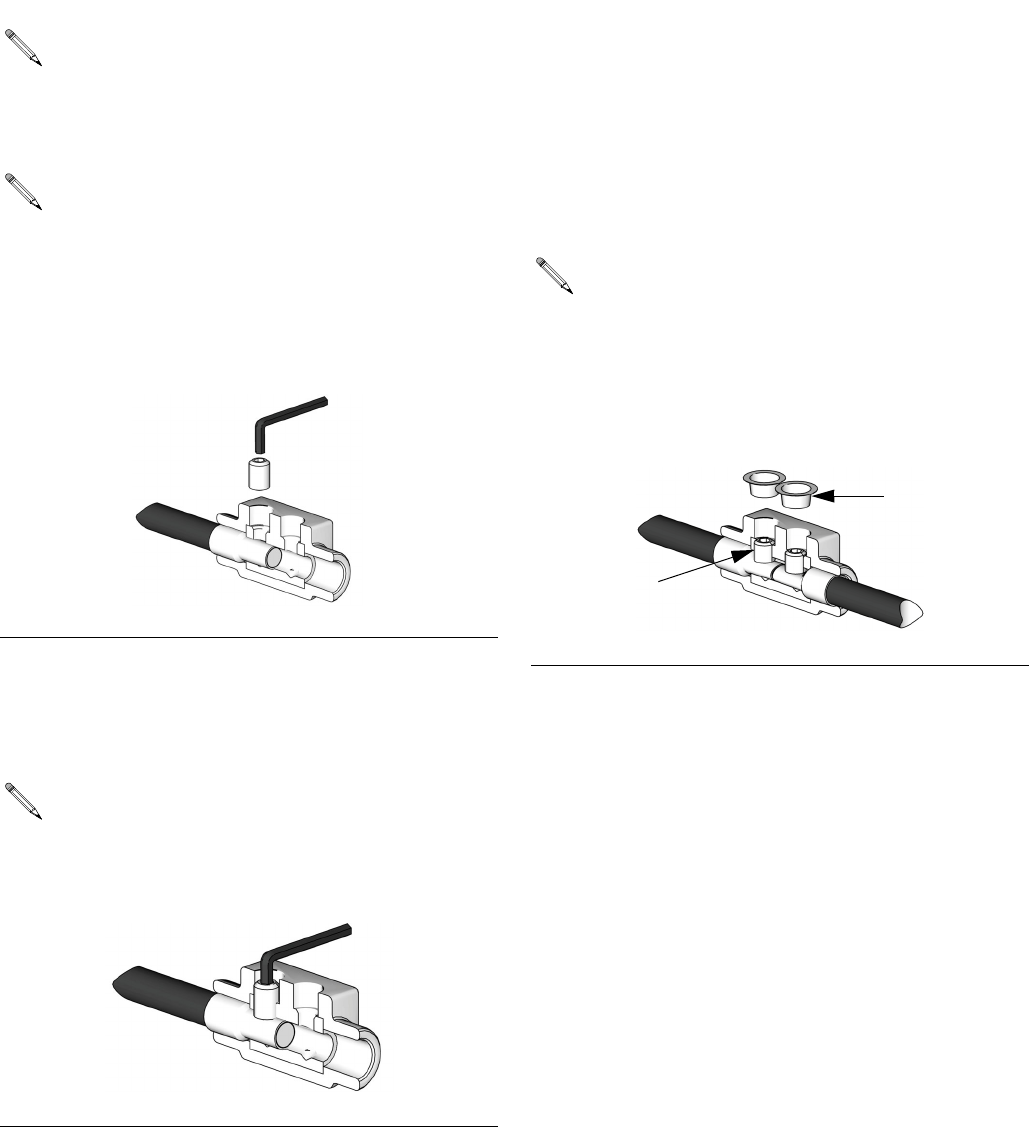
. 8: Insert Wire and Setscrew
To reach approximately 60 in-lbs (6.78
N•m), complete 4.5 revolutions with hex
wrench after setscrew comes in contact
with ferrule.
F
IG
. 9: Torque Setscrew
TI9770A
TI9779A
When torqued to 60 in-lbs (6.78 N•m)
setscrews will be approximately flush
with connector. See F
IG
. 10.
F
IG
. 10
Cap plugs
Setscrews
TI9771A


