5 - 17
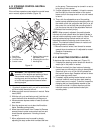
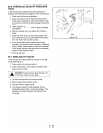
5.2 REMOVING THE ENGINE
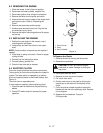
1. Place the mower in the full service position.
2. Disconnect the battery cables, negative first.
3. Disconnect ignition wires using the connectors.
4. Remove the belts from the pulley and clutch.
5. Unscrew the bolt from the center of the output shaft
and remove clutch. Refer to "Replacing the
Clutch".
6. Remove the square key and the pulley.
7. Unclamp and remove the fuel line. Plug the fuel
line and wipe up any spills.
8. Remove the engine mounting bolts and lift engine
out the top.
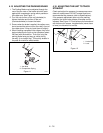
5.3 INSTALLING THE ENGINE
1. Position the new engine in the chassis, insert
mounting bolts and tighten.
2. Install pulley and then the clutch on the output
shaft.
NOTE:
Check condition of square key and replace if
needed.
3. Place belts on pulley and clutch. Check for proper
routing of belts.
4. Connect fuel line and ignition wires.
5. Connect battery, positive first.
6. Check oil level and add as needed.
5.4 ELECTRIC CLUTCH
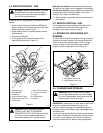
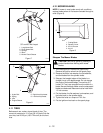
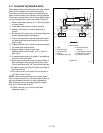
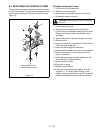
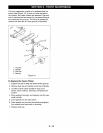
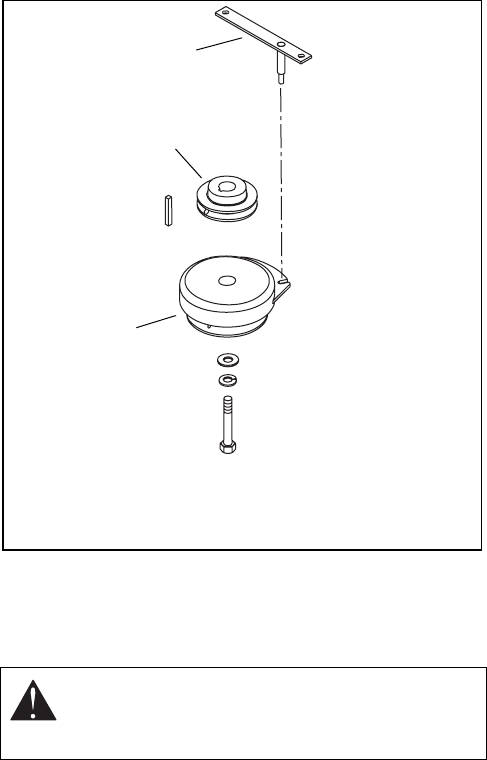
The motor output shaft has two pulley mechanisms.
The top pulley is direct drive and powers the hydraulic
system. The lower pulley is engaged by an electric
clutch and supplies power to the mower blades. See
Figure 14.
The clutch has no repairable parts.
If clutch does not operate, before replacing clutch:
1. Check the deck for debris that may be blocking
blades.
2. Check PTO switch and wire harness for proper
operation.
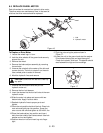
To Replace the Clutch
1. Remove the belt by relaxing the idler pulley.
2. Remove the center bolt.
3. Disconnect electrical wires.
4. Remove nut from the anchor bracket.
5. Pull clutch from shaft.
6. Position new clutch on the shaft by aligning the
square key on the shaft with the keyway of the
clutch.
7. Clutch should be rotated to position the anchor
bracket with the slot in the stationary shell. Replace
nut and tighten.
8. Replace bolt and washers. Torque to
55 foot pounds.
CAUTION:
DO NOT ALLOW the engine
crankshaft to rotate. Damage to the engine
may occur.
1. Electric Clutch
2. Pulley
3. Anchor Bracket
Figure 14
2
1
3


