4
IMPORTANT NOTICE ABOUT LEAKING BOTTLES
If you find that your dispenser is leaking, check the water bottle first!
Almost all 3 and 5 gallon (12 and 19 liters) water bottles are recycled, and handled extensively during
cleaning, filling, and shipping. As a result they are very pr
one to developing pin holes or small cracks
that can cause an overflow (or leak) when placed on top of a water dispenser.
In almost all cases, there is nothing wrong with your water dispenser. If you
are experiencing a leak, this simple test will allow you to determine whether
your water bottle or dispenser is the source of the problem.
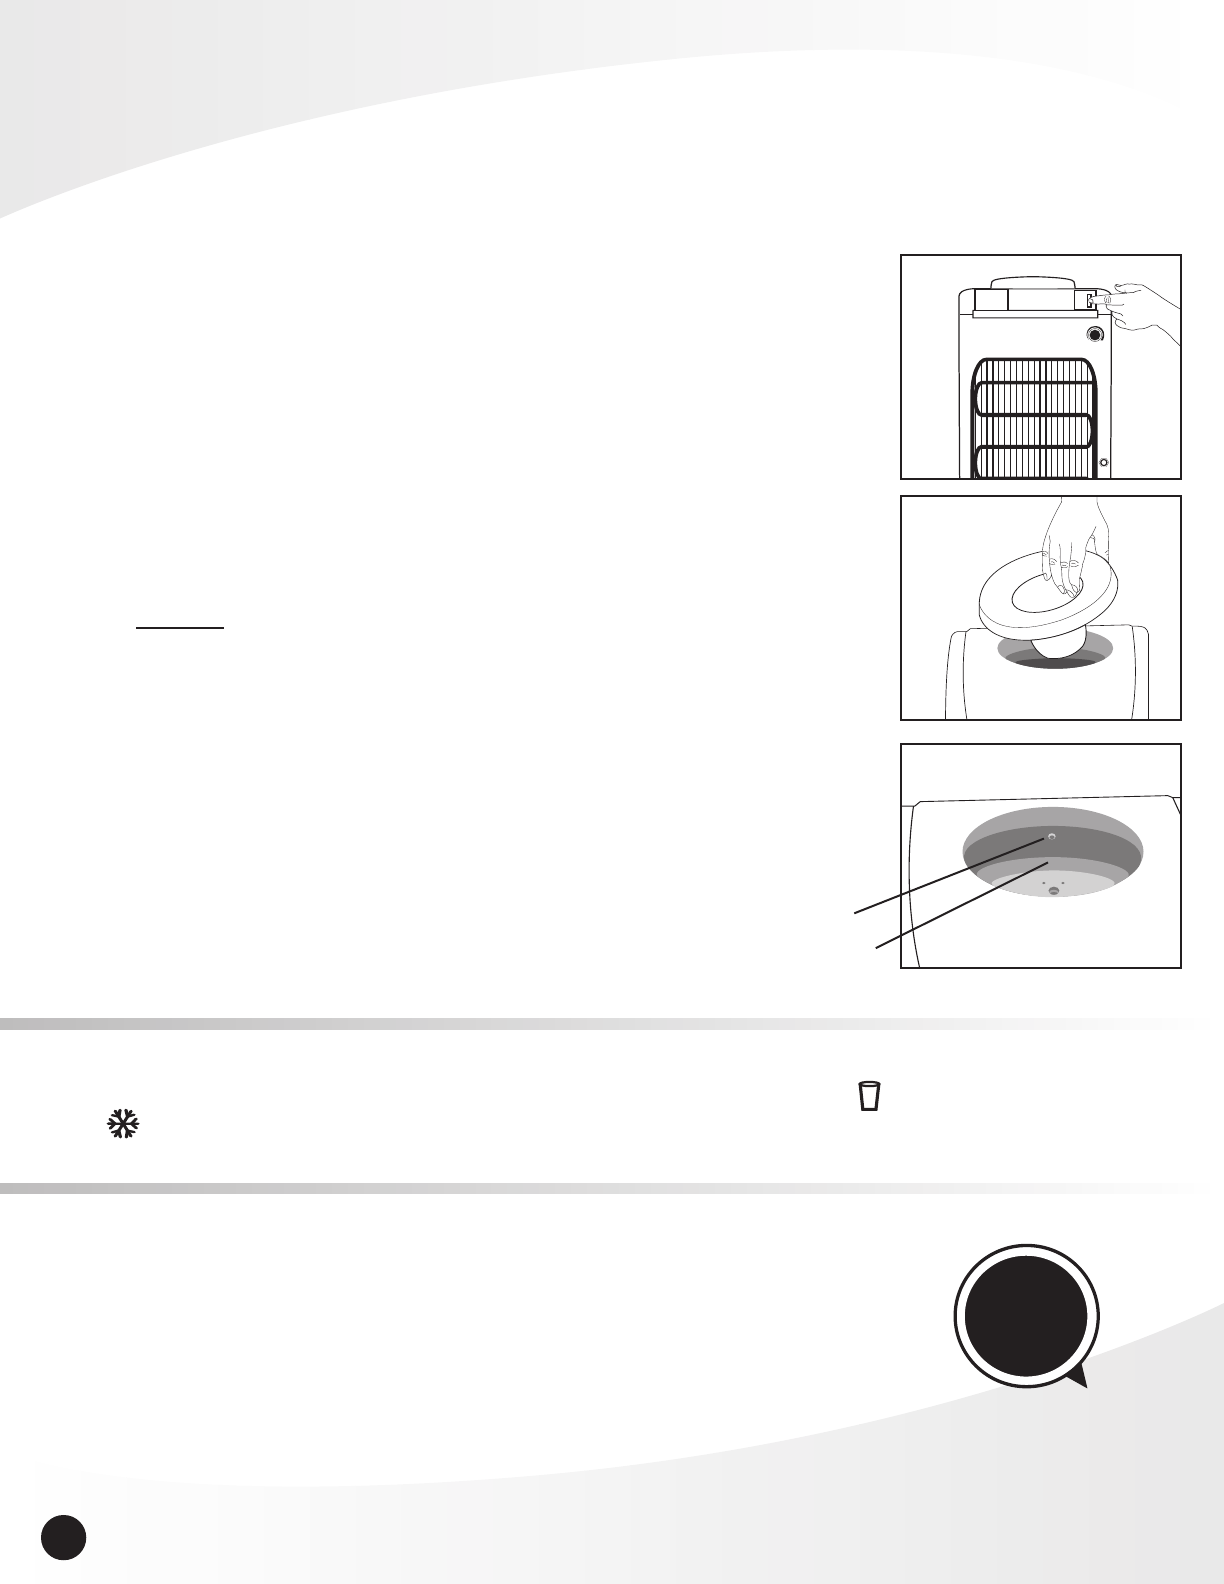
1. Unplug the unit, turn off the power switch and remove the water bottle.
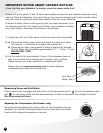
2. a) Remove the bottle support collar and check the water level inside
the reservoir – it should be at roughly thr
ee-quarters full.
b) Please add or drain a few glasses of water to achieve the required
fill level. W
ater level should be approximately 3/4” – 1” (2
cm - 2.5cm)
BELOW
VENT TUBE.
3. Let the water sit for approximately 2 hours. If the dispenser does not
leak, it is the bottle that is leaking due to a small crack or pinhole.
Please contact your water supplier for a r
eplacement bottle.
Please visit us at www
.greenwayhp.com for water dispenser
accessories and helpful use and car
e tips.
Min
Max
Dispensing Room and Cold Water
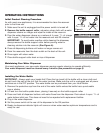
Place a glass under the spigot and push down on the appropriate button; for room temperature water
and for cold water. Press until the desir
ed amount of water is dispensed, then release the button.
(See Dispensing Hot Water).
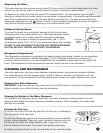
Adjusting the Temperature (Cold water only)
By turning the thermostat at the back of the unit, the temperatur
e can be
adjusted. Tur
n the dial clockwise between the min (cool) and max (colder)
levels until the desired temperature is reached.
Vent Tube
Water Level
Min
Max
Med
Min
Max
Med


