


6
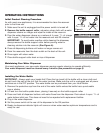
Cleaning the Inside of the Dispenser
To prevent mineral deposits that can affect the taste and flow of the water, and to ensure proper product
performance, your water dispenser must be cleaned every 4 months. It is recommended for optional
performance to clean your water dispenser every month.
1. Make sure the power switch is in the OFF position.
2. Remove the water bottle and bottle support collar.
3. Drain the reservoirs. (See Draining the Reservoirs).
4. Pour water dispenser cleaner or a mixture 4 cups / 1 L of vinegar
with 4 cups / 1 L of hot water into the r
eservoir and wait 20
minutes. If using a water dispenser cleaning solution, please follow
the manufacturers instructions.
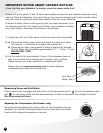
IMPORTANT: To avoid water overflow while cleaning the dispenser,
always remove the bottle support collar before pouring water or
cleaning solution into the reservoir
. (See Figure A, page 3).
5. Press all dispensing buttons until water no longer comes out.
6. Drain the reservoirs.
IMPORTANT: Collect the water into a container, not the drip tray.
7. Rinse with clean water.
8. Replace the bottle support collar and the water bottle. (See Installing the Water Bottle).
IMPORTANT: Drain approximately 4 glasses of water from each button before initial use.
This does not need to be done with replacement bottles.
Going Away on V
acation
When not using the dispenser for long periods of time or when going on vacation, conserve energy
by setting all power switches to the OFF position, unplug the dispenser and drain the reservoirs.
(See Draining the Reservoirs). Follow Initial Product Cleaning Procedures upon return
and startup of the dispenser.
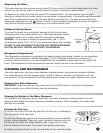
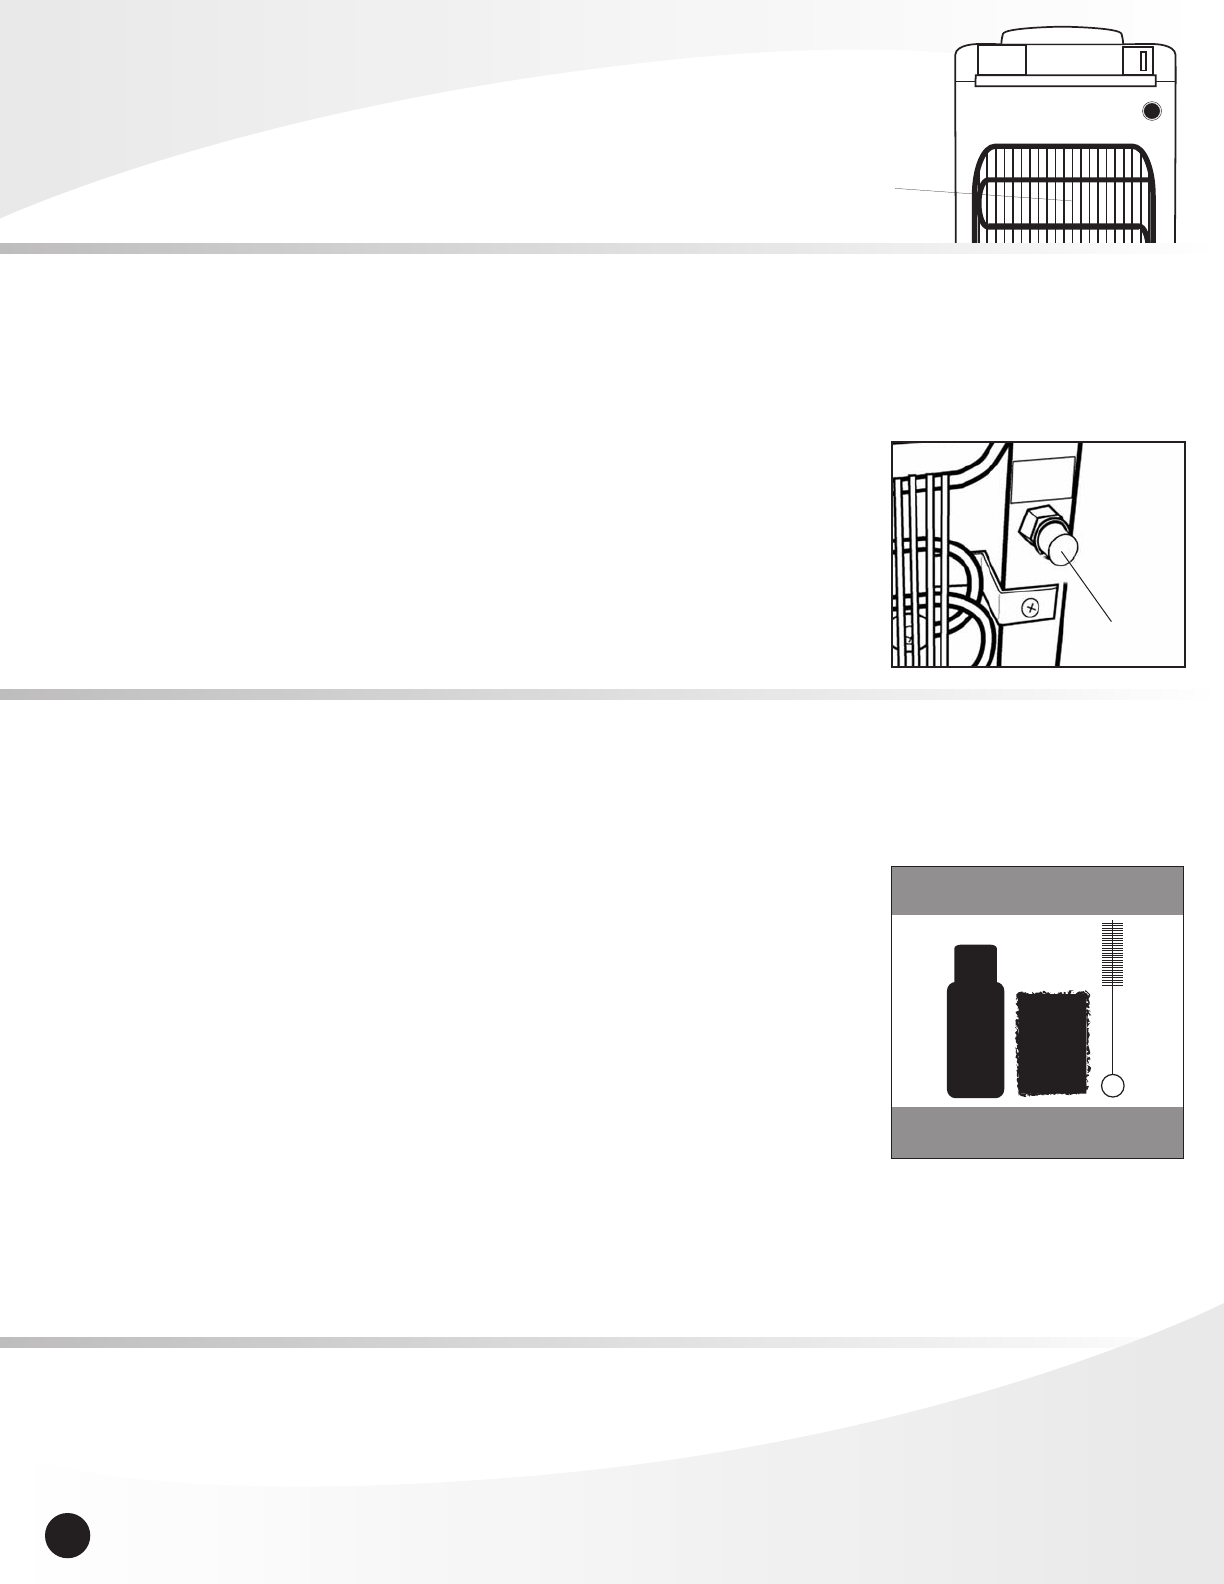
Cleaning Kit
Available online at
www.greenwayhp.com
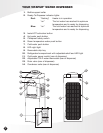
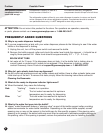
Drain
valve
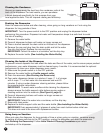
Cleaning the Condenser
Vacuum or sweep away the dust from the condenser coils at the
back of the dispenser. For best results, you can pur
chase
a brush designed specifically for this purpose from your
local appliance store. This will improve cooling and efficiency.
Draining the Reservoirs
Drain the reservoirs before and after cleaning, when going on long vacations or if not using the
dispenser for long periods of time.
IMPORTANT! Turn the power switch to the OFF position and unplug the dispenser before
performing this procedure. Dispense hot water until temperatur
e drops to a safe level to avoid
the risk of scalding.
1. Remove the water bottle.
2. Press all dispenser buttons until water no longer comes out.
3. Place a bucket beneath the drain outlet on the back of the dispenser.
4. Remove the cap and plug from the drain outlet and let the water
flow into the bucket. Replace the cap and plug.
IMPORTANT: Collect the water in a container, not the drip tray.
5. Replace the water bottle. (See Installing the Water Bottle).
Min
Max
Med
Min
Max
M
ed
Condenser
coils