


Page 3 Grind ’n Brew Coffee Systems
English
Grind ‘n Brew Installation, Start-up, and Brewing Instructions: (Read Completely!)
Import
ant: This brewer should be installed by a knowledgeable and experienced commercial
equipment installer.
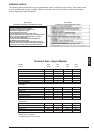
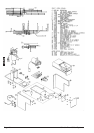
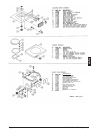
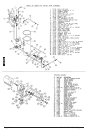
Brewer Content
s
Your brewer package should include the following:
1-Grinderbrewer (either single or dual bean)
1-Operation and Instruction Manual (this manual)
1-Hose to 1/4" flare fitting (part # 61237)
T
ools Required for Inst
allation
#2 Phillips screwdriver
9/16" Wrench
5/8" Wrench
(Or Crescent Wrench)
6" Level
Note: Other tools may be needed depending on the type of water supply tubing and location.
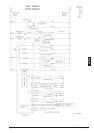
Unit Inst
allation
1. Inspect unit to see if any damage occurred in shipment.
2. Position brewer on counter. Place on sturdy permanent counter top. (If you have an airpot brewer,
Install 4" plastic legs (included) to the bottom of brewer. Lean brewer towards side to expose screw-
holes underneath for legs. Adjust leg heights to suit the size airpots you will use.)
Import
ant:
Adjust feet to level
brewer. With bubble level, check to see that the brewer is level on
countertop.
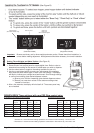
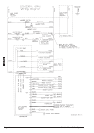
Water Hook-up (All Models):
Important: This equipment must be installed in compliance with applicable Federal, State, and/or Local
plumbing codes having jurisdiction.
1. The incoming water supply should have a shut-off valve connected in-line. The end should have a
female 1/4" flare fitting. Water supply should be a 1/4" I.D. dedicated line branched off a 1" or larger
supply line.
2. Prior to installing the brewer, flush out the water line by running approximately 1 gallon of water into
a pail. This will insure no sediment from a new installation can get in the brewer.
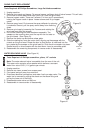
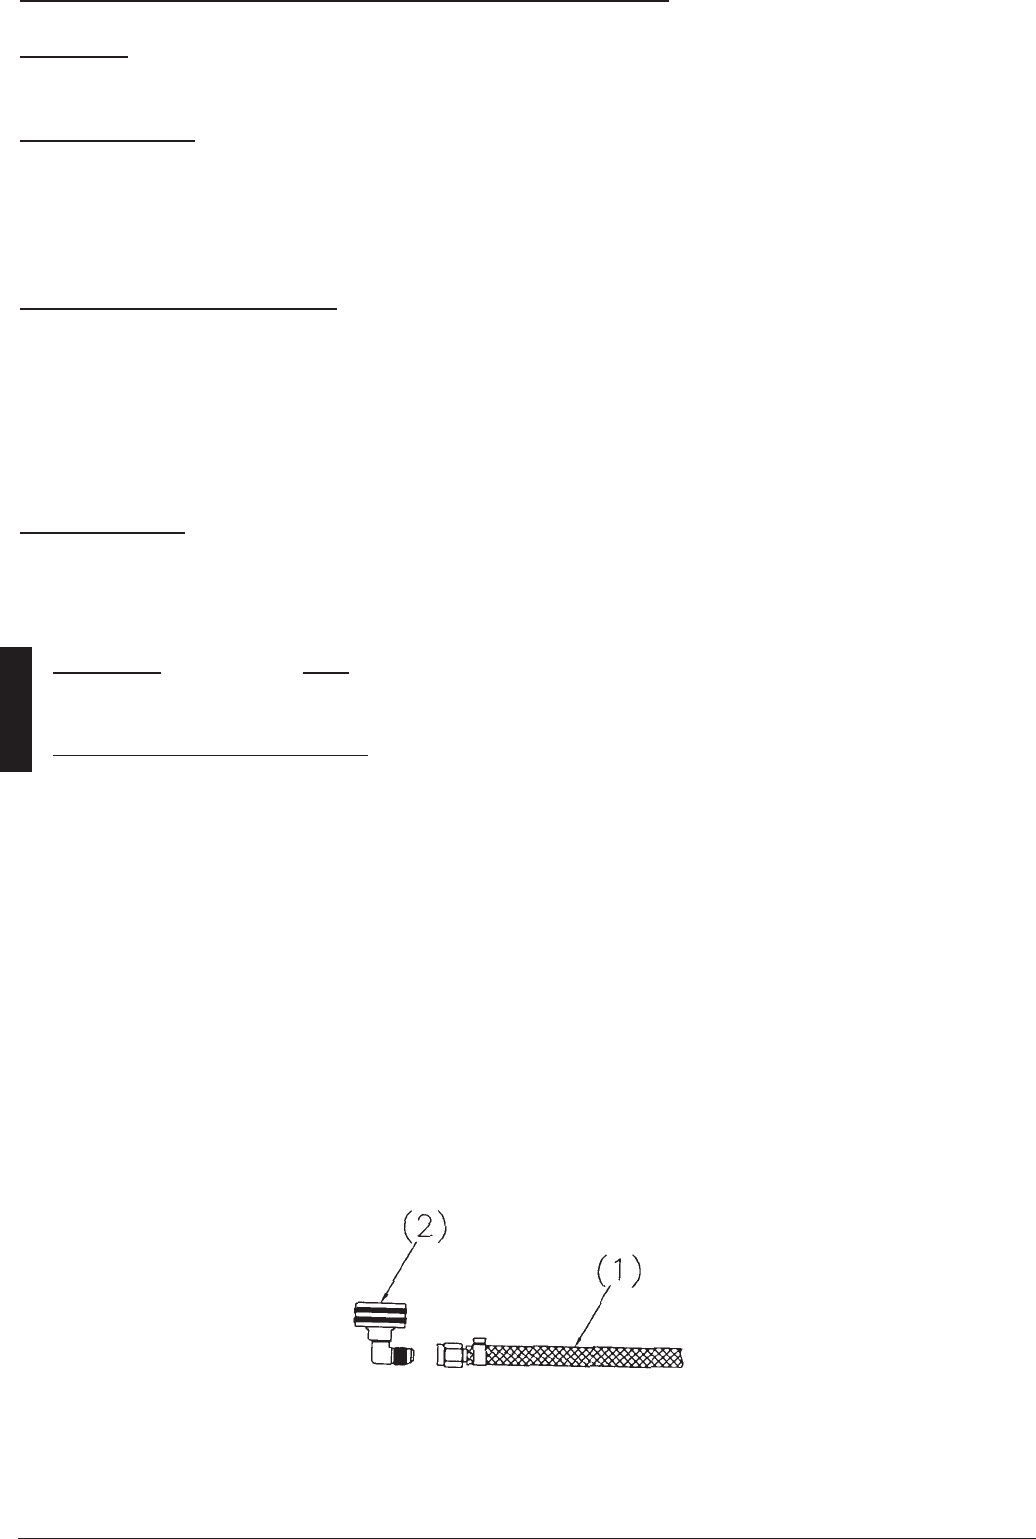
3. Make sure your source water is turned off. Connect the source water line’s 1/4" female flare fitting (1)
to the 1/4" male fitting on the hose connector (2).
4. Make sure Grind’n Brew is unplugged. Connect source water line to brewer with hose connector.
5. Turn source water valve on, sending water to the brewer. If there are any leaks, tighten connections
to stop leakage.
Figure A