


Page 6 Grind ’n Brew Coffee Systems
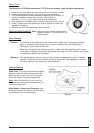
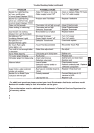
Figure E
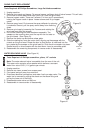
Figure F
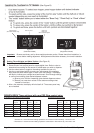
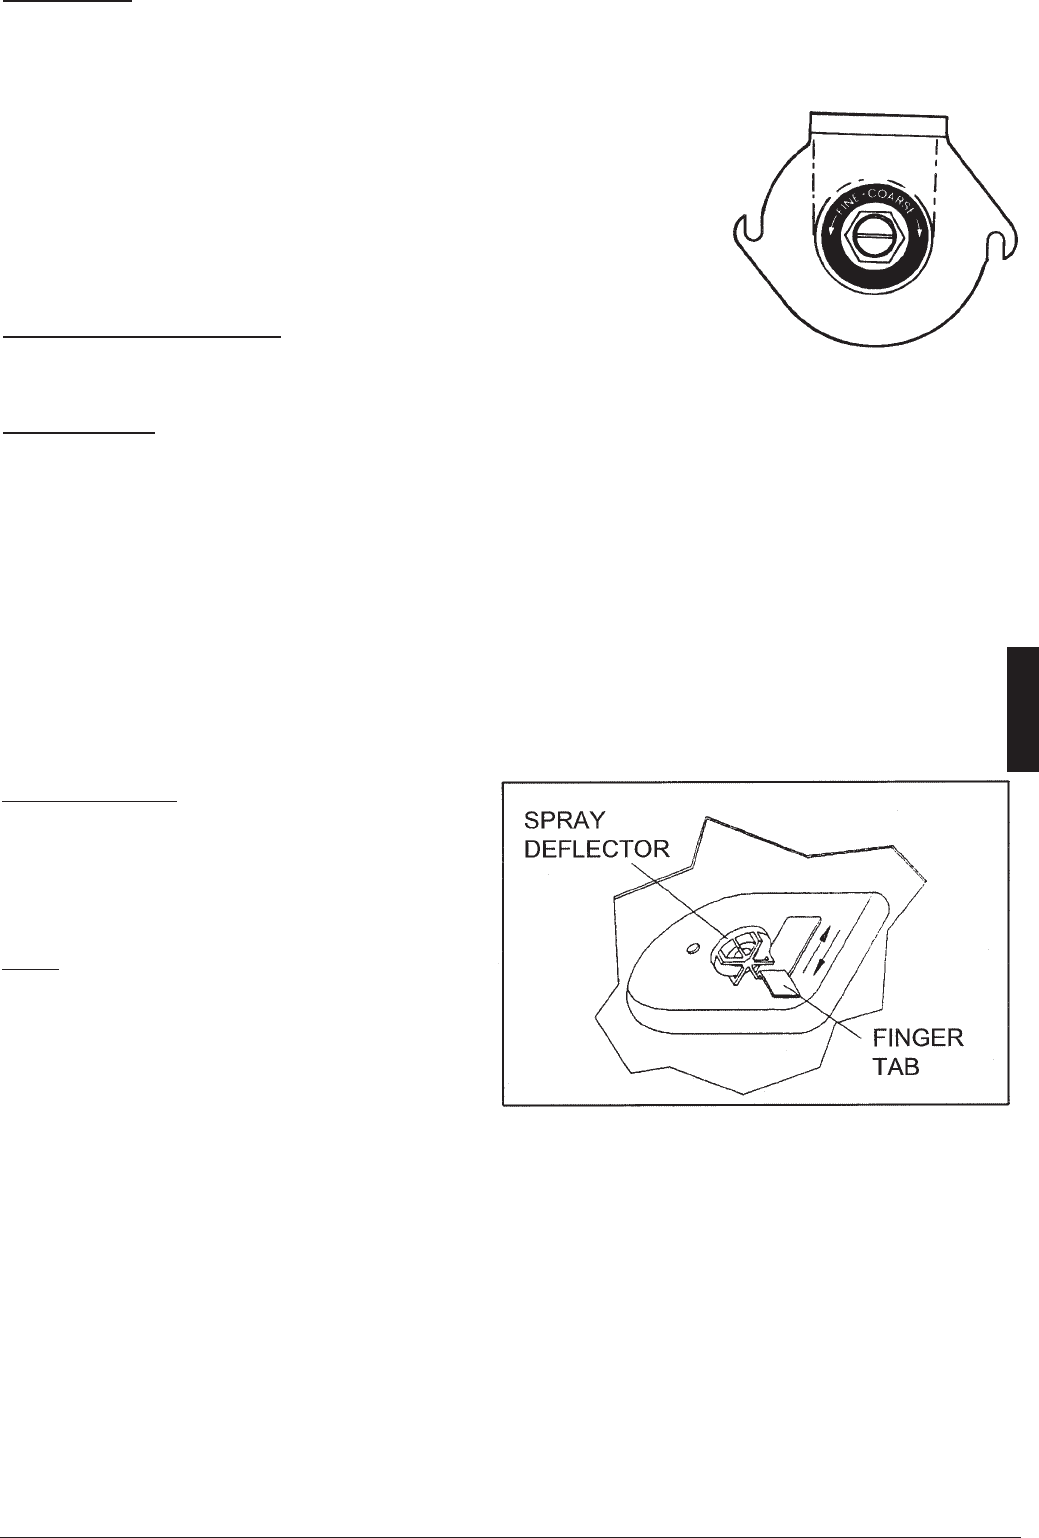
Setting Grind:
Tool Required: #2 Phillips screwdriver, 7/8"/2.2cm box wrench, large flat blade screwdriver
1. Remove front decal panel by removing screw on underside of panel.
2. Loosen adjusting screw lock nut by turning counter clockwise.
3. Turn slotted adjusting screw clockwise to make the grind coarser or
counter clockwise to make the grind finer. (See Figure E)
Generally, a 1/8 to 1/4 turn will provide desired adjustment.
4. After adjustment has been made, re-tighten adjusting screw lock nut.
5. Visually inspect grind adjustment with a small portion of coffee and
readjust if necessary.
6. Reinstall the front decal panel as it was removed.
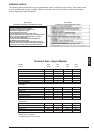
REGULAR MAINTENANCE
Note : Machine should not be cleaned with a
pressure sprayer. This could result in a
shock hazard.
Daily Cleaning
Cabinet : The outside of the machine can be cleaned with a damp cloth, a household dusting
spray or a stainless steel cleaner. Do not use an abrasive such as Scotchbrite or
Brillo pads. These may mar the finish.
Wipe the underside of the cabinet hood with a clean cloth. Be especially careful when
using soap or detergent around the sprayhead. Any soap left on the deflector may impart
an unpleasant taste to the first brews.
Warmers : The warmer plate is easy to clean and will maintain its appearance longer if cleaned
regularly. Coffee stains can be wiped off with a damp cloth. Use detergent or sanitizer
for heavy deposits, but refrain from using abrasives.
Weekly Cleaning
Slide Valve: The slide valve behind the spray
deflector under the cabinet hood should be
wiped off with a clean, dry cloth. Using the
finger tab (Figure F) open the slide valve.
Note:
When the machine is not in use, the
finger tab will automatically activate every 30
minutes to keep clear.
Brew Basket, Airpots and Decanters: Use
commercial grade urn cleaner (as directed by
manufacturer) and rinse thoroughly.
English